ChatGPT and Slack Integration
Table of Contents generated with DocToc
ChatGPT and Slack Integration
Background
In today’s fast-paced digital world, communication is key. With the rise of remote work and virtual teams, having the right tools to facilitate communication and collaboration has become more important than ever. One such tool that has gained immense popularity in recent years is Slack. Slack is a messaging app for teams that brings all your communication together in one place, making it easier for teams to stay connected and work together efficiently. And with the integration of ChatGPT into Slack, things just got even better!
What is ChatGPT
ChatGPT is a large language model trained by OpenAI. It is capable of generating natural language responses to a wide variety of prompts, making it an ideal conversational agent for a range of applications. ChatGPT can be used to answer questions, provide information, assist with tasks, and more.
Why integrate ChatGPT with Slack
Integrating ChatGPT with Slack offers numerous benefits for teams. Here are just a few:
-
Improved productivity: With ChatGPT integrated into Slack, team members can quickly access information they need without having to leave the app. This can save time and improve productivity.
-
24/7 availability: ChatGPT is available 24/7, which means team members can get the information they need at any time, even outside of regular working hours.
-
Reduced workload: With ChatGPT handling some of the more routine queries, team members can focus on more complex tasks and projects.
How to integrate ChatGPT with Slack
Integrating ChatGPT with Slack is a straightforward process. Here’s how to do it:
Pre-Req
If you don’t have Python installed, install it from here. Then prepare one file requirements.txt as follows.
- requirements.txt
guangyaliu@Guangyas-MacBook-Pro-2 byo-chatgpt % cat requirements.txt
autopep8==1.6.0
certifi==2021.10.8
charset-normalizer==2.0.7
click==8.0.3
et-xmlfile==1.1.0
Flask==2.0.2
idna==3.3
itsdangerous==2.0.1
Jinja2==3.0.2
MarkupSafe==2.0.1
numpy==1.21.3
openai==0.19.0
openpyxl==3.0.9
pandas==1.3.4
pandas-stubs==1.2.0.35
pycodestyle==2.8.0
python-dateutil==2.8.2
python-dotenv==0.19.2
pytz==2021.3
requests==2.26.0
six==1.16.0
toml==0.10.2
tqdm==4.62.3
urllib3==1.26.7
Werkzeug==2.0.2
- Activate venv
python3 -m venv venv
. venv/bin/activate
pip install -r requirements.txt
Create a Slack Bot
Slack Bot must be created in order to automate messages with ChatGPT.
-
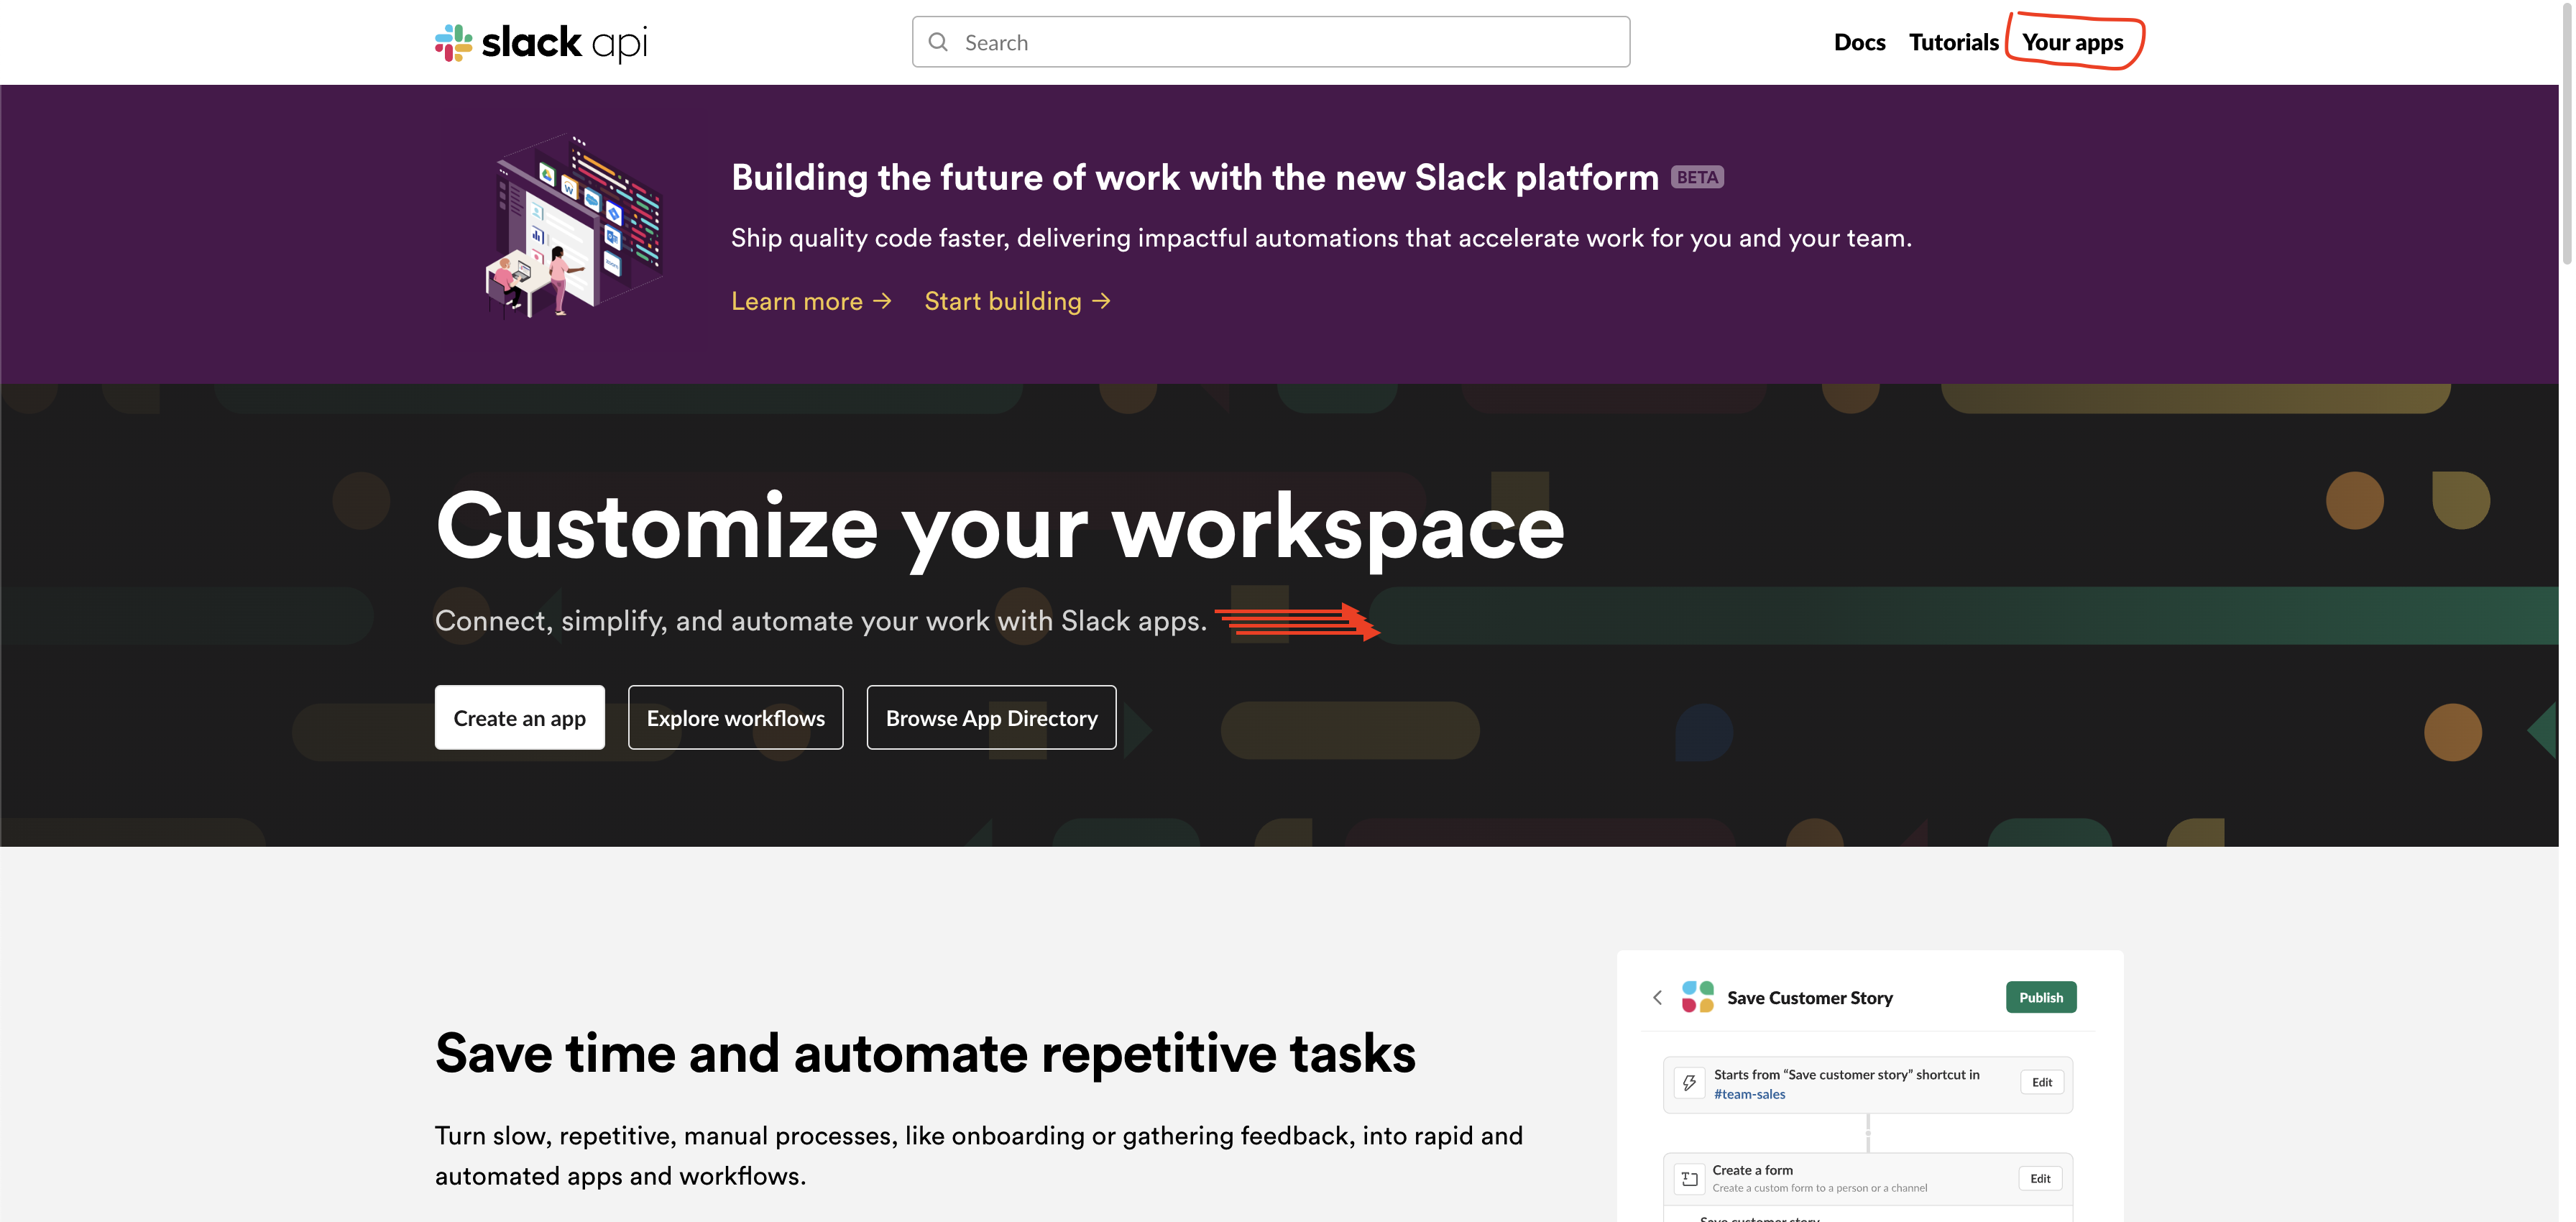
Open slack API console. (https://api.slack.com/).
-
Click on
Your apps.
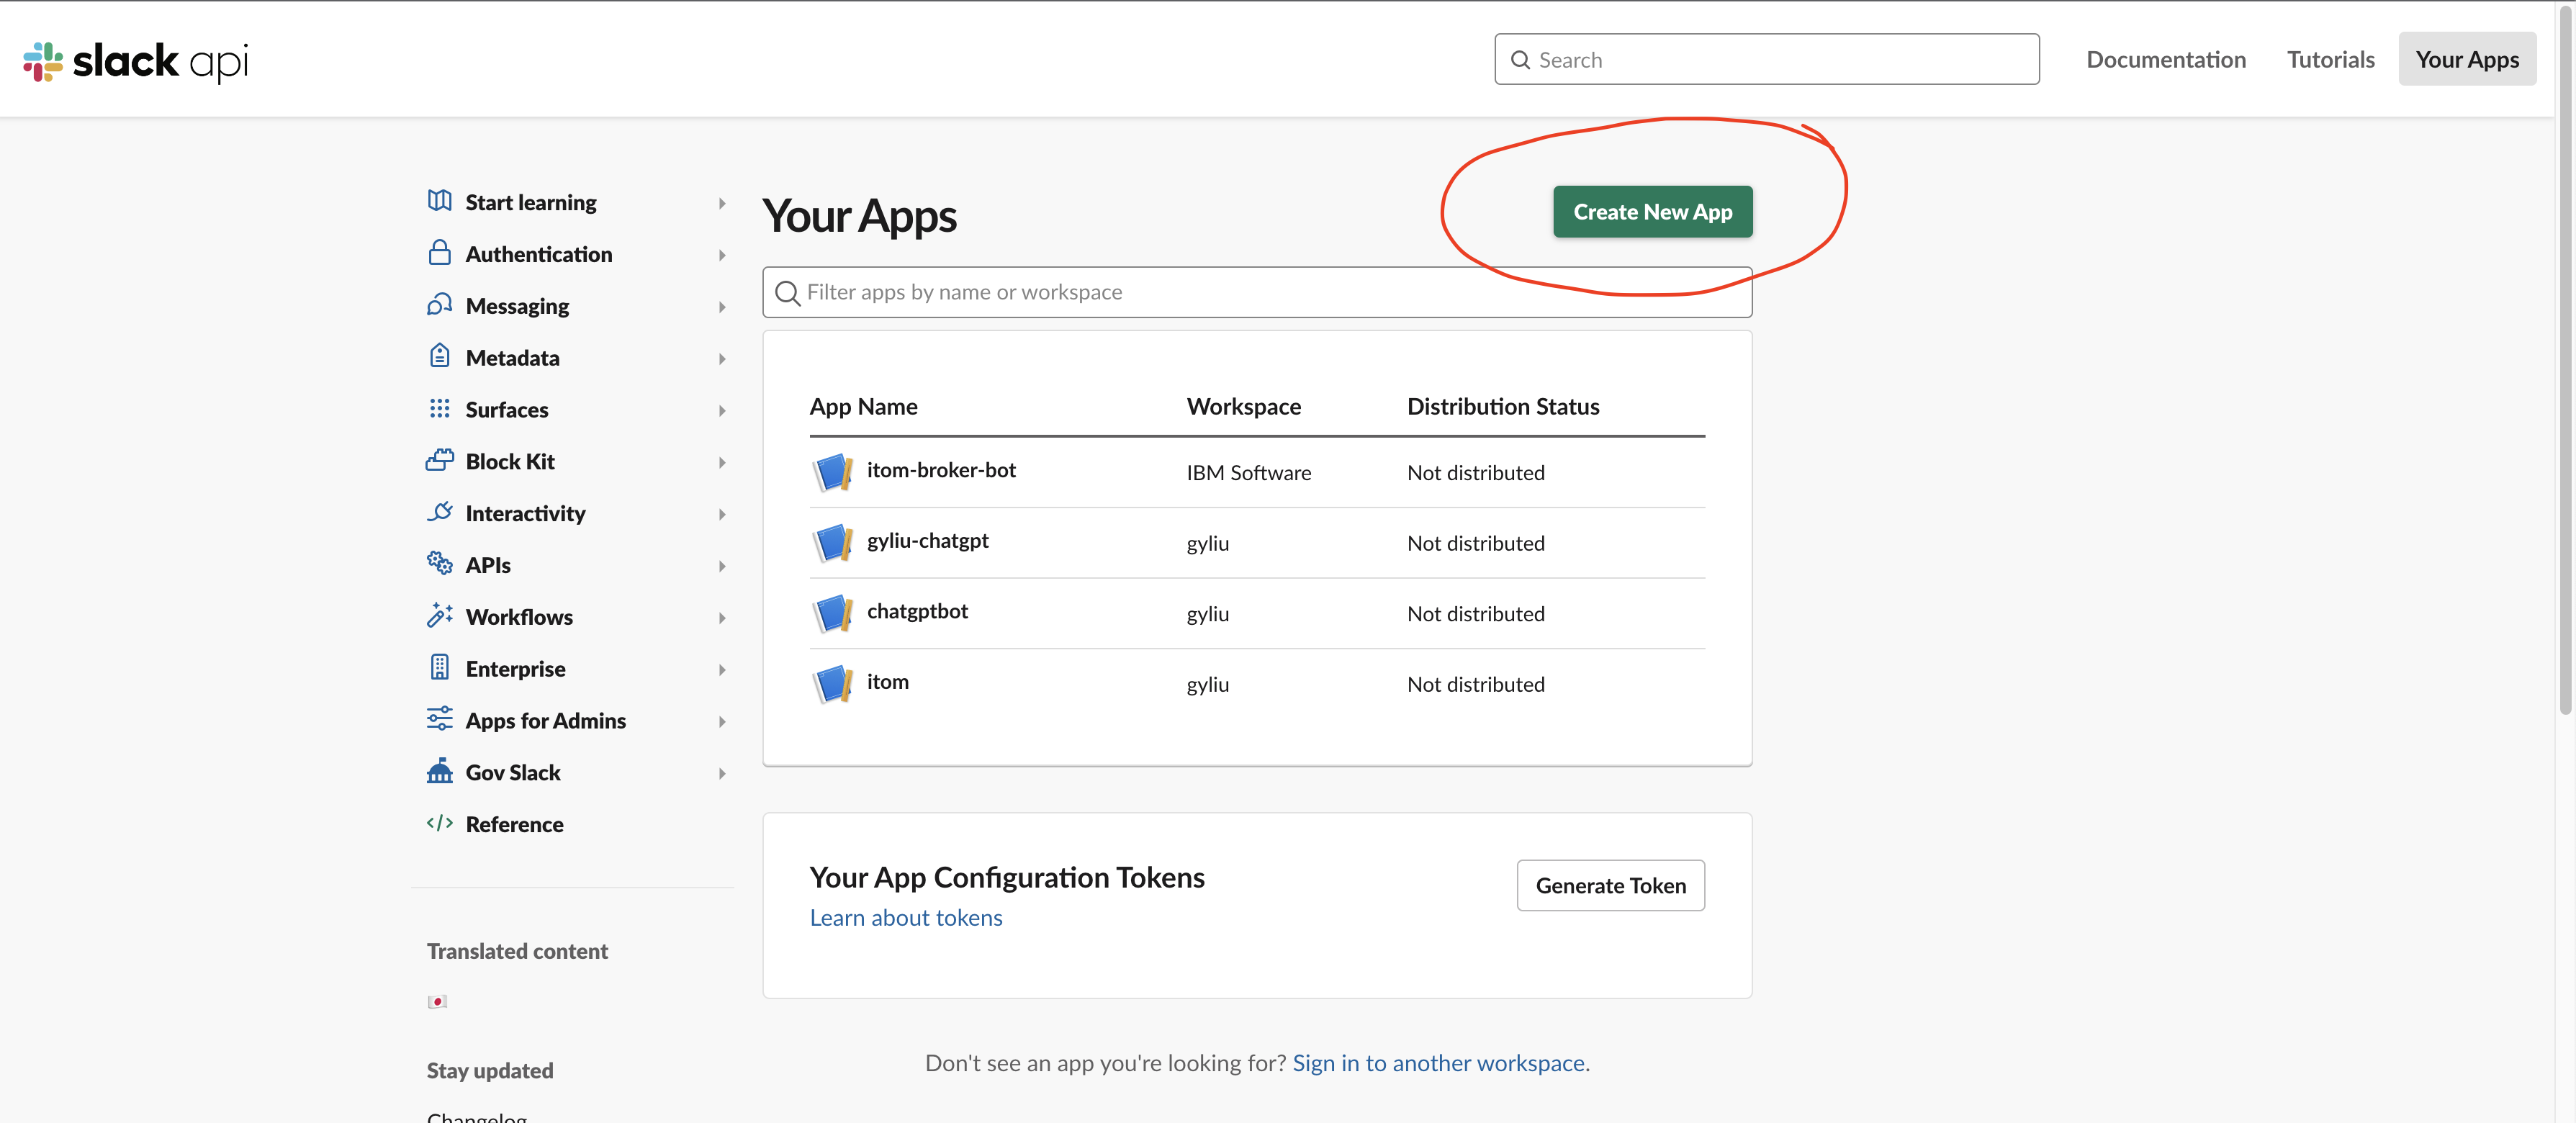
- Click on
Create New App.
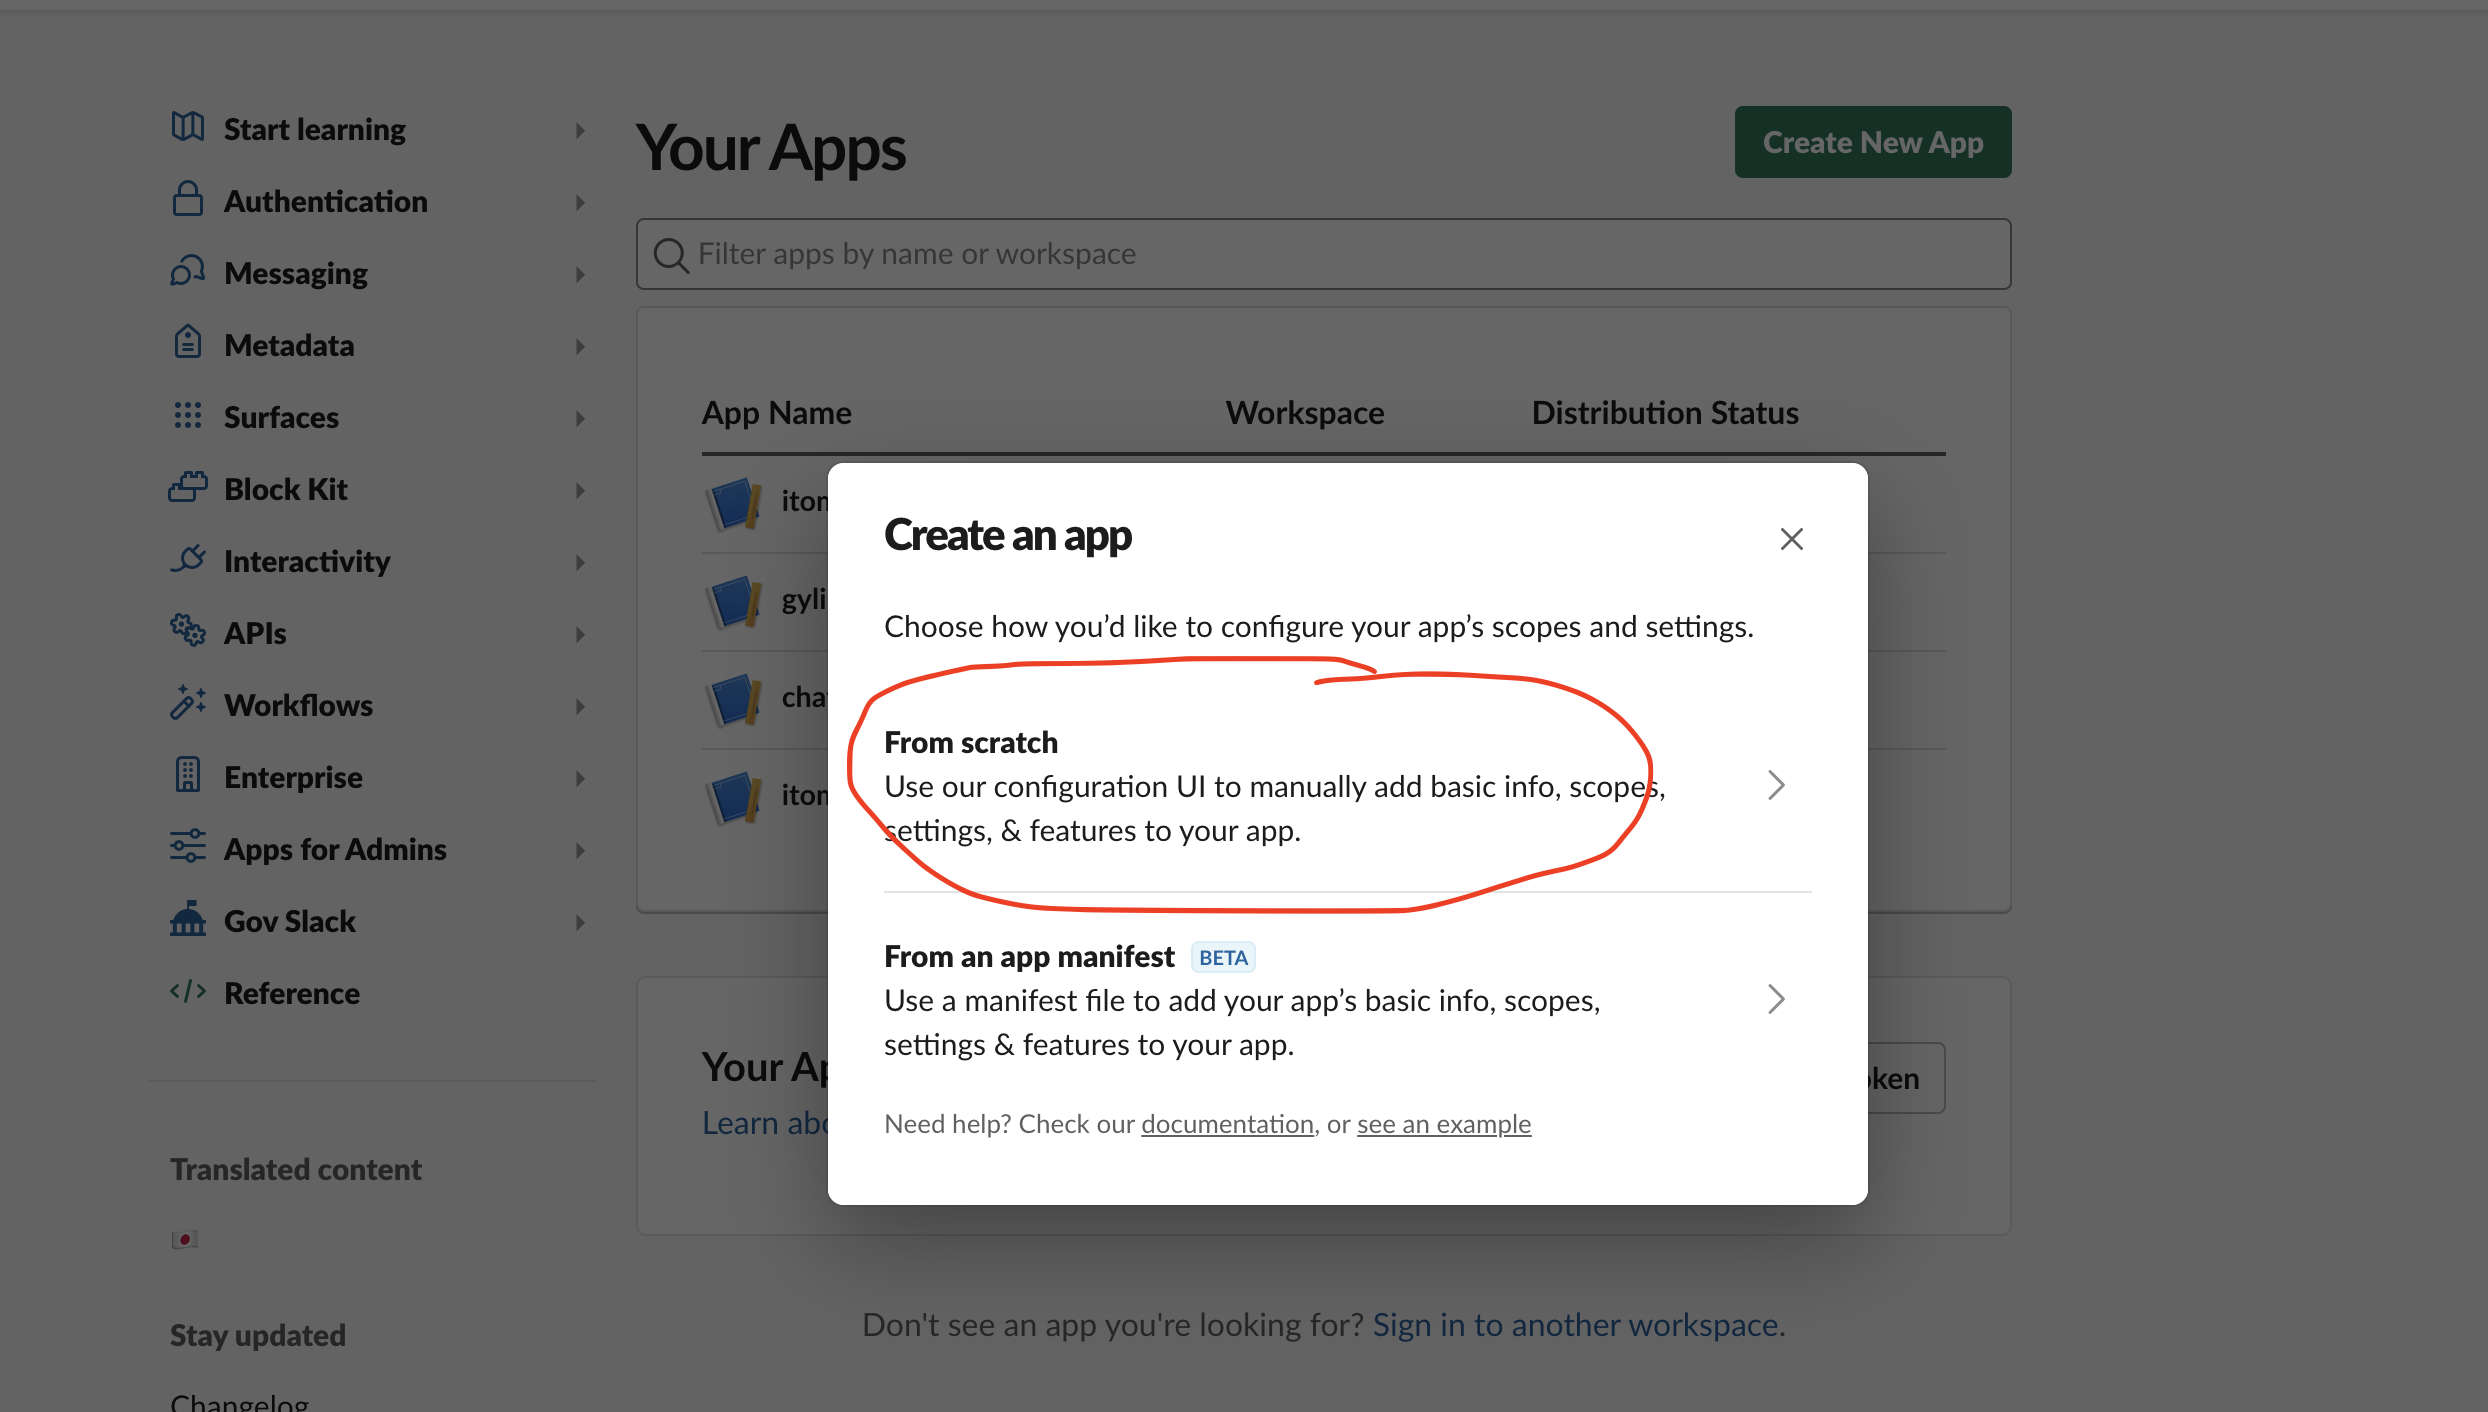
- Click on
From scratch.
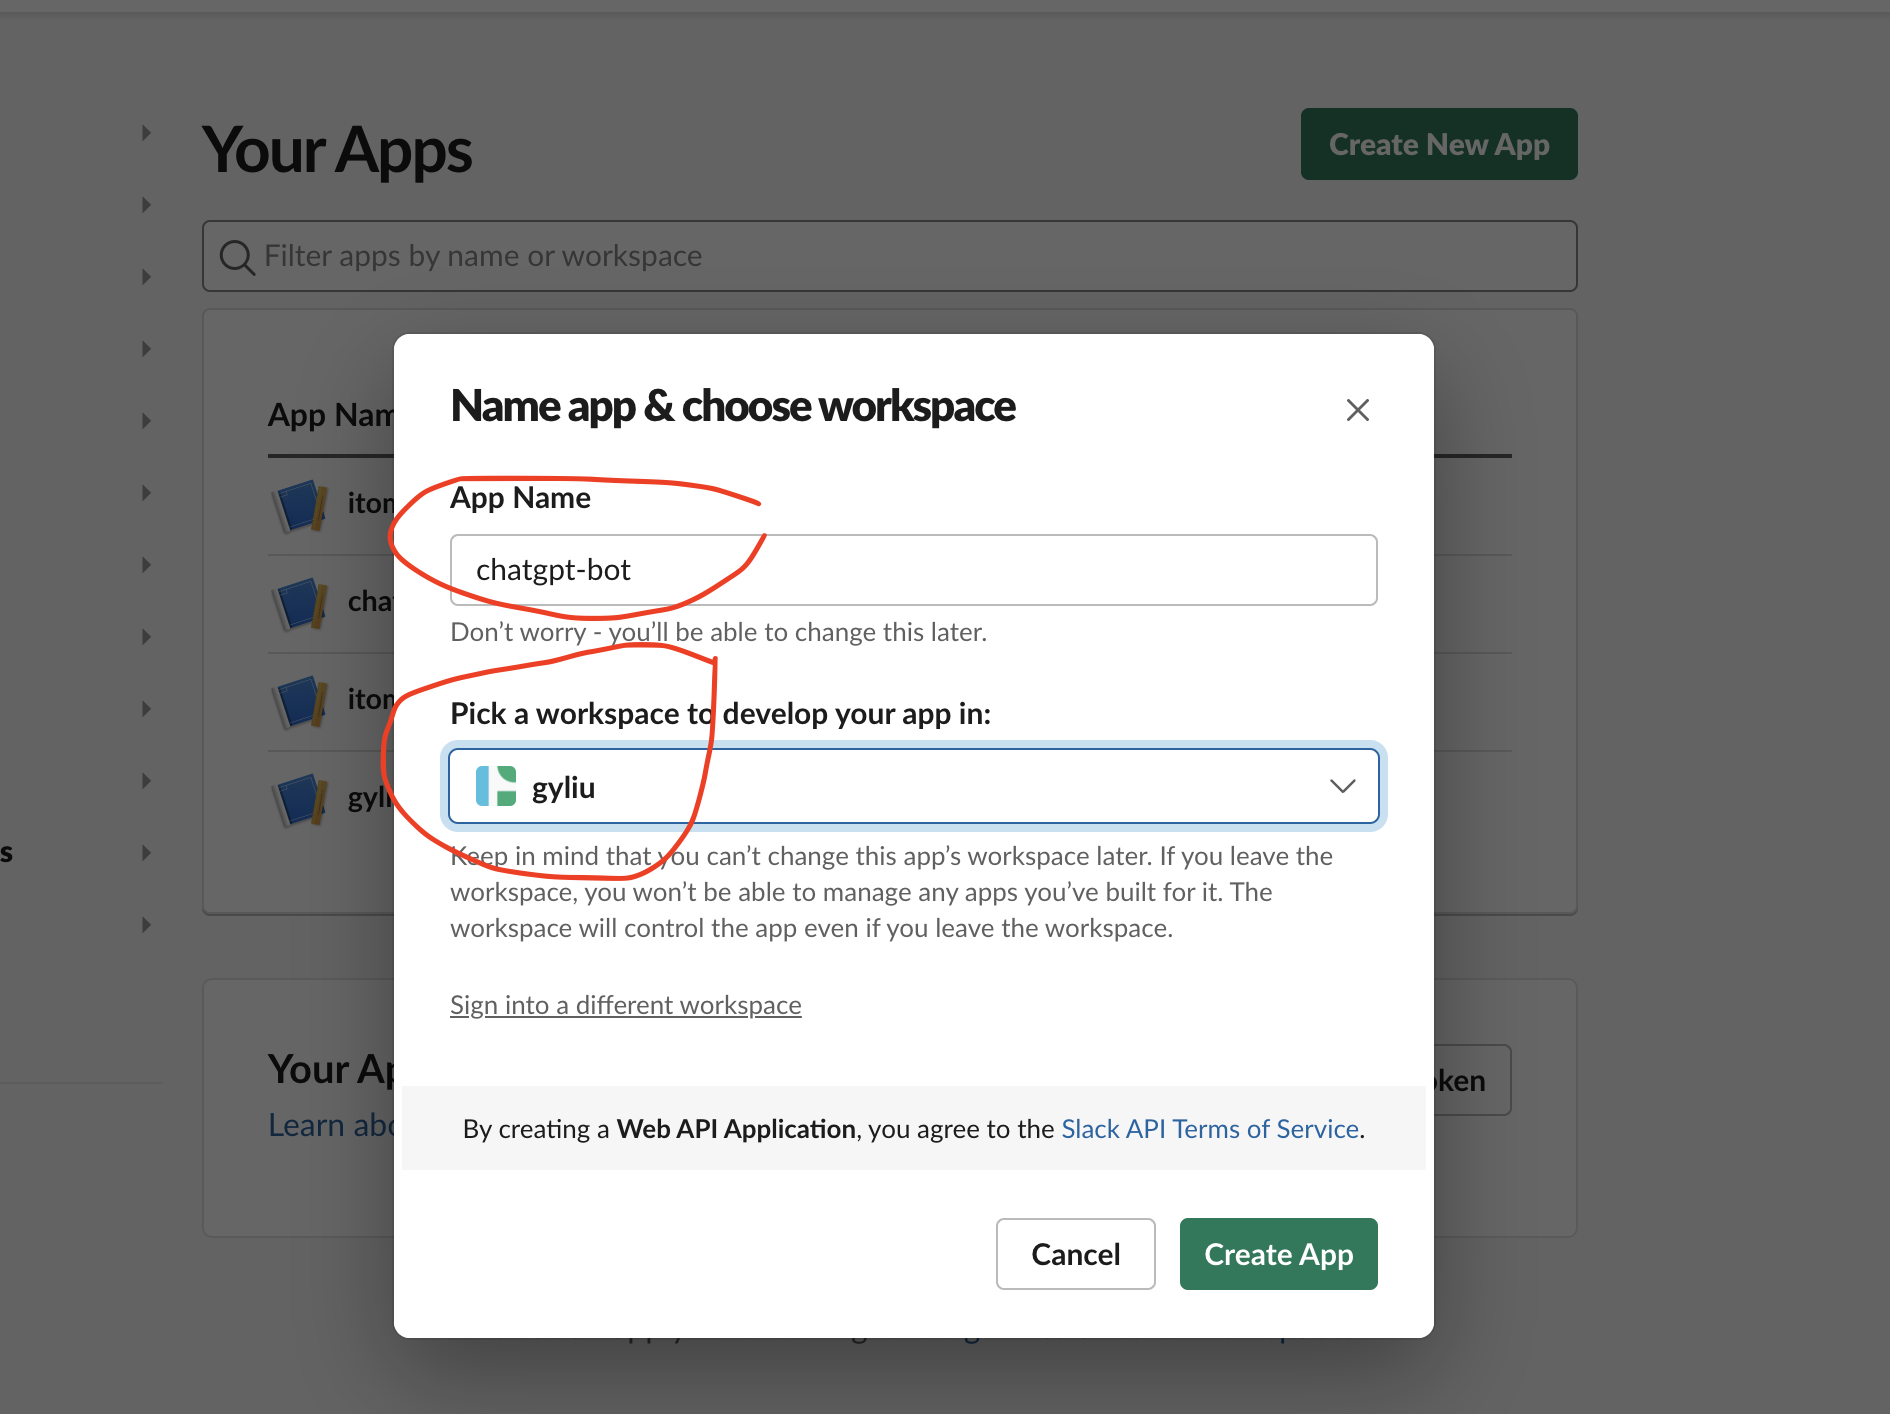
- Now give your app name and select workspace then click on the
Create Appbutton. In this tutorial, I was usingchatgpt-botas my app name and using a pre-created workspace named asgyliu
- Click on the
App Homebutton and click onReview Scopes to Add.
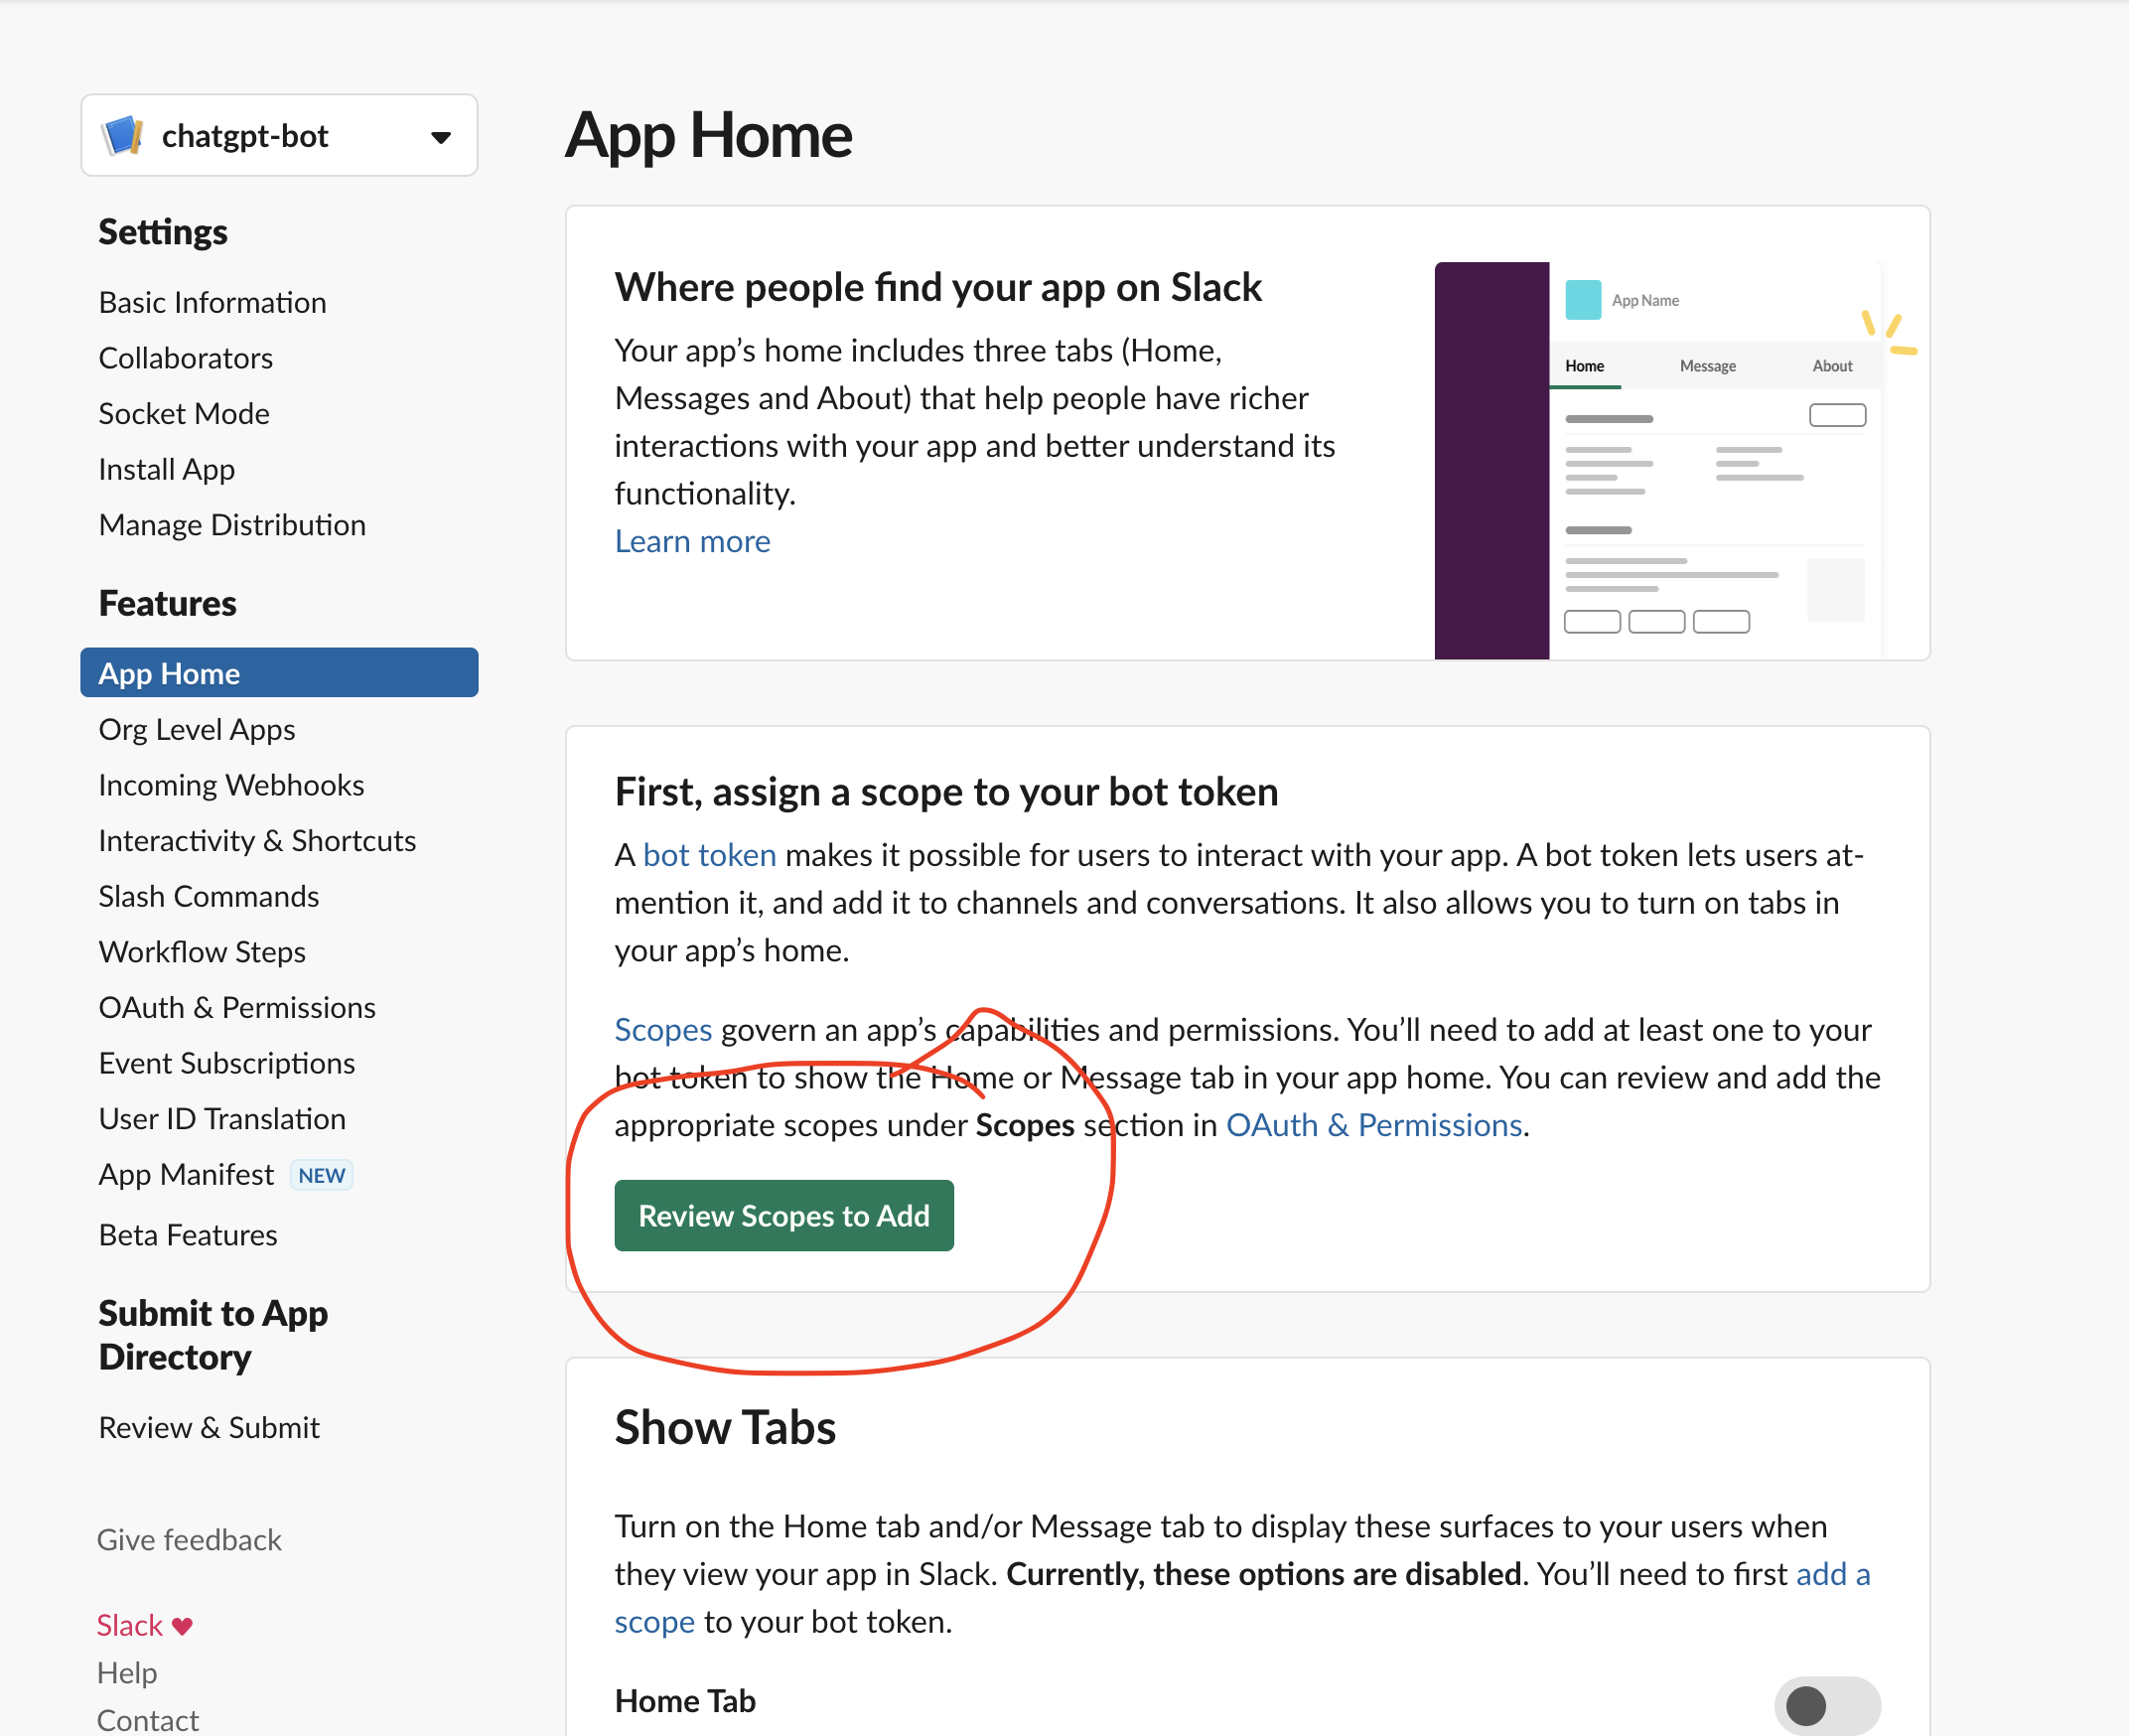
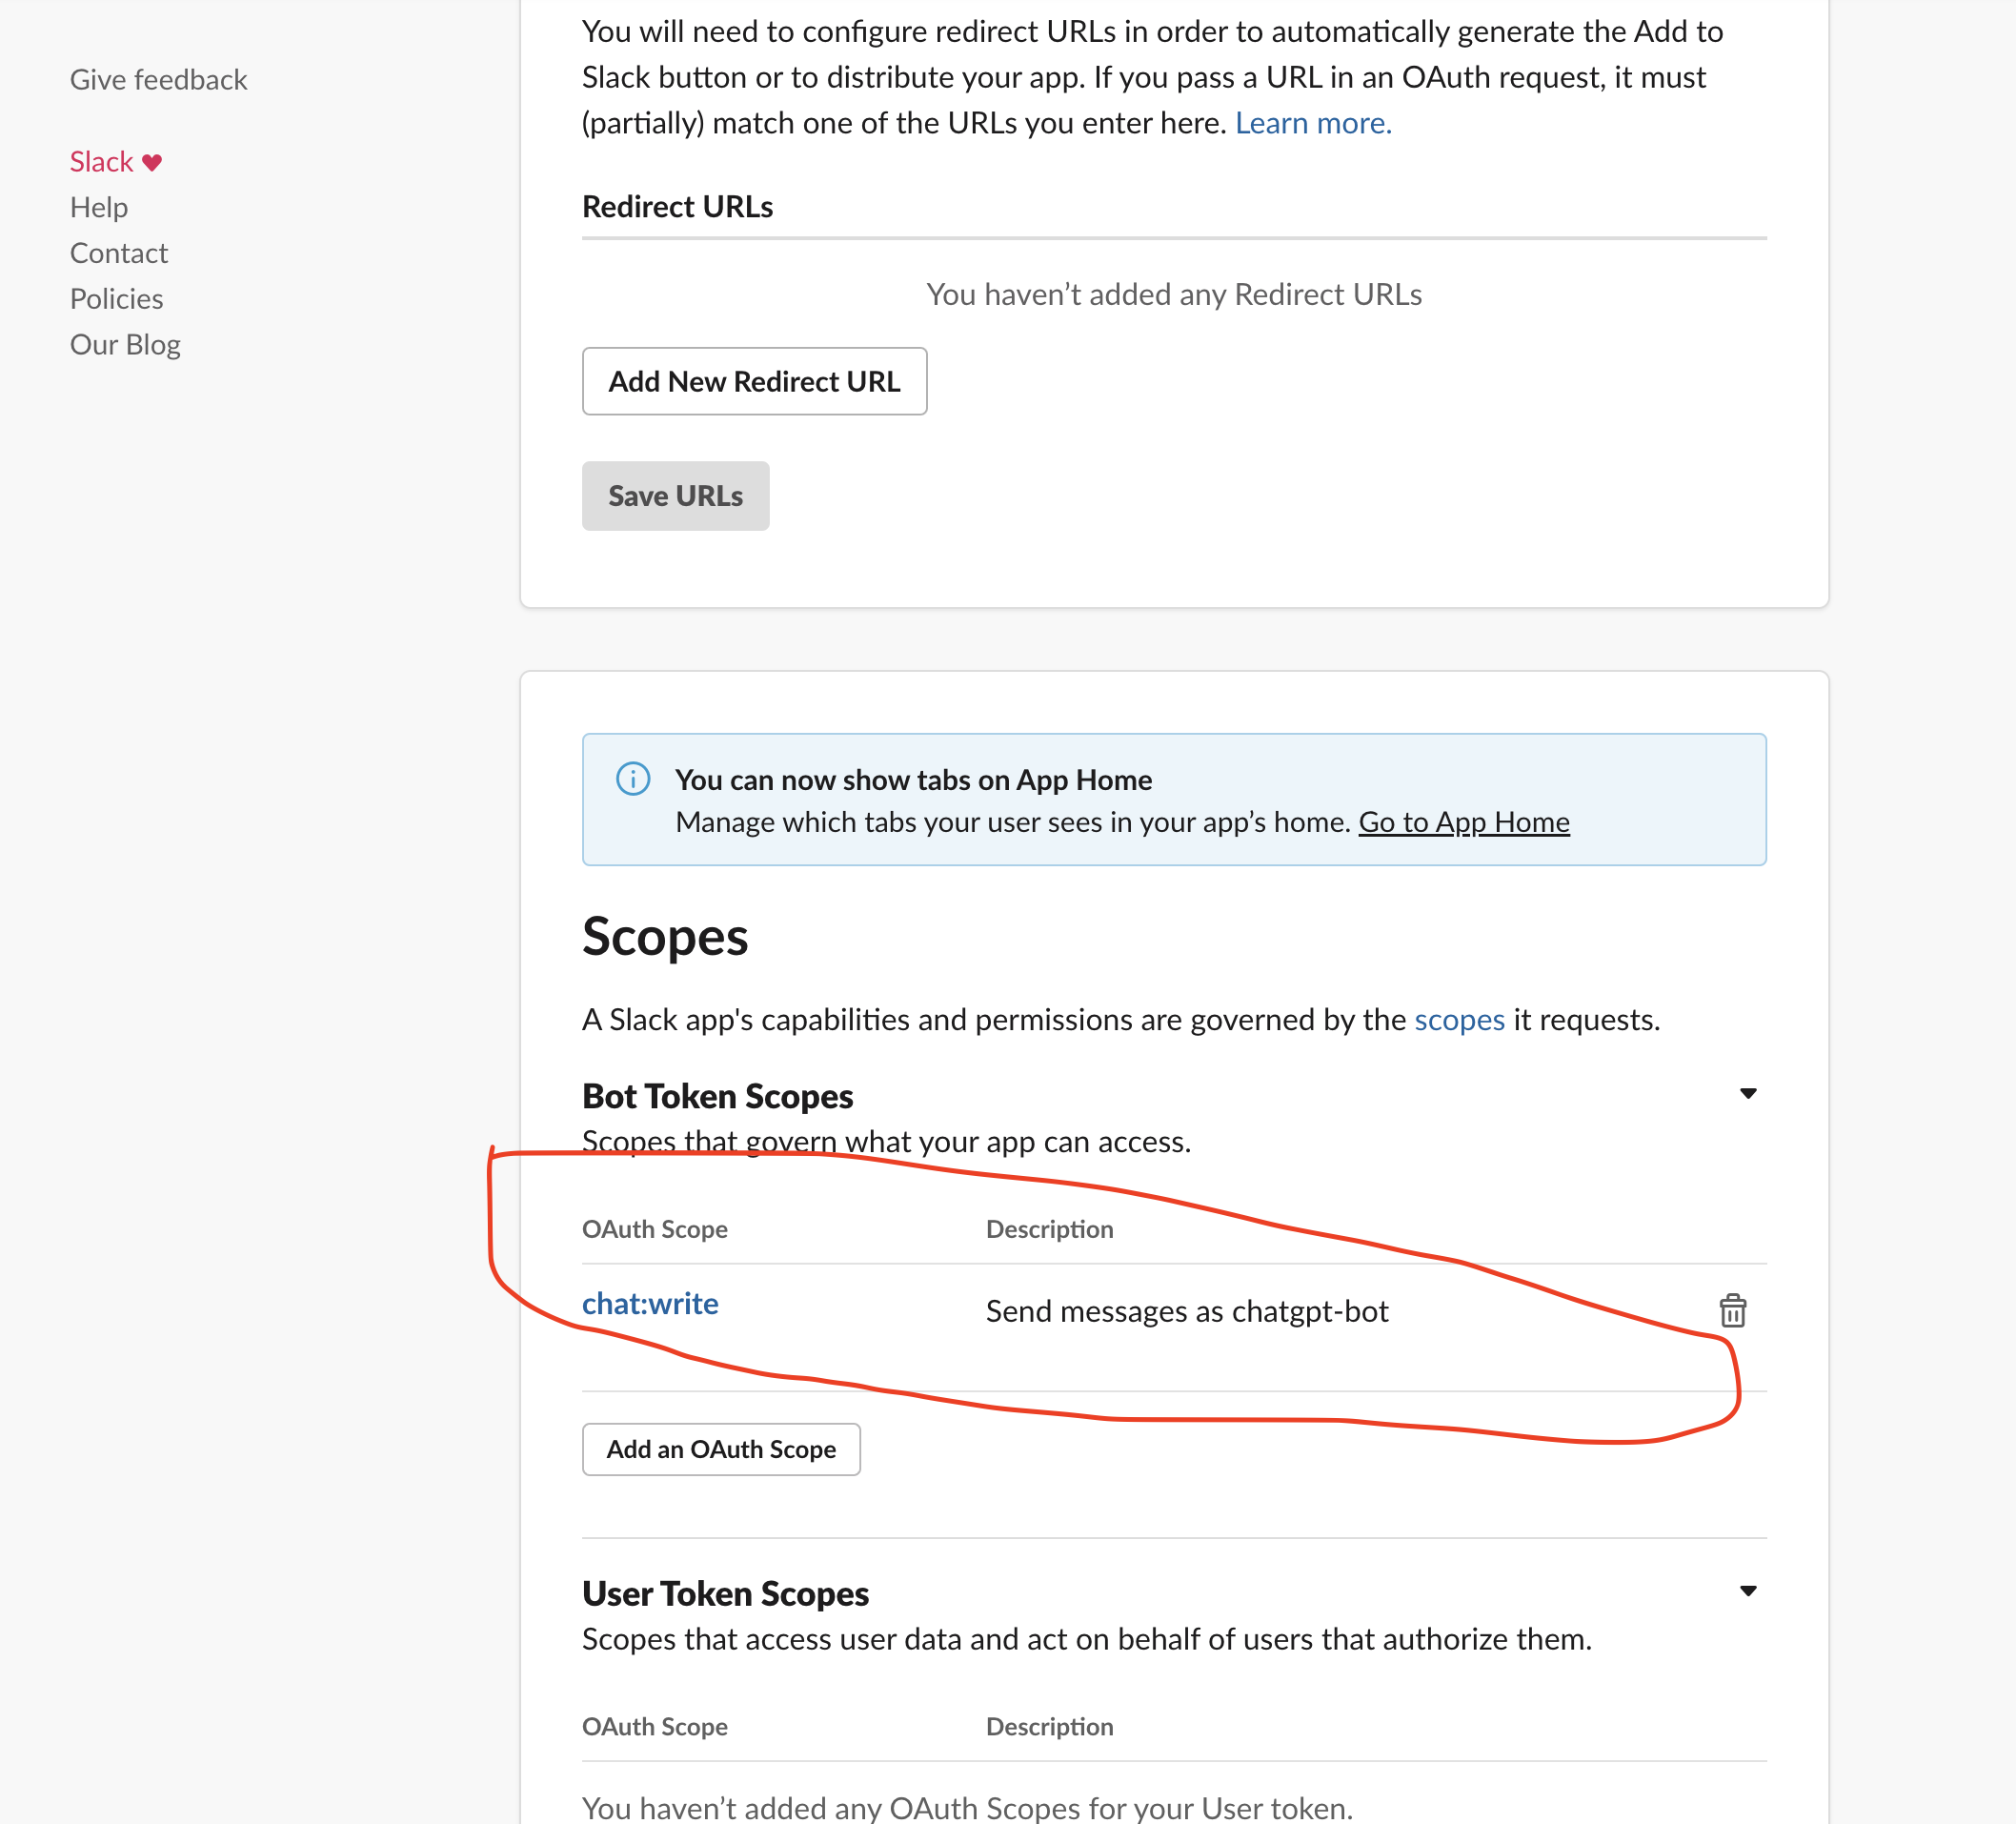
- After clicking on the
Review Scope to Addbutton, scroll down and find the Scope section. Then click on theAdd an OAuth ScopesButton underBot Token Scopesand addchat: writeas shown in the below image.
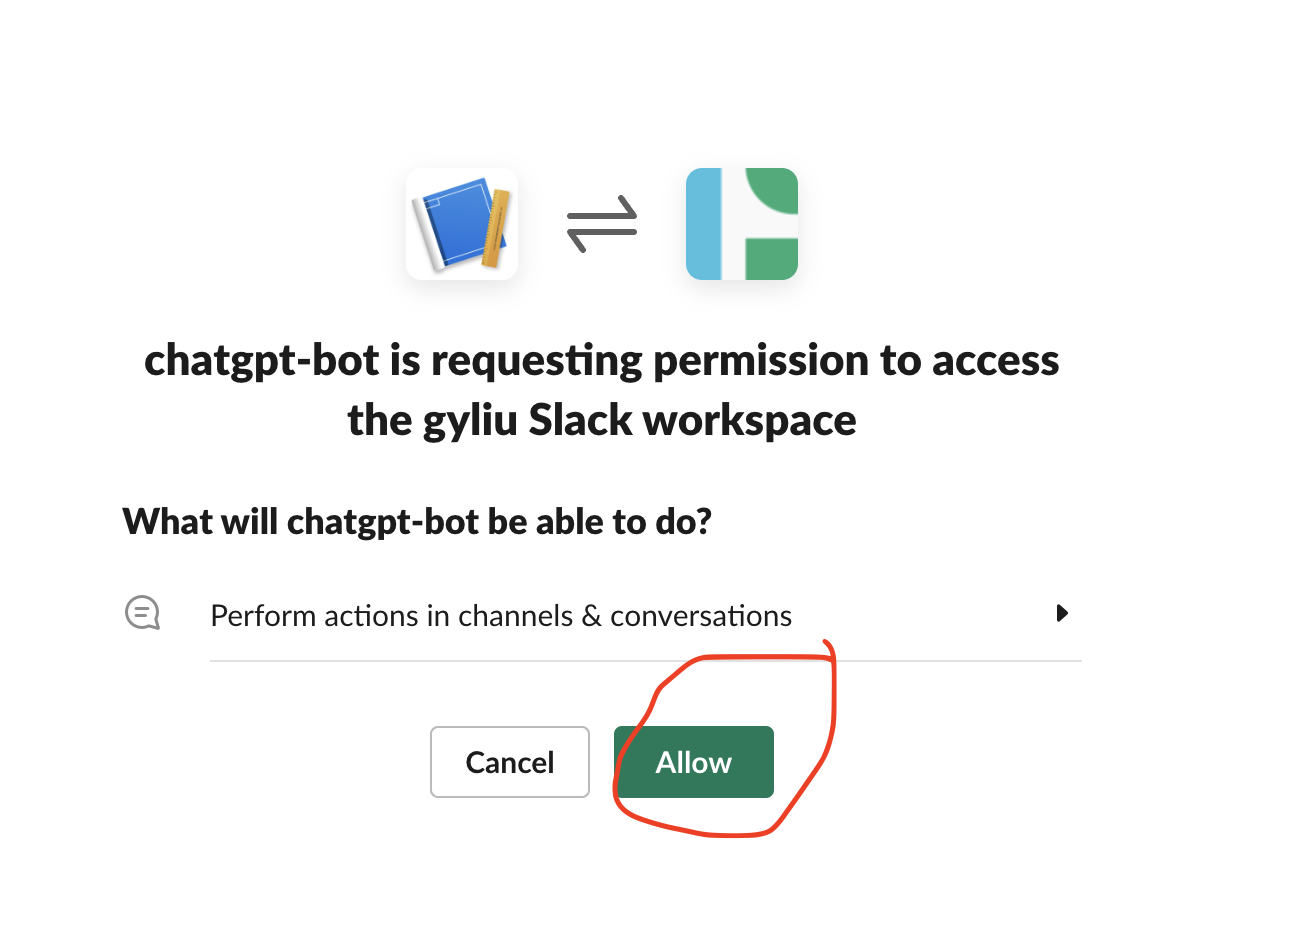
- Now click on
Install to Workspaceand press onAllowto generate an OAuth token.
- Invite the
chatgpt-botto the channel ofchatgptwhich was under the workspace ofgyliu
/invite @chatgpt-bot

- Install slack sdk
pip install slack_sdk
Test Slack Bot
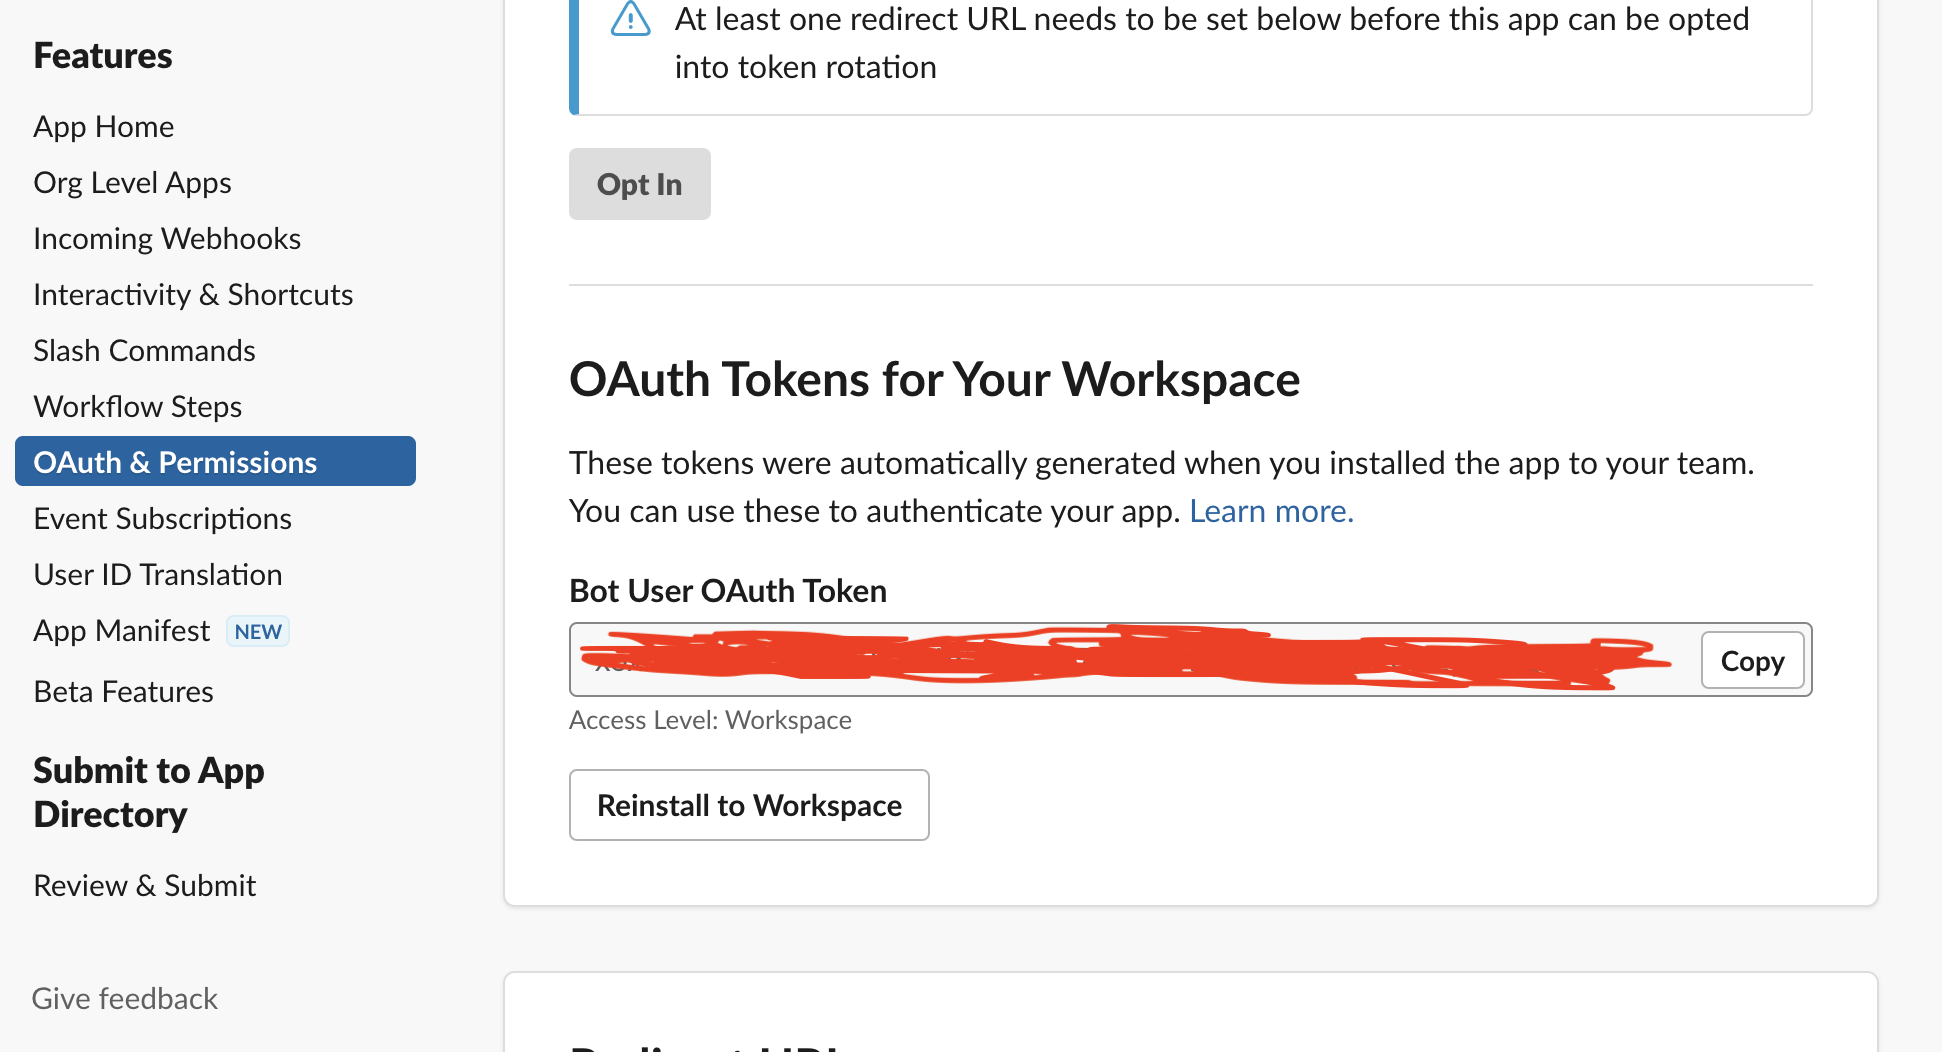
- Create a python file
slack-post.pyand copy the aboveOAuth Tokenand paste it into theslack-post.pyfile as shown below.
from slack_sdk import WebClient
import ssl
ssl._create_default_https_context = ssl._create_unverified_context
SLACK_TOKEN="Your SLACK Token"
client = WebClient(token=SLACK_TOKEN)
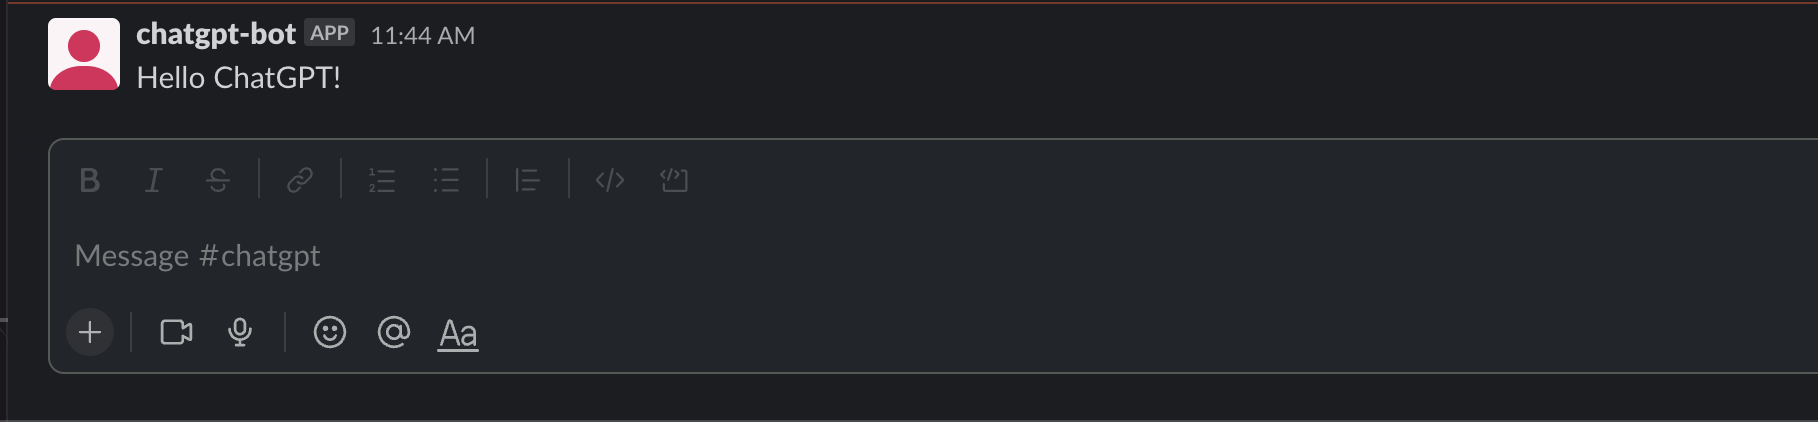
client.chat_postMessage(channel='#chatgpt',text='Hello ChatGPT!')
- Run slack-post.py, this python script will post a messgae
Hello ChatGPT!to slack channel.
Enable Event Interaction for Slack Bot
-
Now we will see how we can respond to the
himessage from the user with a “Hello ChatGPT from Slack Event!” message from the bot. -
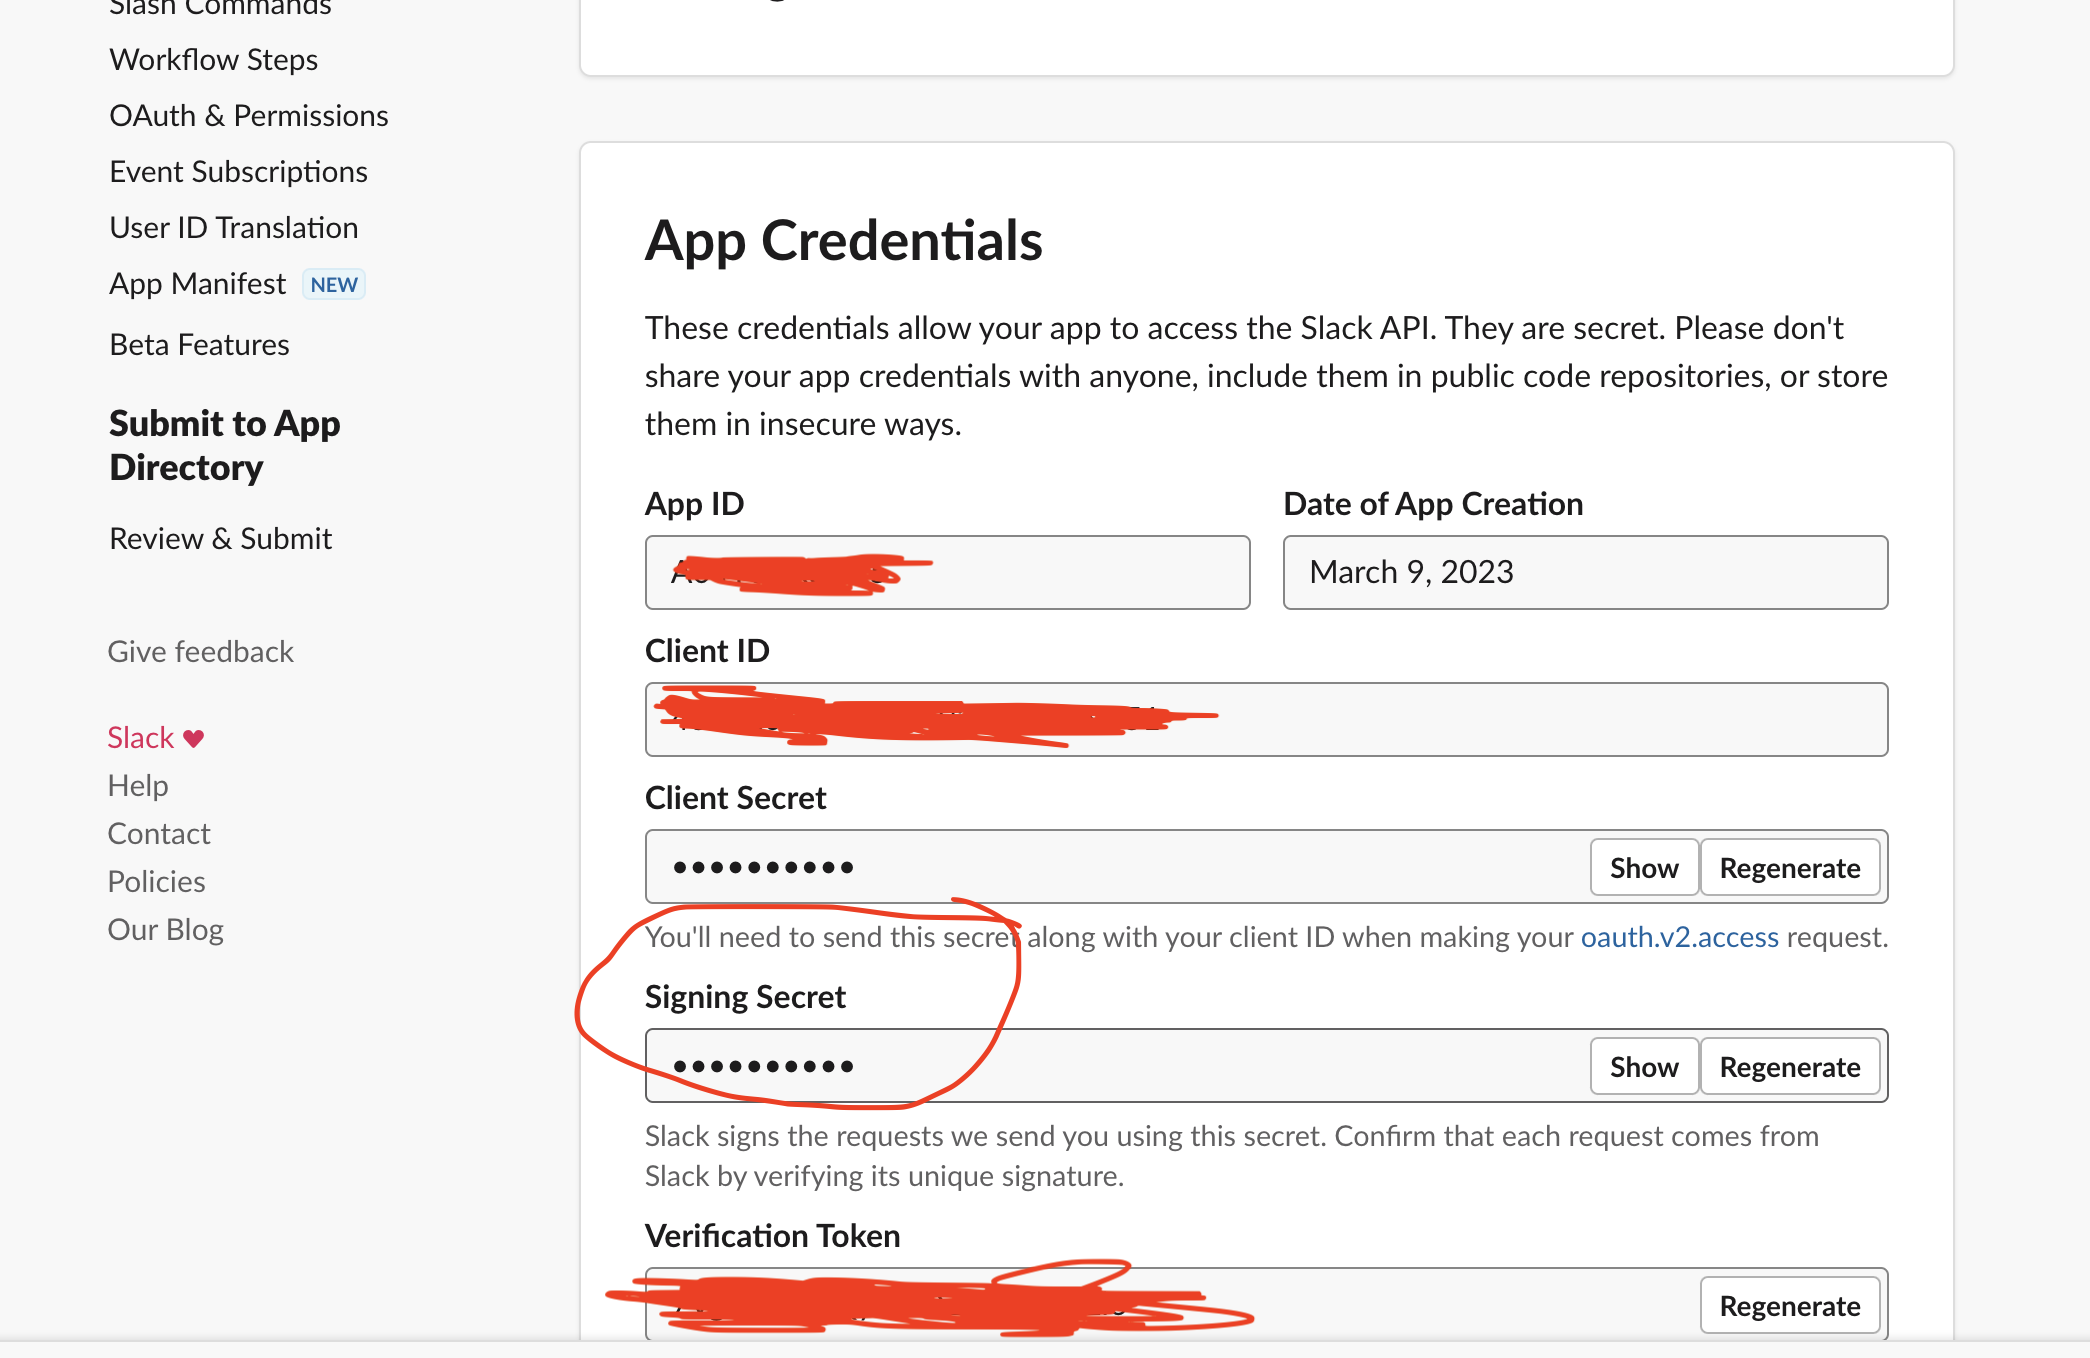
Go to the Slack Developer Console. In that go to
Basic Informationin the left panel, then scroll down toSigning Secretcopy it, and copy it for the following code.
- Create a python file
slack-event-interaction.pyas follows, update theSIGNING_SECRETandSLACK_TOKENbased on your configuration.
from slack_sdk import WebClient

from flask import Flask
from slackeventsapi import SlackEventAdapter

import ssl
ssl._create_default_https_context = ssl._create_unverified_context

SIGNING_SECRET="Your Signing Secret"
SLACK_TOKEN="Your SLACK Token"

app = Flask(__name__)
slack_event_adapter = SlackEventAdapter(SIGNING_SECRET, '/slack/events', app)

client = WebClient(token=SLACK_TOKEN)

@ slack_event_adapter.on('message')
def message(payload):
    print(payload)
    event = payload.get('event', {})
    channel_id = event.get('channel')
    user_id = event.get('user')
    text = event.get('text')

    if text == "hi":
        client.chat_postMessage(channel=channel_id,text="Hello ChatGPT from Slack Event!")


if __name__ == "__main__":
    app.run(debug=True, port=3001)
- Install some packages as follows:
pip install flask
pip install slackeventsapi
- Run
slack-event-interaction.py, we will notice that now we will have a webserver running on http://127.0.0.1:3001/.
(venv) guangyaliu@Guangyas-MacBook-Pro-2 byo-chatgpt % python3 examples/slack-event-interaction.py
 * Serving Flask app 'slack-event-interaction' (lazy loading)
 * Environment: production
   WARNING: This is a development server. Do not use it in a production deployment.
   Use a production WSGI server instead.
 * Debug mode: on
 * Running on http://127.0.0.1:3001/ (Press CTRL+C to quit)
 * Restarting with stat
 * Debugger is active!
 * Debugger PIN: 463-003-818
- Now we will need NGROK for running that program and get the public IP address by running the code `ngrok http 3001” on NGROK and then we will get a public IP address.
ngrok                                                                                                                                                                               (Ctrl+C to quit)

Announcing ngrok-go: The ngrok agent as a Go library: https://ngrok.com/go

Session Status                online
Session Expires               1 hour, 59 minutes
Terms of Service              https://ngrok.com/tos
Version                       3.1.1
Region                        United States (us)
Latency                       41ms
Web Interface                 http://127.0.0.1:4041
Forwarding                    https://3821-24-162-248-245.ngrok.io -> http://localhost:3001

Connections                   ttl     opn     rt1     rt5     p50     p90
                              1       0       0.01    0.00    0.01    0.01

HTTP Requests
-------------

POST /slack/events             200 OK
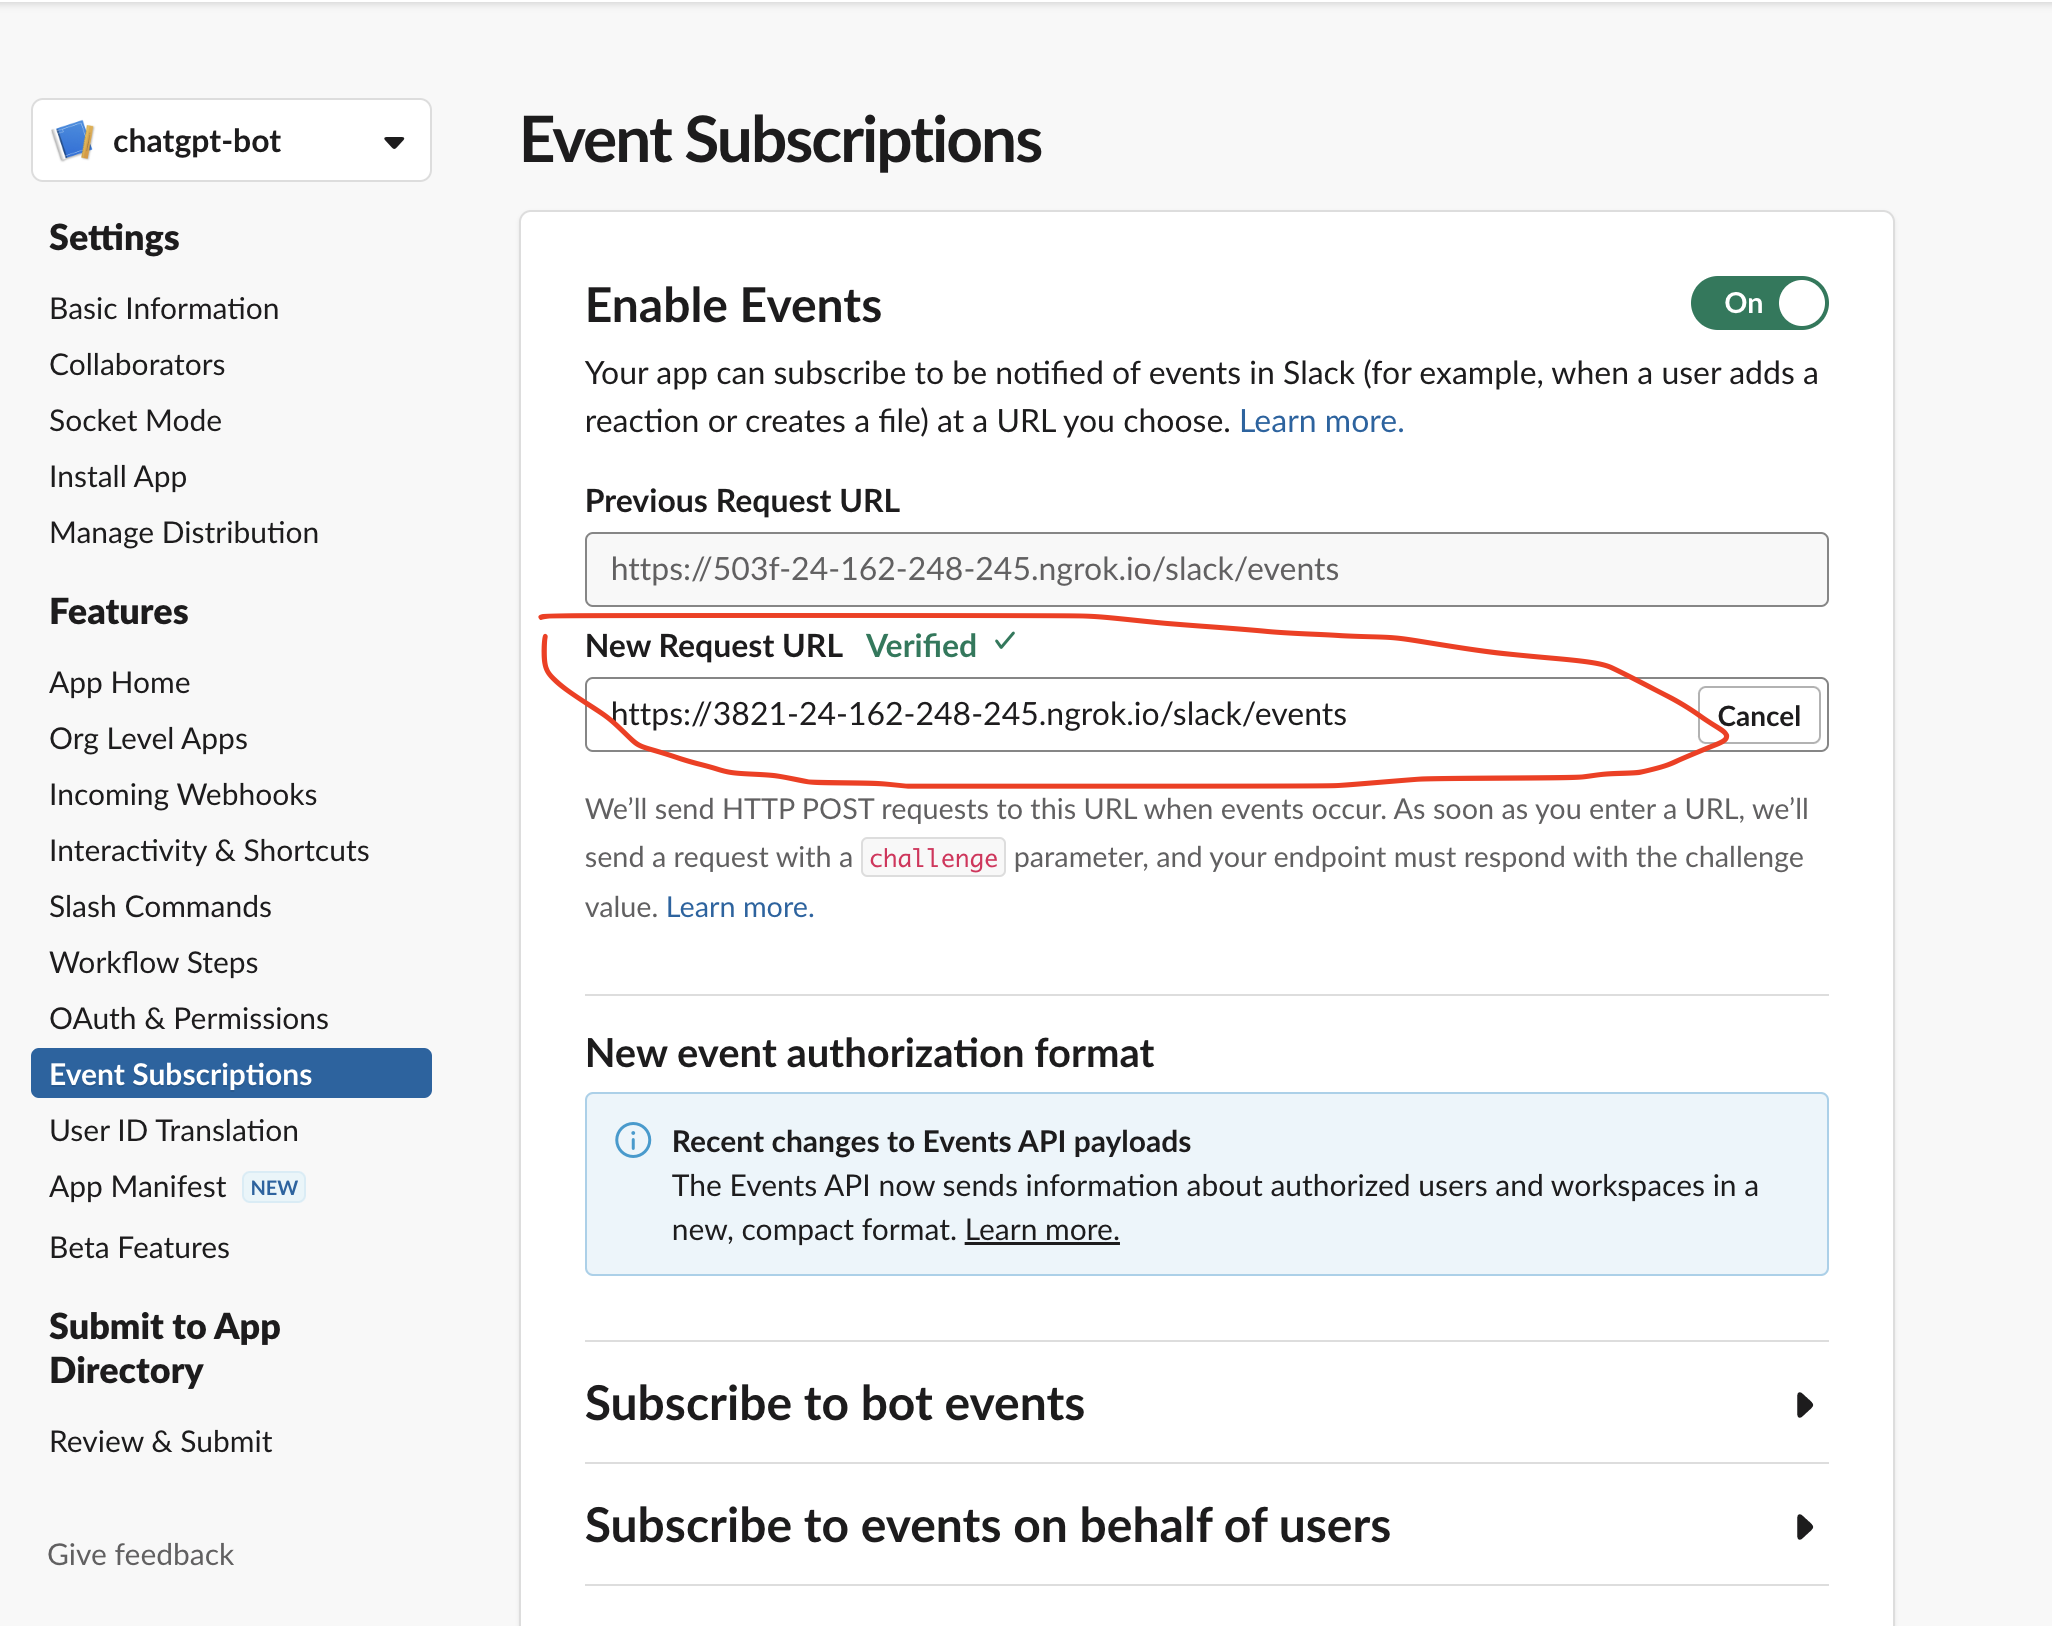
- Now we need to again go to the Slack Developer Console, then go to Event Subscription and paste Ngrok URL with the endpoint that we define in the code.
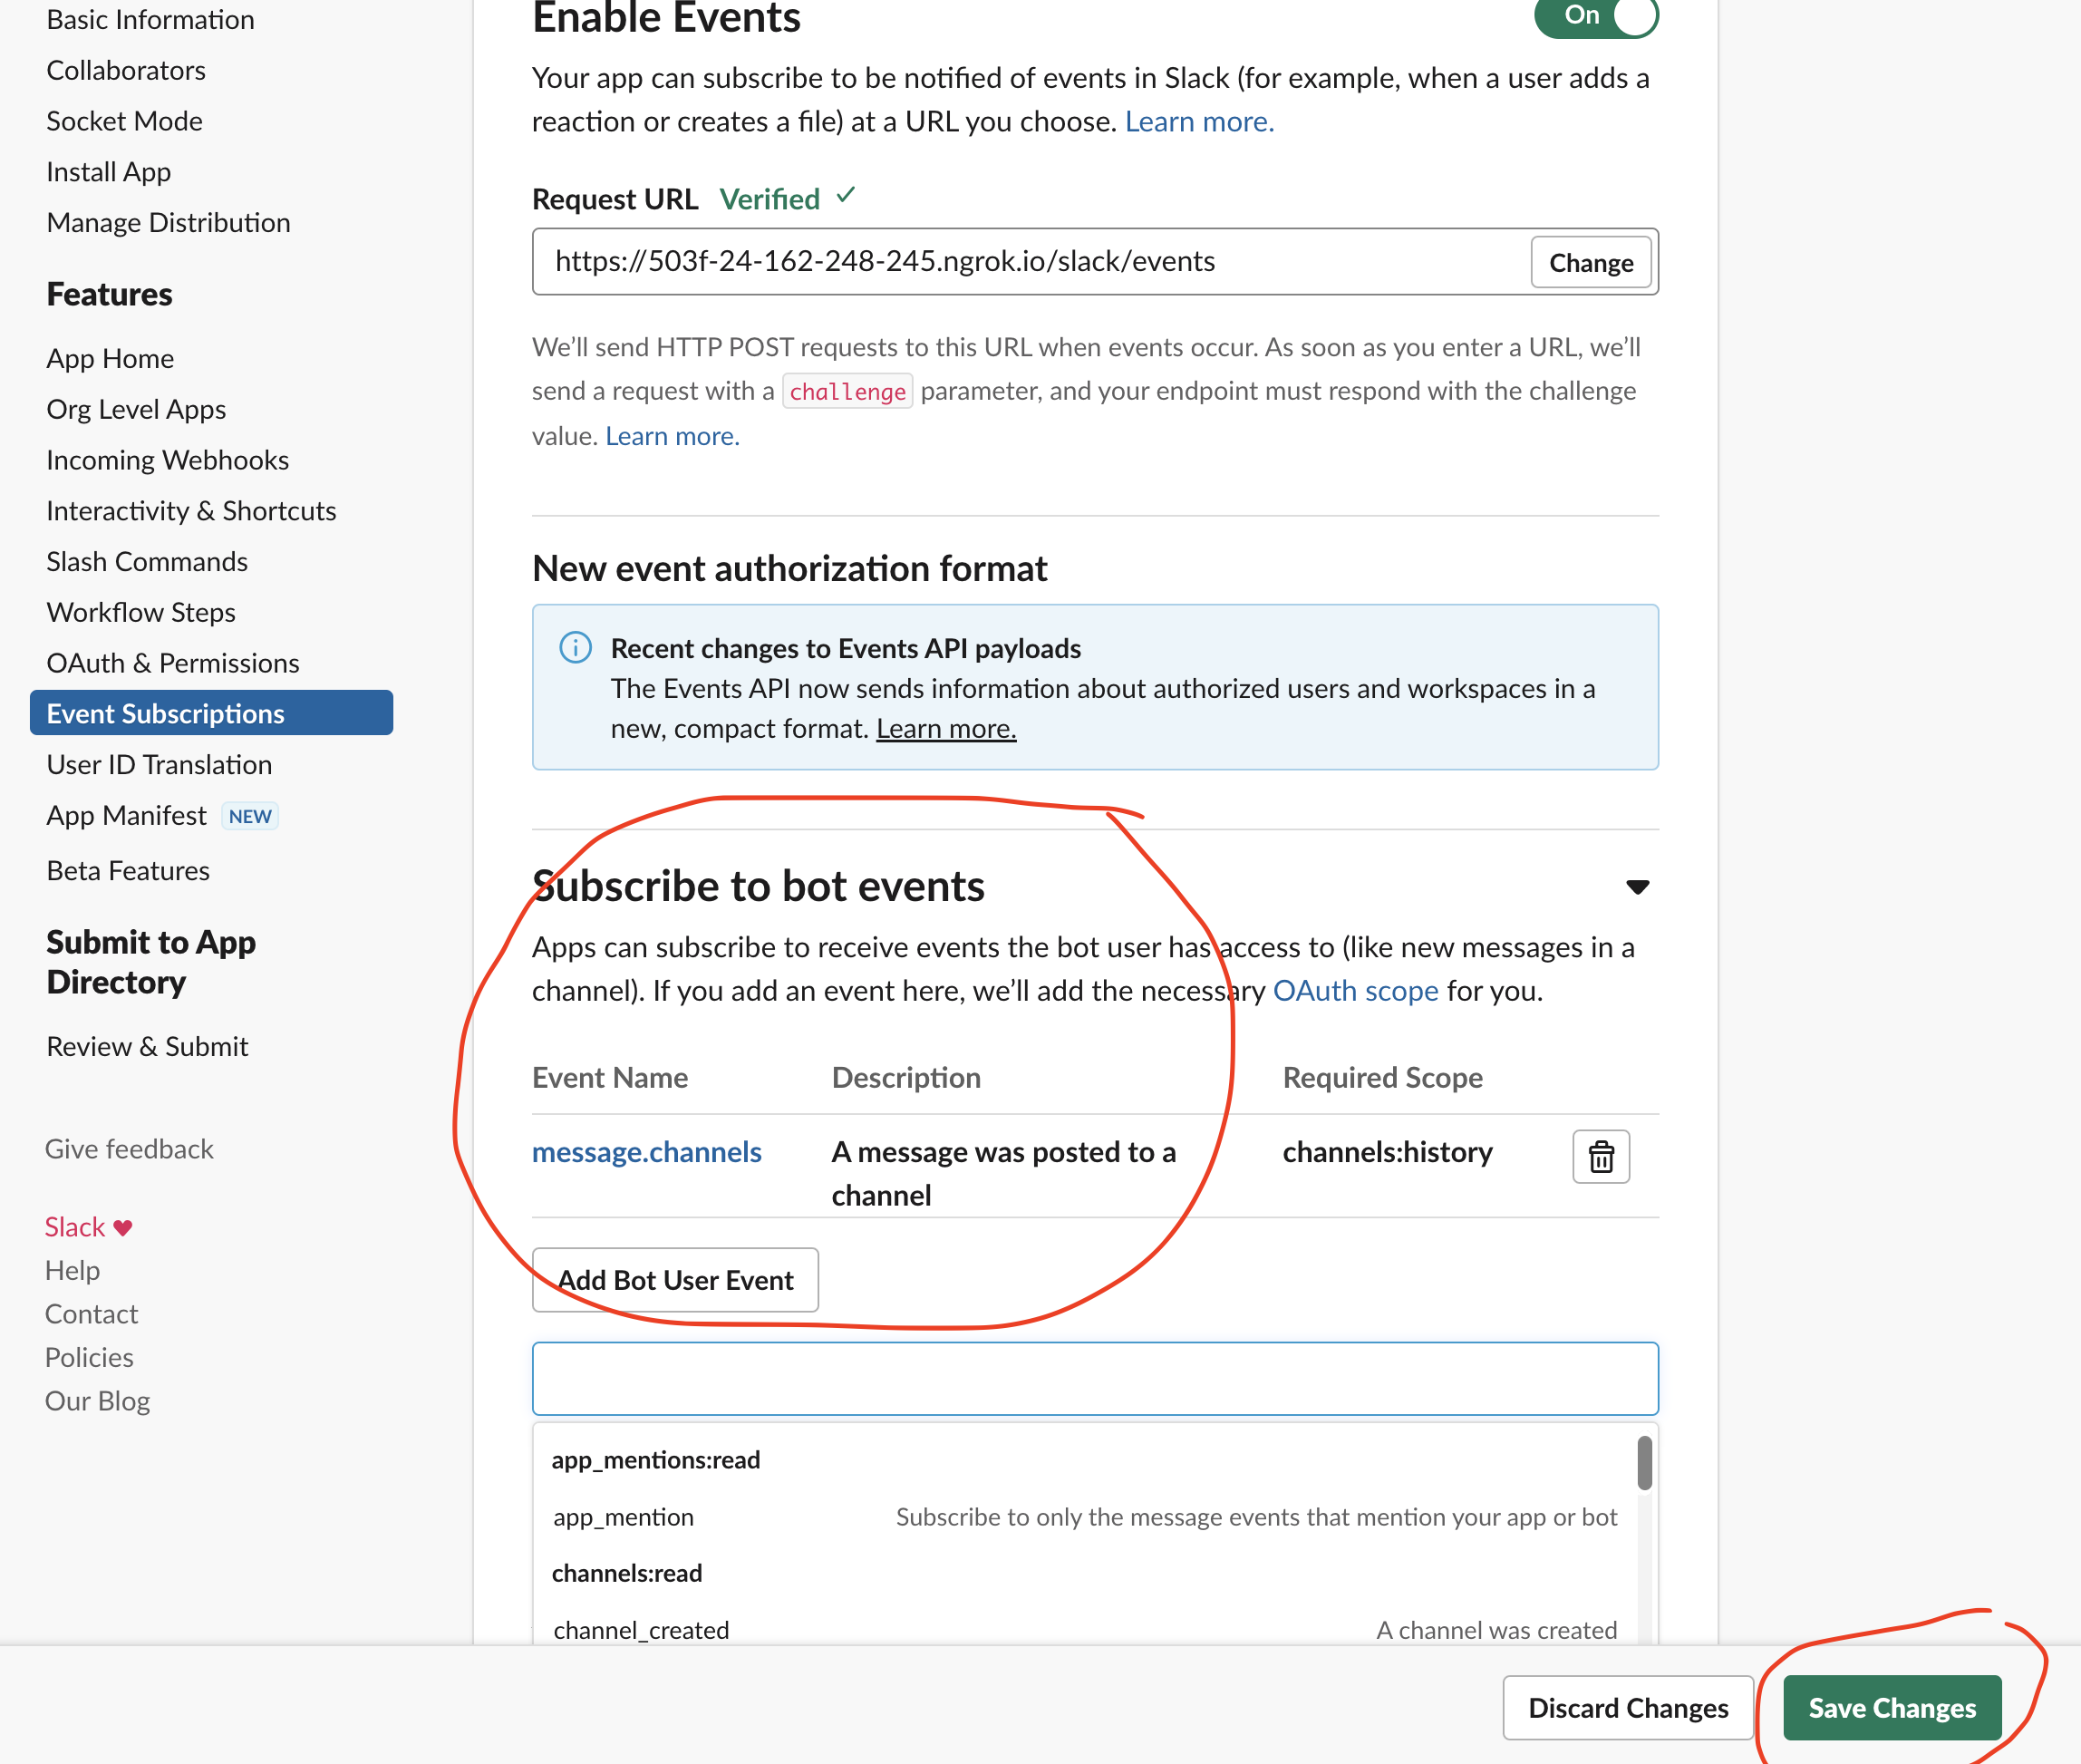
- After that scroll down and go to the
Subscribe to bot eventsthen go toAdd Bot User Eventsand then add a message. channels to it.
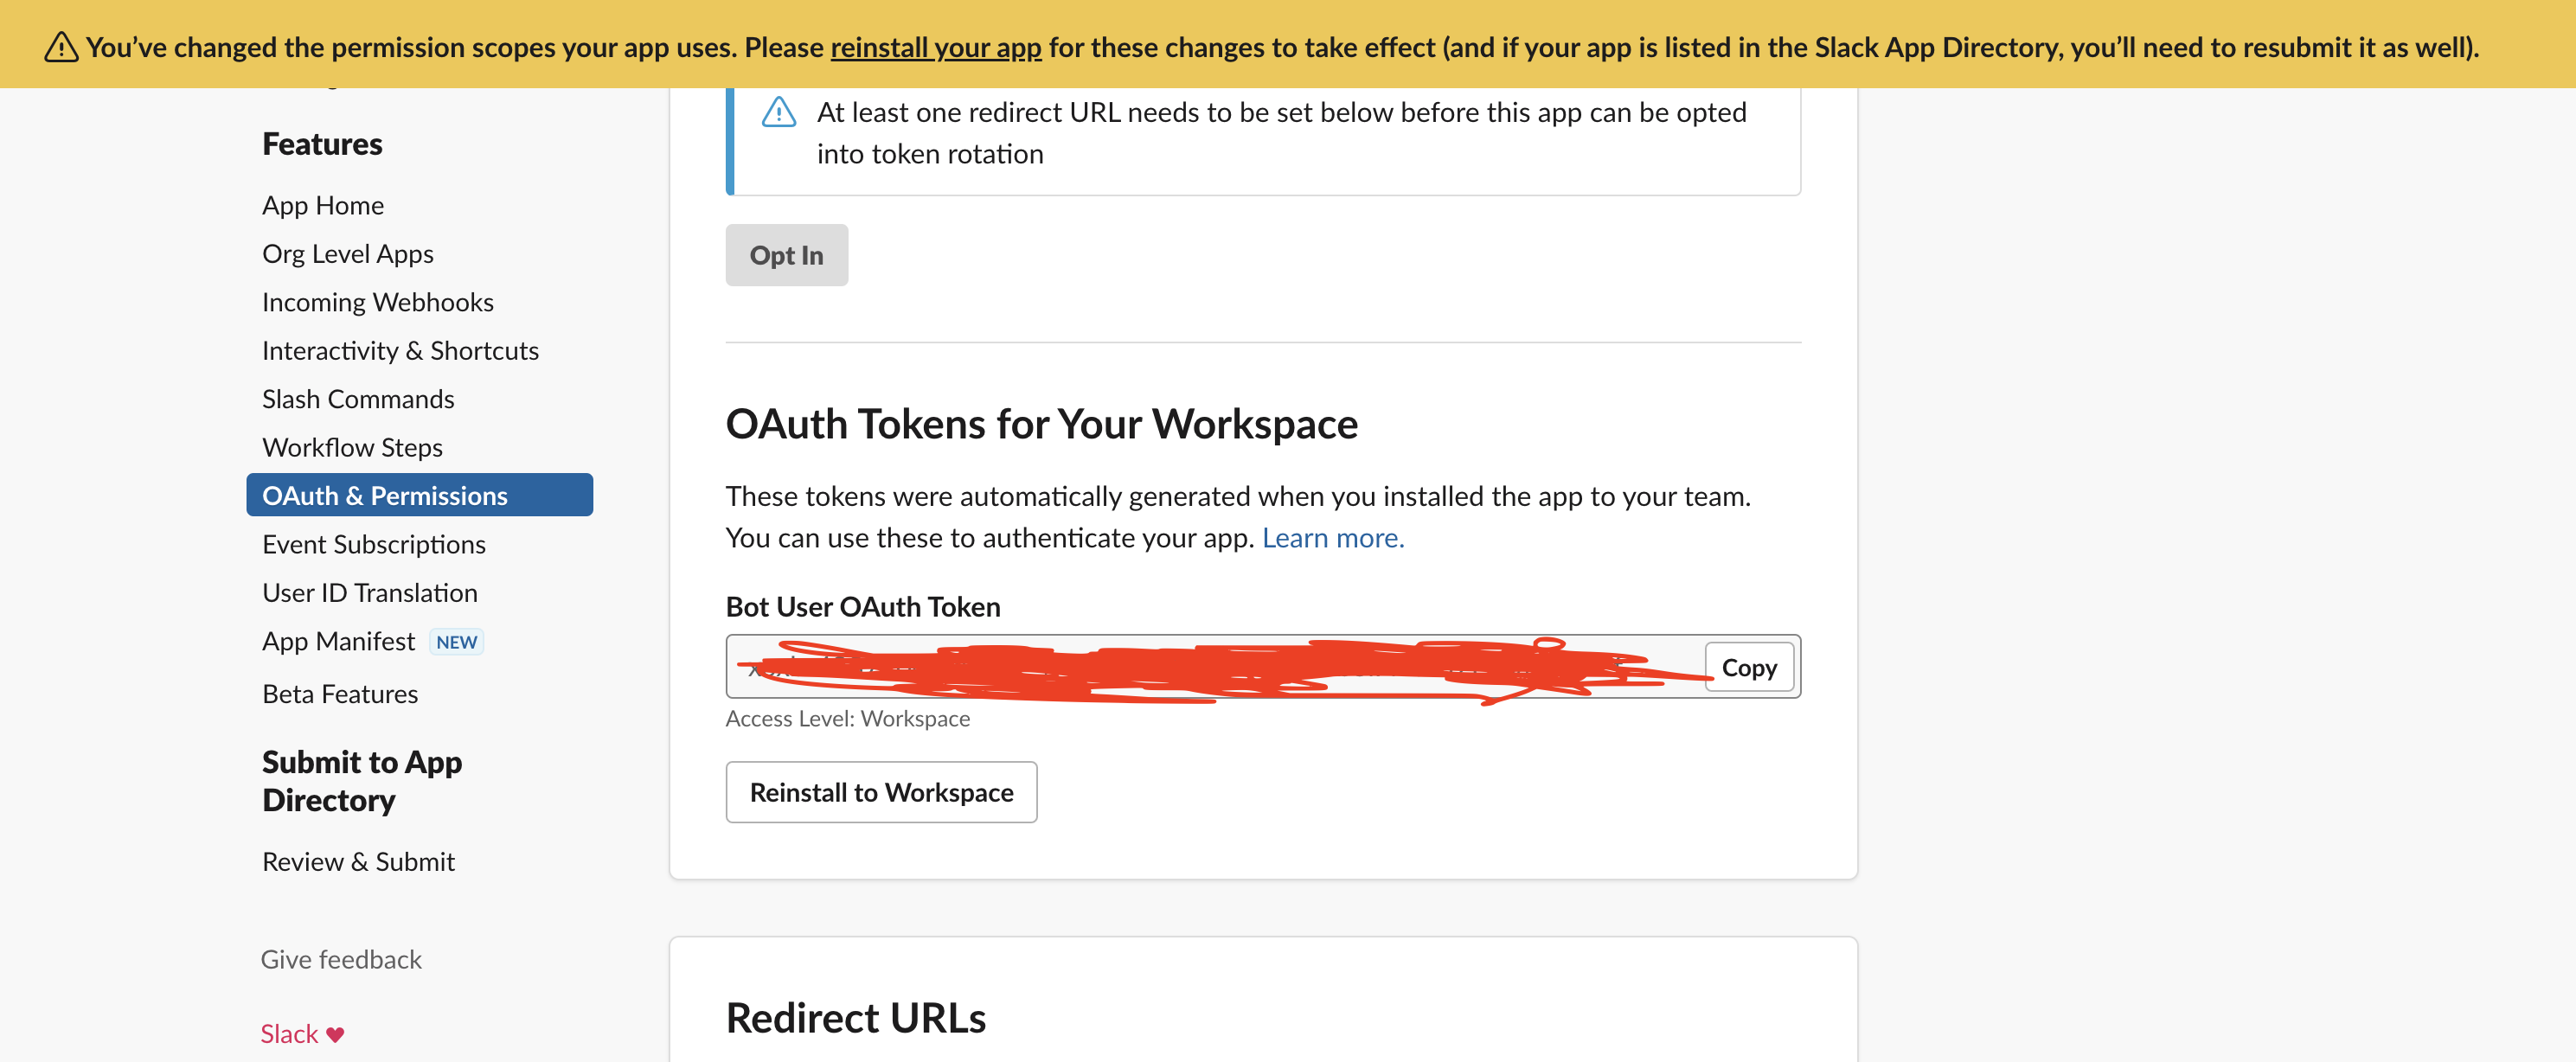
- Now Just Scroll up to
OAuth Tokens for Your Workspace. Click on Reinstall to Workspace and then click on Allow.
- Type
hiin our channel, we will get the reply “Hello ChatGPT from Slack Event!” from the bot.

Integration with OpenAI API
- Create a file named as
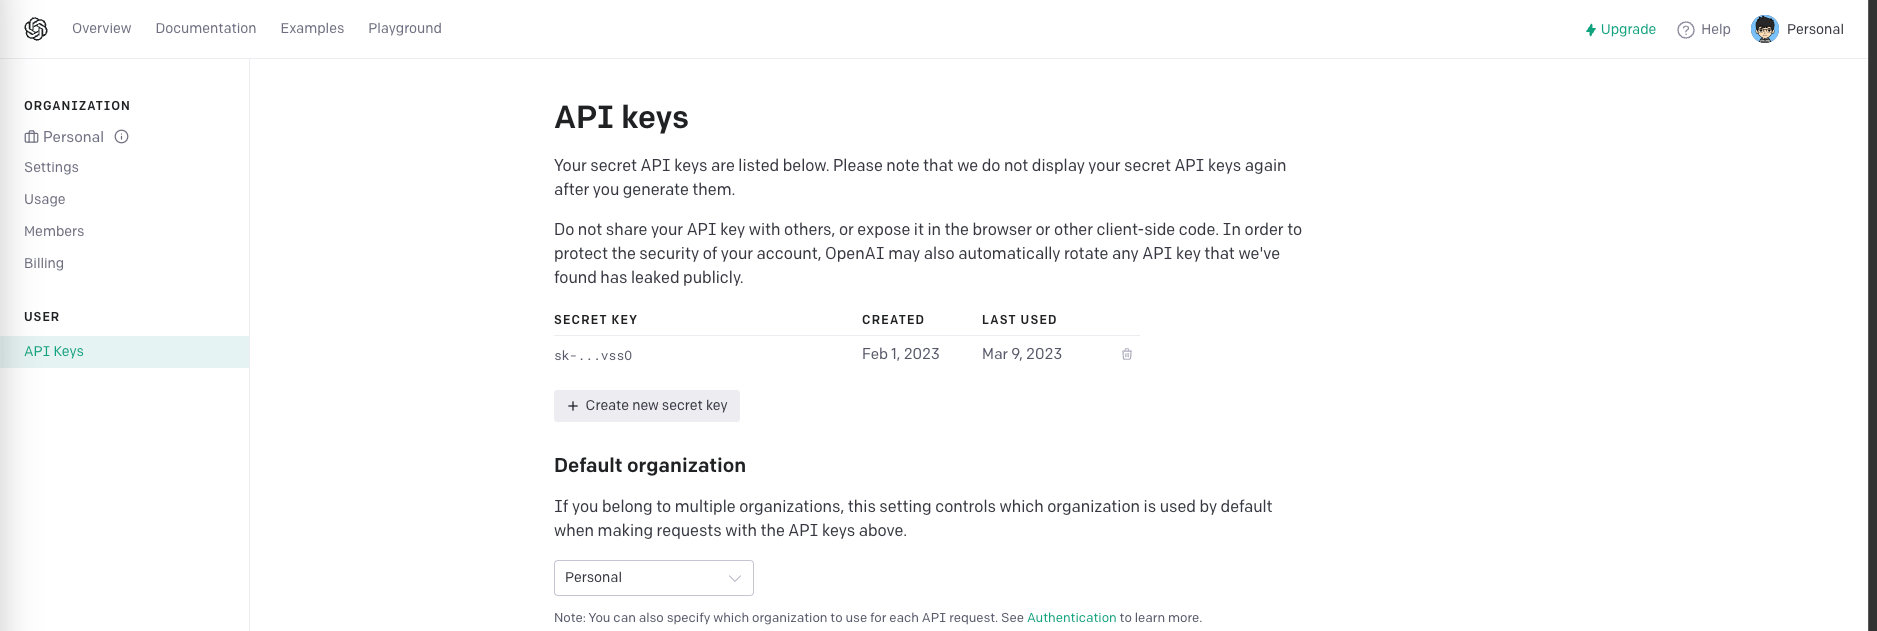
slack-chatgpt.pyand replaceSIGNING_SECRET,SLACK_TOKENandopenai.api_keyto your own.
For the openai.api_key, you can get it from https://platform.openai.com/account/api-keys. Please note that we do not display your secret API keys again after you generate them.
from slack_sdk import WebClient
import openai
import os, signal
import time

from flask import request
from flask import Flask
from slackeventsapi import SlackEventAdapter

import ssl
ssl._create_default_https_context = ssl._create_unverified_context

SIGNING_SECRET="Your Signing Secret"
SLACK_TOKEN="Your SLACK Token"

# Authenticate with the OpenAI API
openai.api_key = "Your OpenAI Token"

# Define the temperature and max tokens for text generation
temperature = 0.5
max_tokens = 50

app = Flask(__name__)
slack_event_adapter = SlackEventAdapter(SIGNING_SECRET, '/slack/events', app)

# Define a function to generate text based on user input
def generate_text(prompt):
    response = openai.Completion.create(
        # engine="davinci",
        model="text-davinci-003",
        prompt=prompt,
        temperature=temperature,
        max_tokens=max_tokens,
    )
    print(response)
    message = response.choices[0].text.strip()
    return message

@ slack_event_adapter.on('message')
def message(payload):
    print("payload is >>>>", payload)
    client = WebClient(token=SLACK_TOKEN)

    try:
        if request.method == 'POST':
            event = payload.get('event', {})

            if event['client_msg_id']:

                channel_id = event.get('channel')
                user_id = event.get('user')
                text = event.get('text')
                print("text is ", text)

                message = generate_text(text)

                print("ChatGPT Response=>",message)
                client.chat_postMessage(channel=channel_id,text=message)

                return message

    except Exception as e:
        print(e)
        pass
    return '200 OK HTTPS.'

if __name__ == "__main__":
    app.run(debug=True, use_reloader=True, port=3001)
- Run this python program, we will notice that now we will have a webserver running on http://127.0.0.1:3001/ again
(venv) guangyaliu@Guangyas-MacBook-Pro-2 examples % python3 slack-chatgpt.py
 * Serving Flask app 'slack-chatgpt' (lazy loading)
 * Environment: production
   WARNING: This is a development server. Do not use it in a production deployment.
   Use a production WSGI server instead.
 * Debug mode: on
 * Running on http://127.0.0.1:3001/ (Press CTRL+C to quit)
 * Restarting with stat
 * Debugger is active!
 * Debugger PIN: 463-003-818
- Input some questions in slack channel, you will get answer from ChatGPT API.
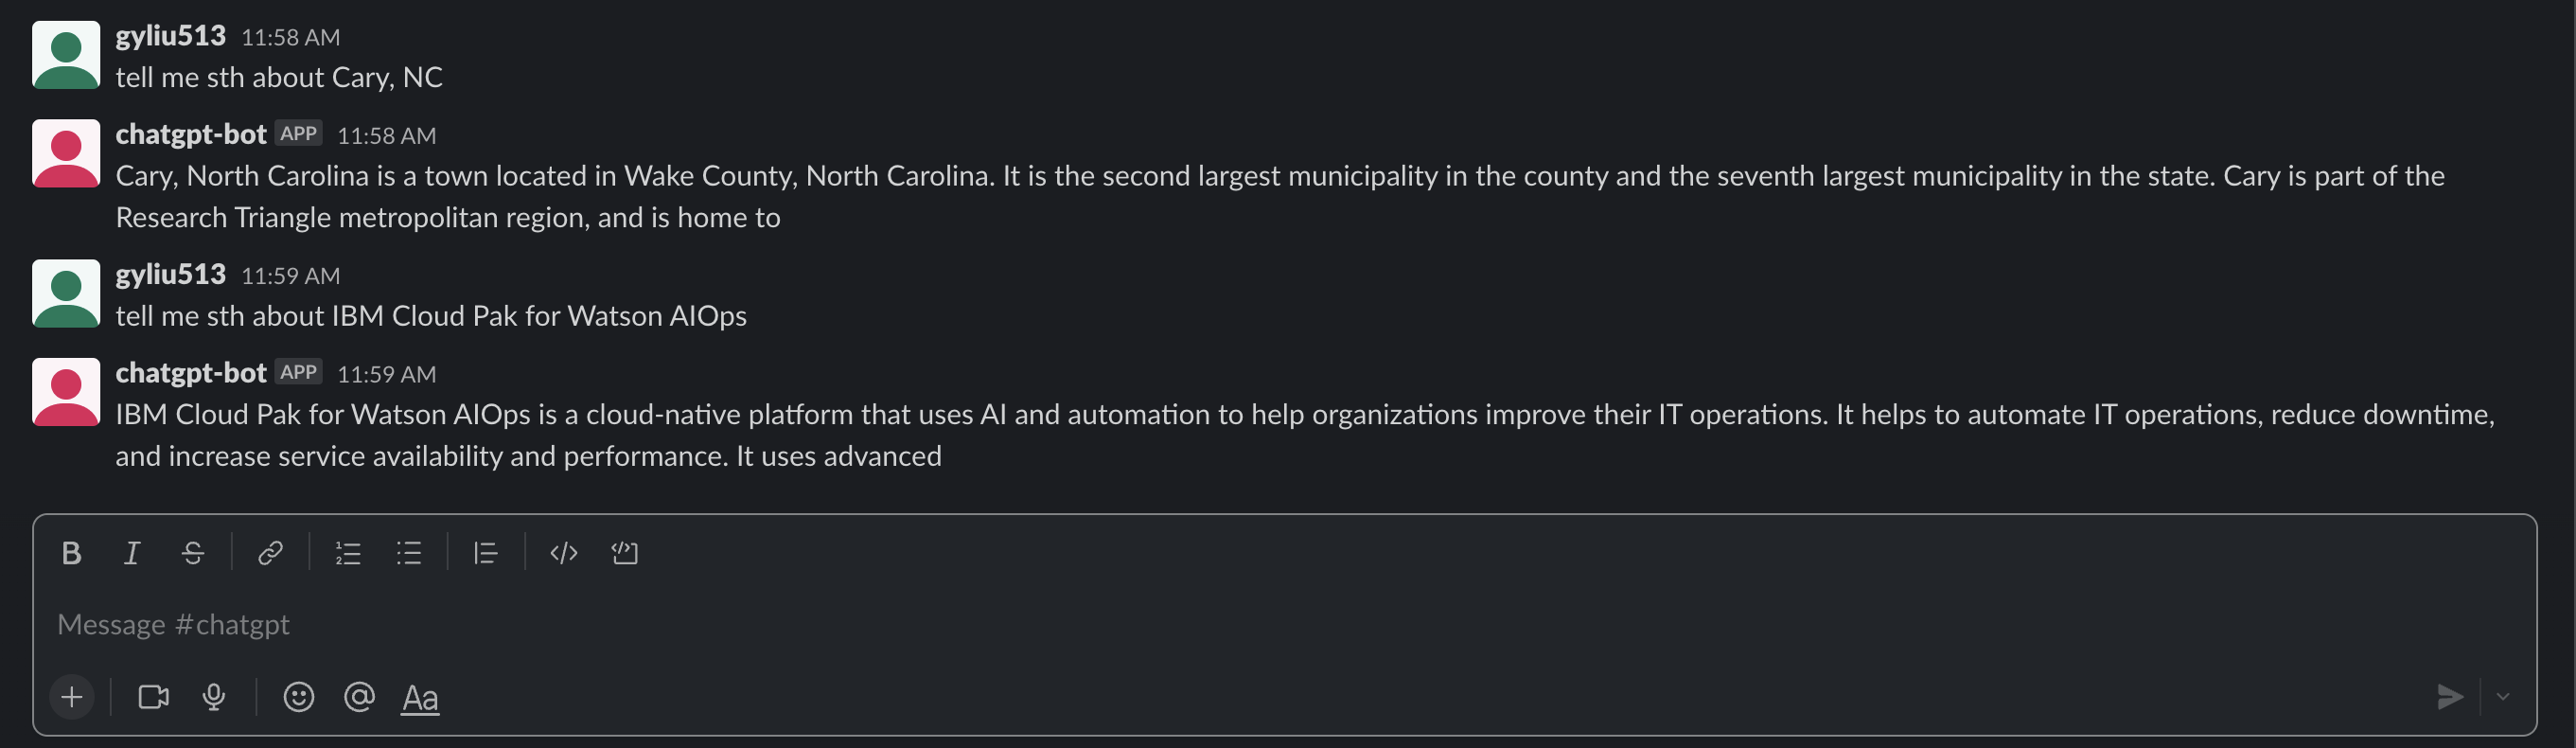
- Please note everyone has $18 for free trial usage, and it should be enough for you to do some test, enjoy it!

Conclusion
Integrating ChatGPT with Slack can bring numerous benefits to teams. It can improve productivity, provide 24/7 availability, and reduce workload. And with the simple integration process, it’s easy to get started. So if you’re looking for ways to enhance communication and collaboration within your team, consider integrating ChatGPT with Slack.