MCP Quick Start
Table of Contents generated with DocToc
- MCP Quick Start
MCP Quick Start
Introduction
MCP is an open protocol that standardizes how applications provide context to LLMs. Think of MCP like a USB-C port for AI applications. Just as USB-C provides a standardized way to connect your devices to various peripherals and accessories, MCP provides a standardized way to connect AI models to different data sources and tools.
Prerequisites
- A Linux or macOS system
- Python 3.8 or later installed
- pip package manager installed
Installation
Build Virtual Env
For Python developers, it is always good to use virtual environment to isolate your different test environments.
gyliu513@Guangyas-MacBook-Pro ~ % python3.10 -m venv mcp
gyliu513@Guangyas-MacBook-Pro ~ % source mcp/bin/activate
(mcp) gyliu513@Guangyas-MacBook-Pro ~ %
Install MCP
(mcp) gyliu513@Guangyas-MacBook-Pro ~ % pip install "mcp[cli]"
Create a sample server
Let’s create a simple MCP server that exposes a calculator tool and some data:
# demo.py
from mcp.server.fastmcp import FastMCP

# Create an MCP server
mcp = FastMCP("Demo")


# Add an addition tool
@mcp.tool()
def add(a: int, b: int) -> int:
    """Add two numbers"""
    return a + b


# Add a dynamic greeting resource
@mcp.resource("greeting://{name}")
def get_greeting(name: str) -> str:
    """Get a personalized greeting"""
    return f"Hello, {name}!"
Run with MCP Inspector
Now, we can run the demo server using MCP Inspector, MCP Inspector is usually used for developer for some test.
Run demo
(mcp) gyliu513@Guangyas-MacBook-Pro test % mcp dev demo.py
Starting MCP inspector...
Proxy server listening on port 3000

🔍 MCP Inspector is up and running at http://localhost:5173 🚀
You will see the MCP Inspector will be running at http://localhost:5173.
Access MCP Inspector
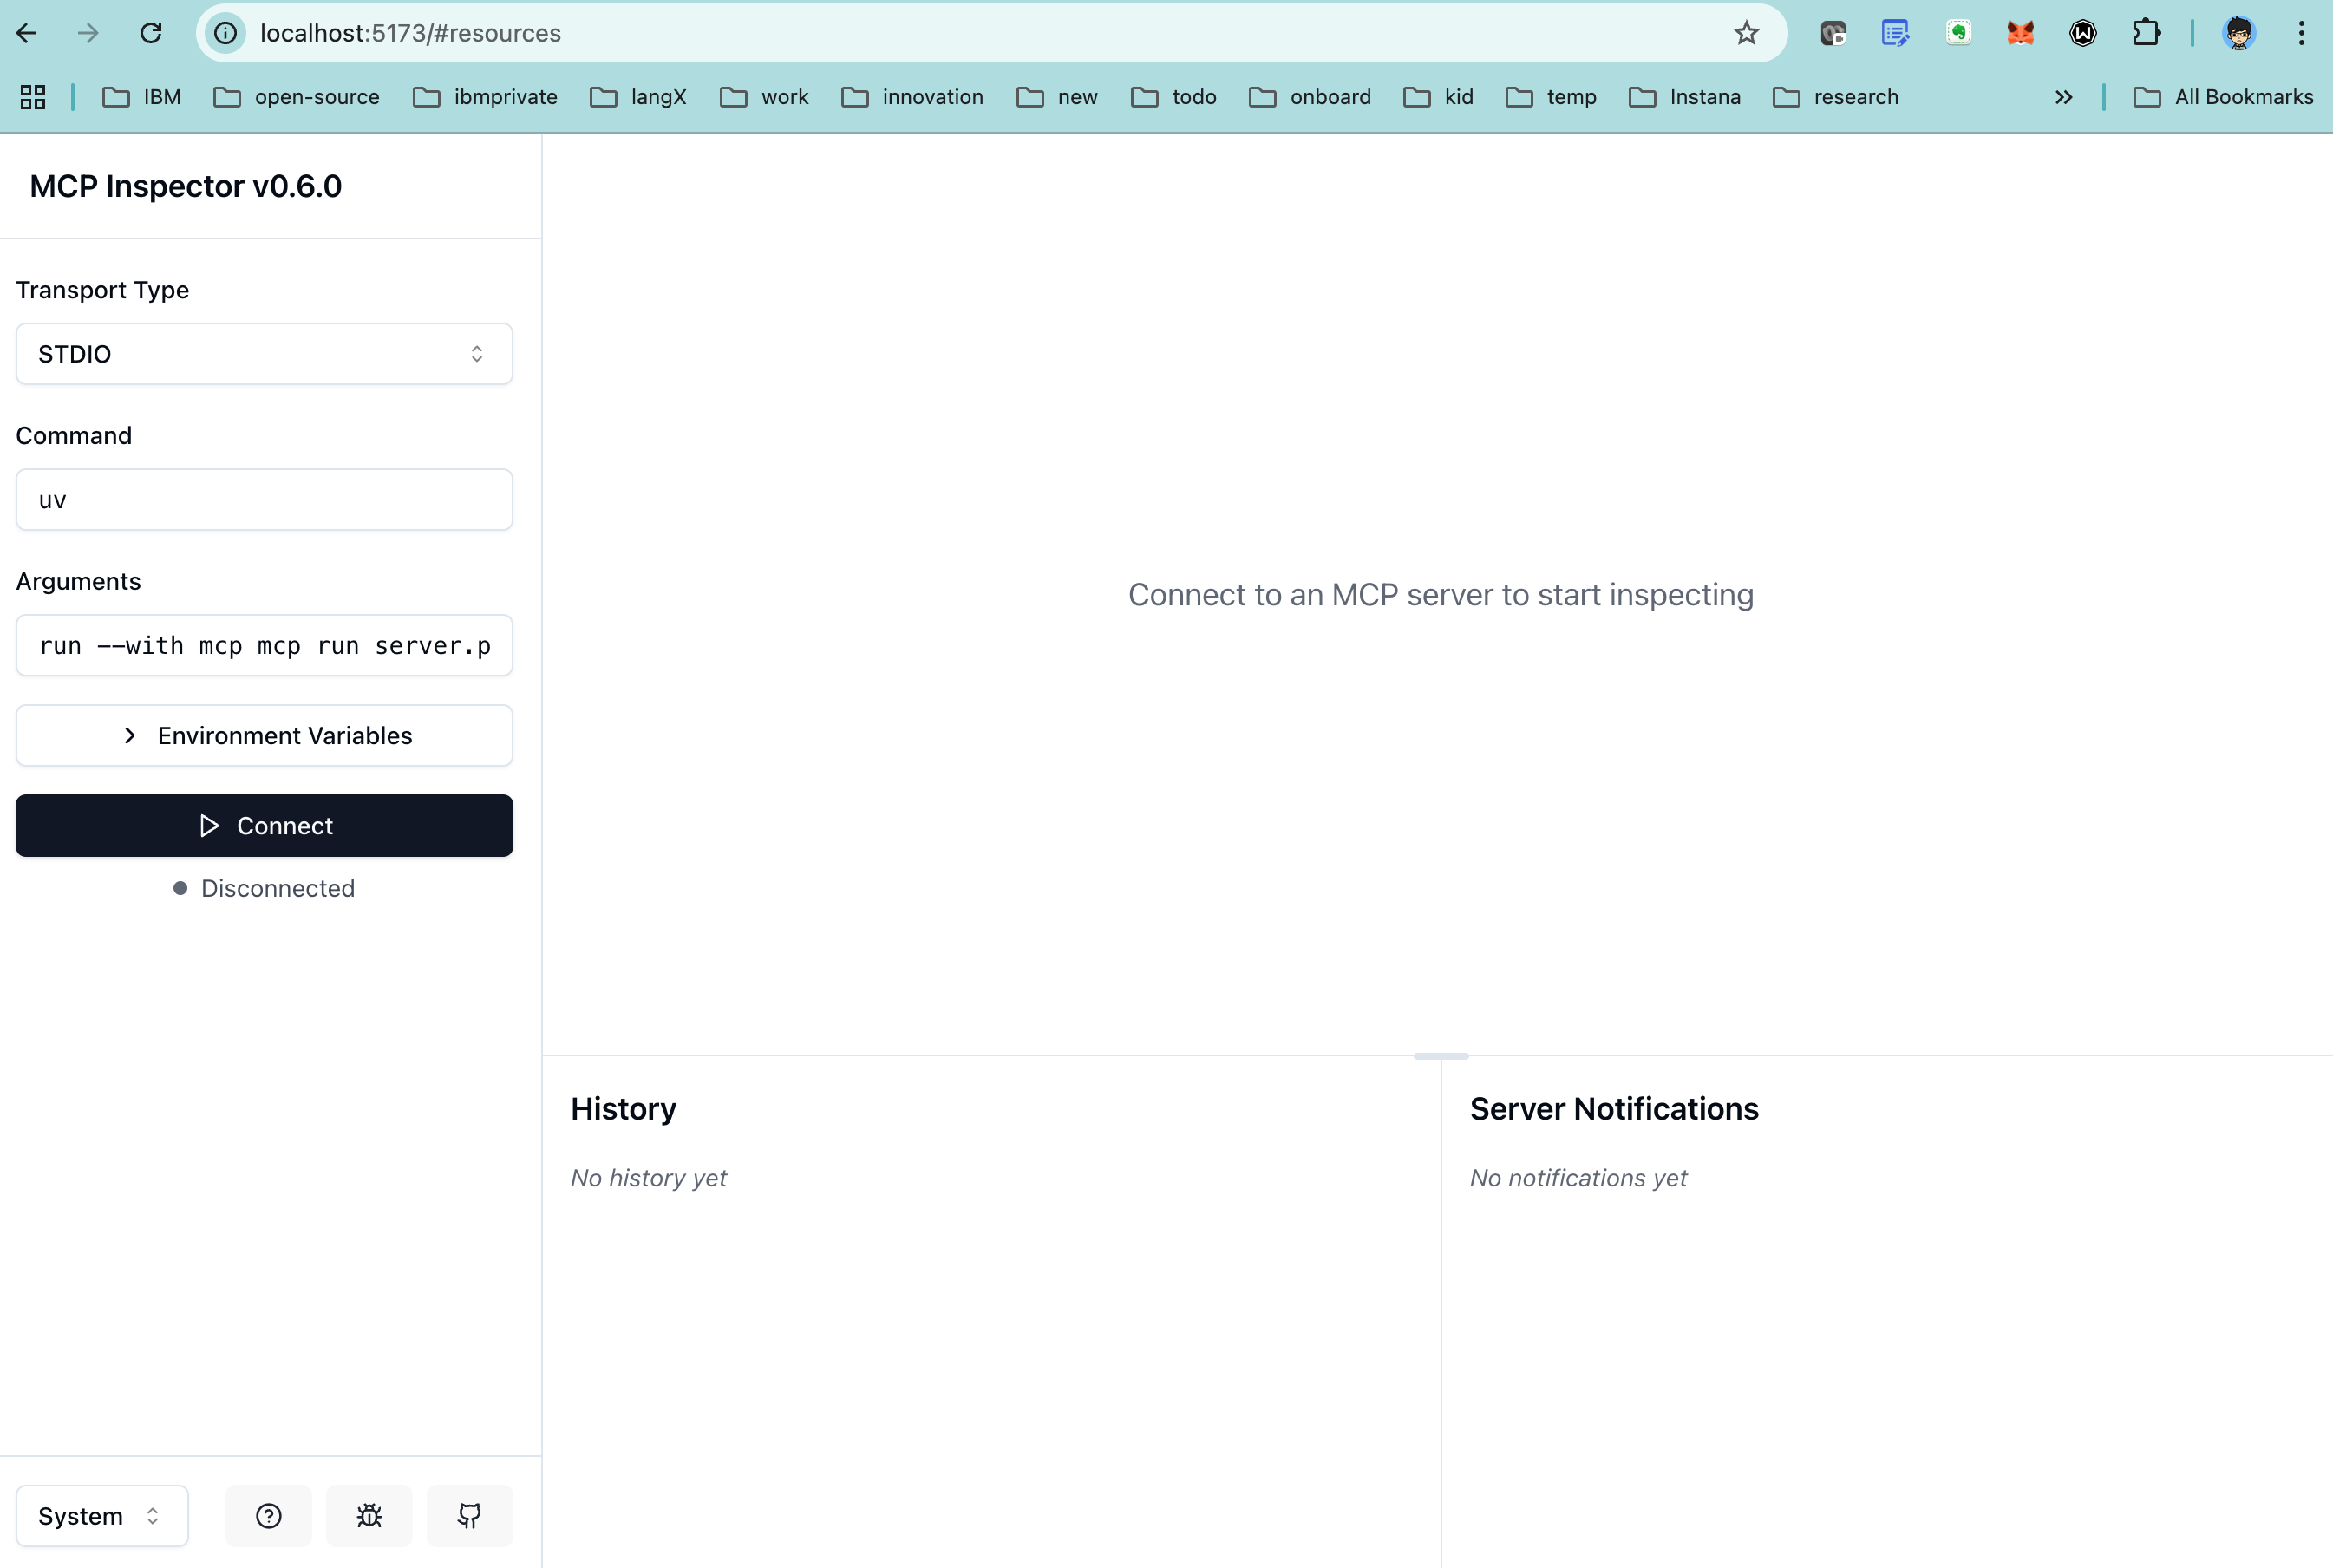
Connect to MCP Server
You can click Connect to connect to your mcp server.
Test with MCP Inspector
In above code, there are two functions:
toolwith@mcp.tool()named asaddresource templatewith@mcp.resource("greeting://{name}")named asget_greeting. The decorator includes a variable{name}, so this is atemplate.
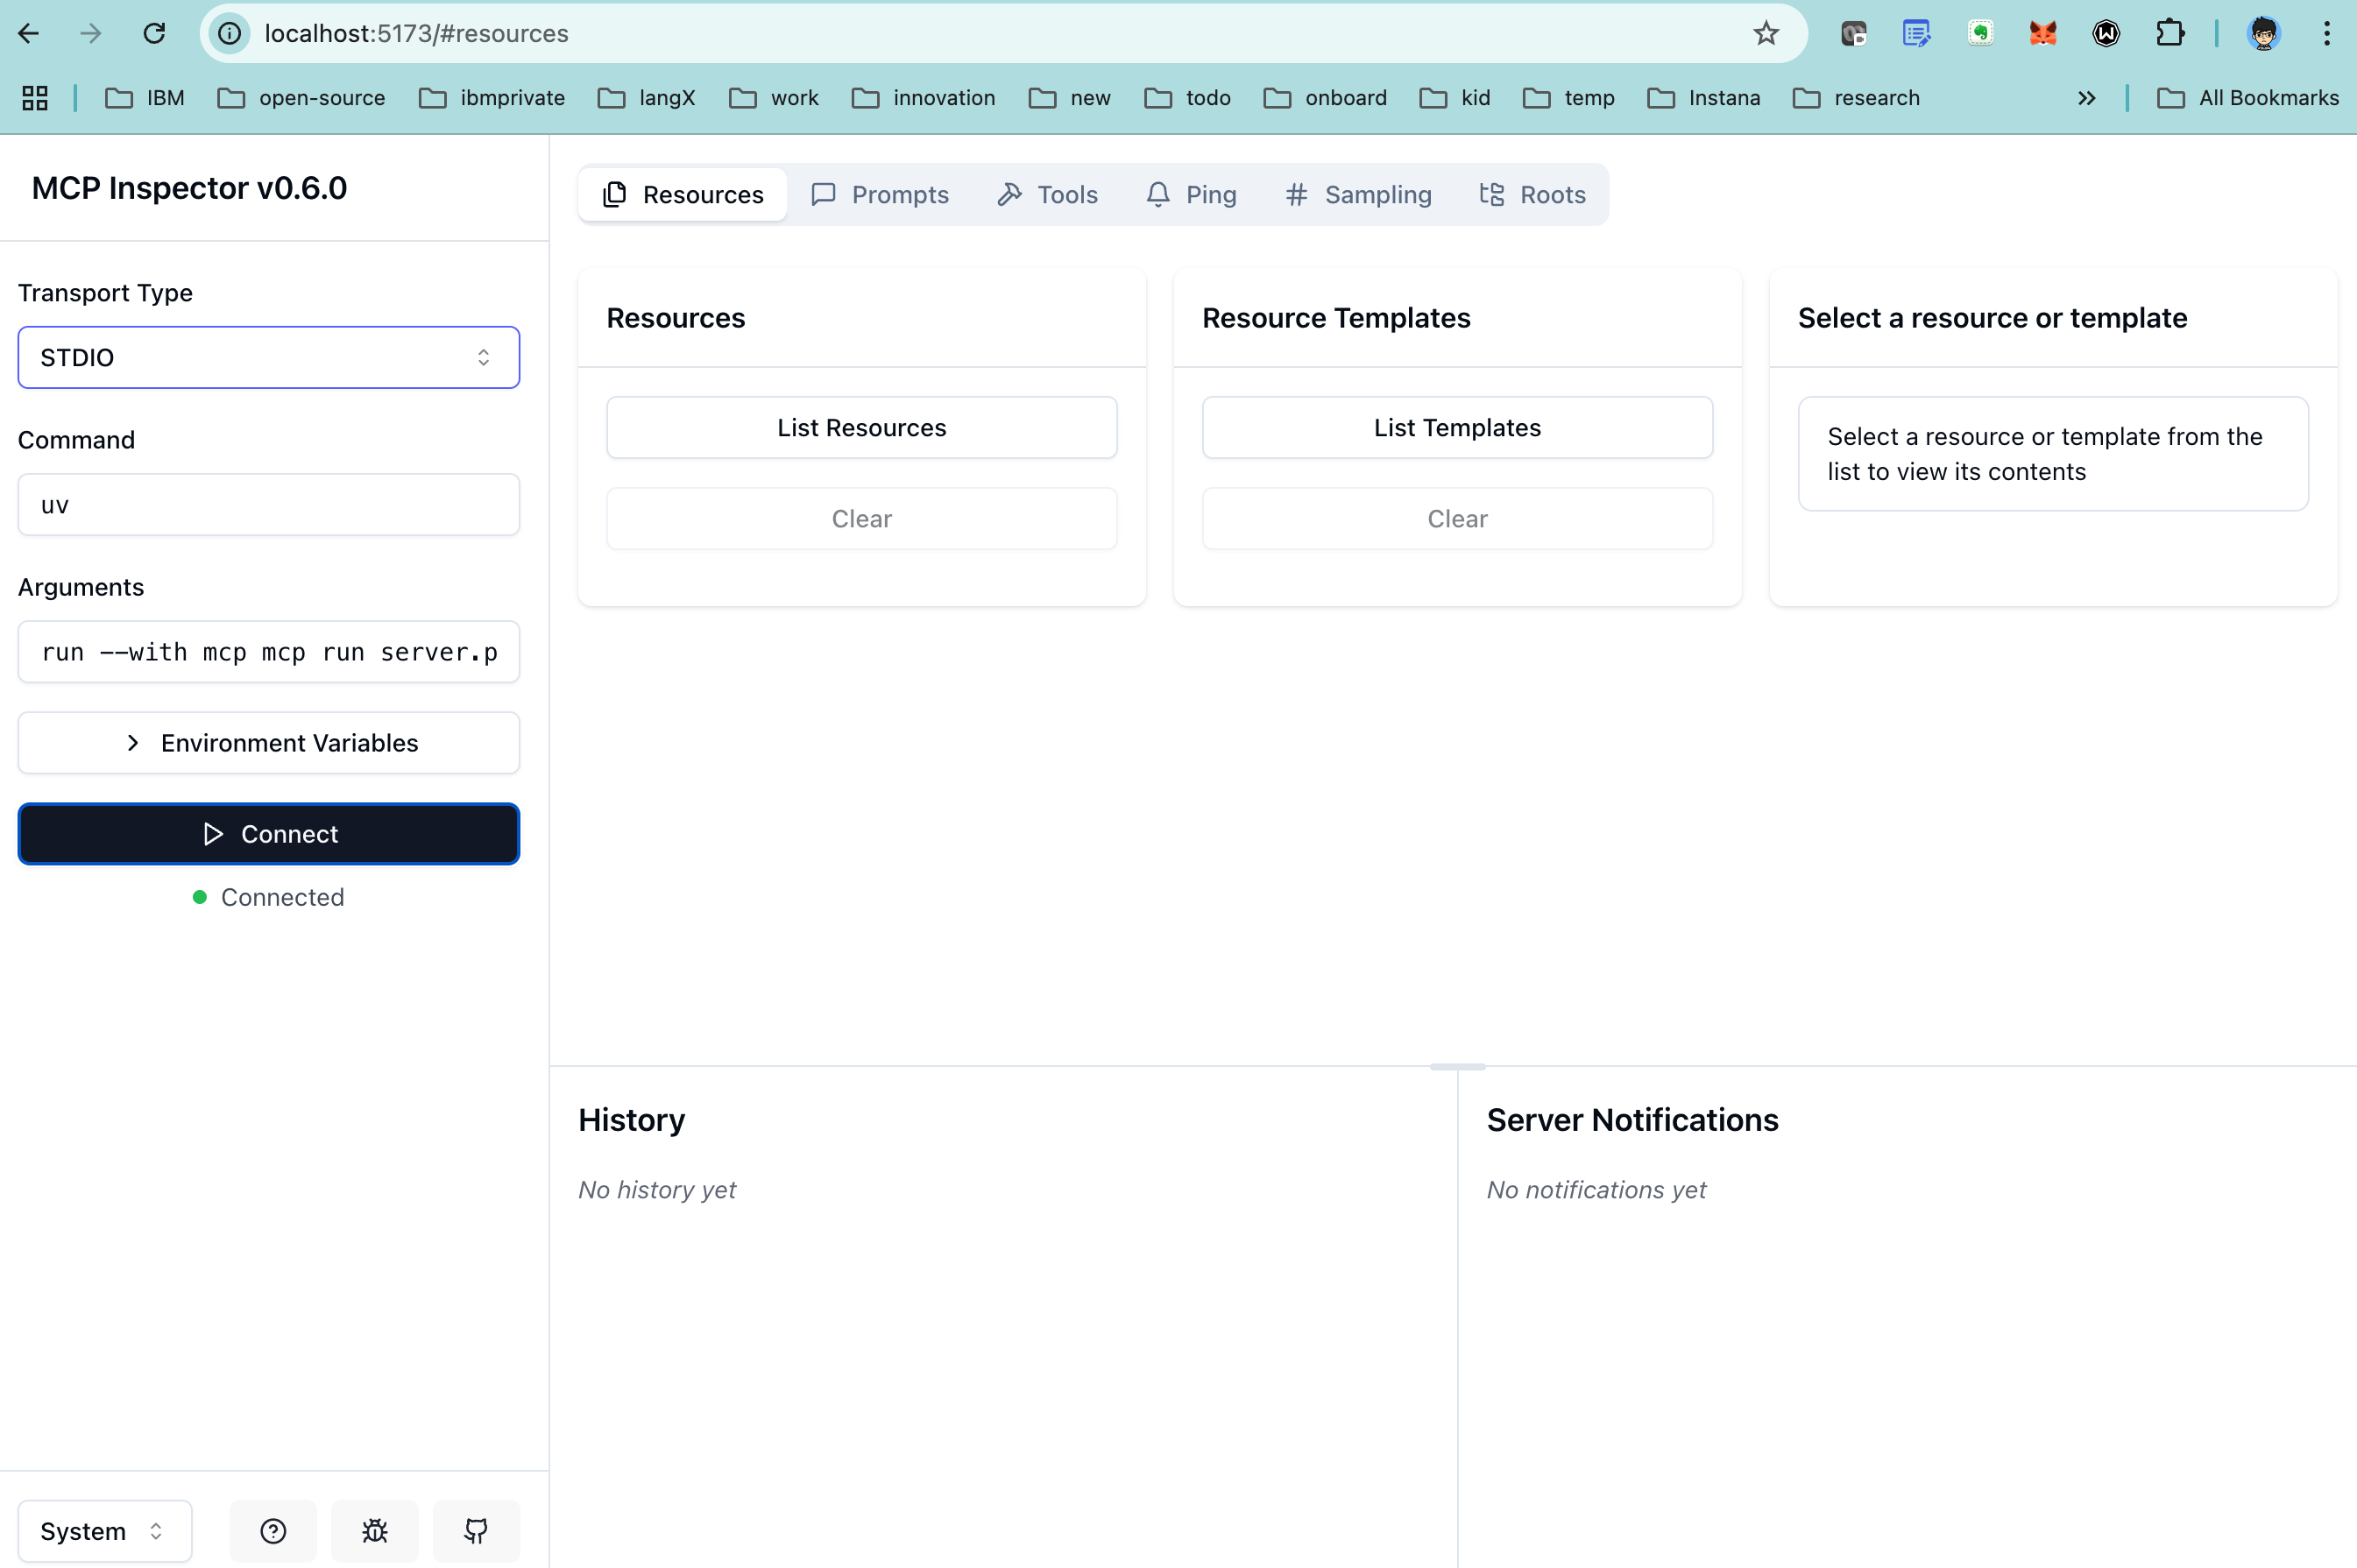
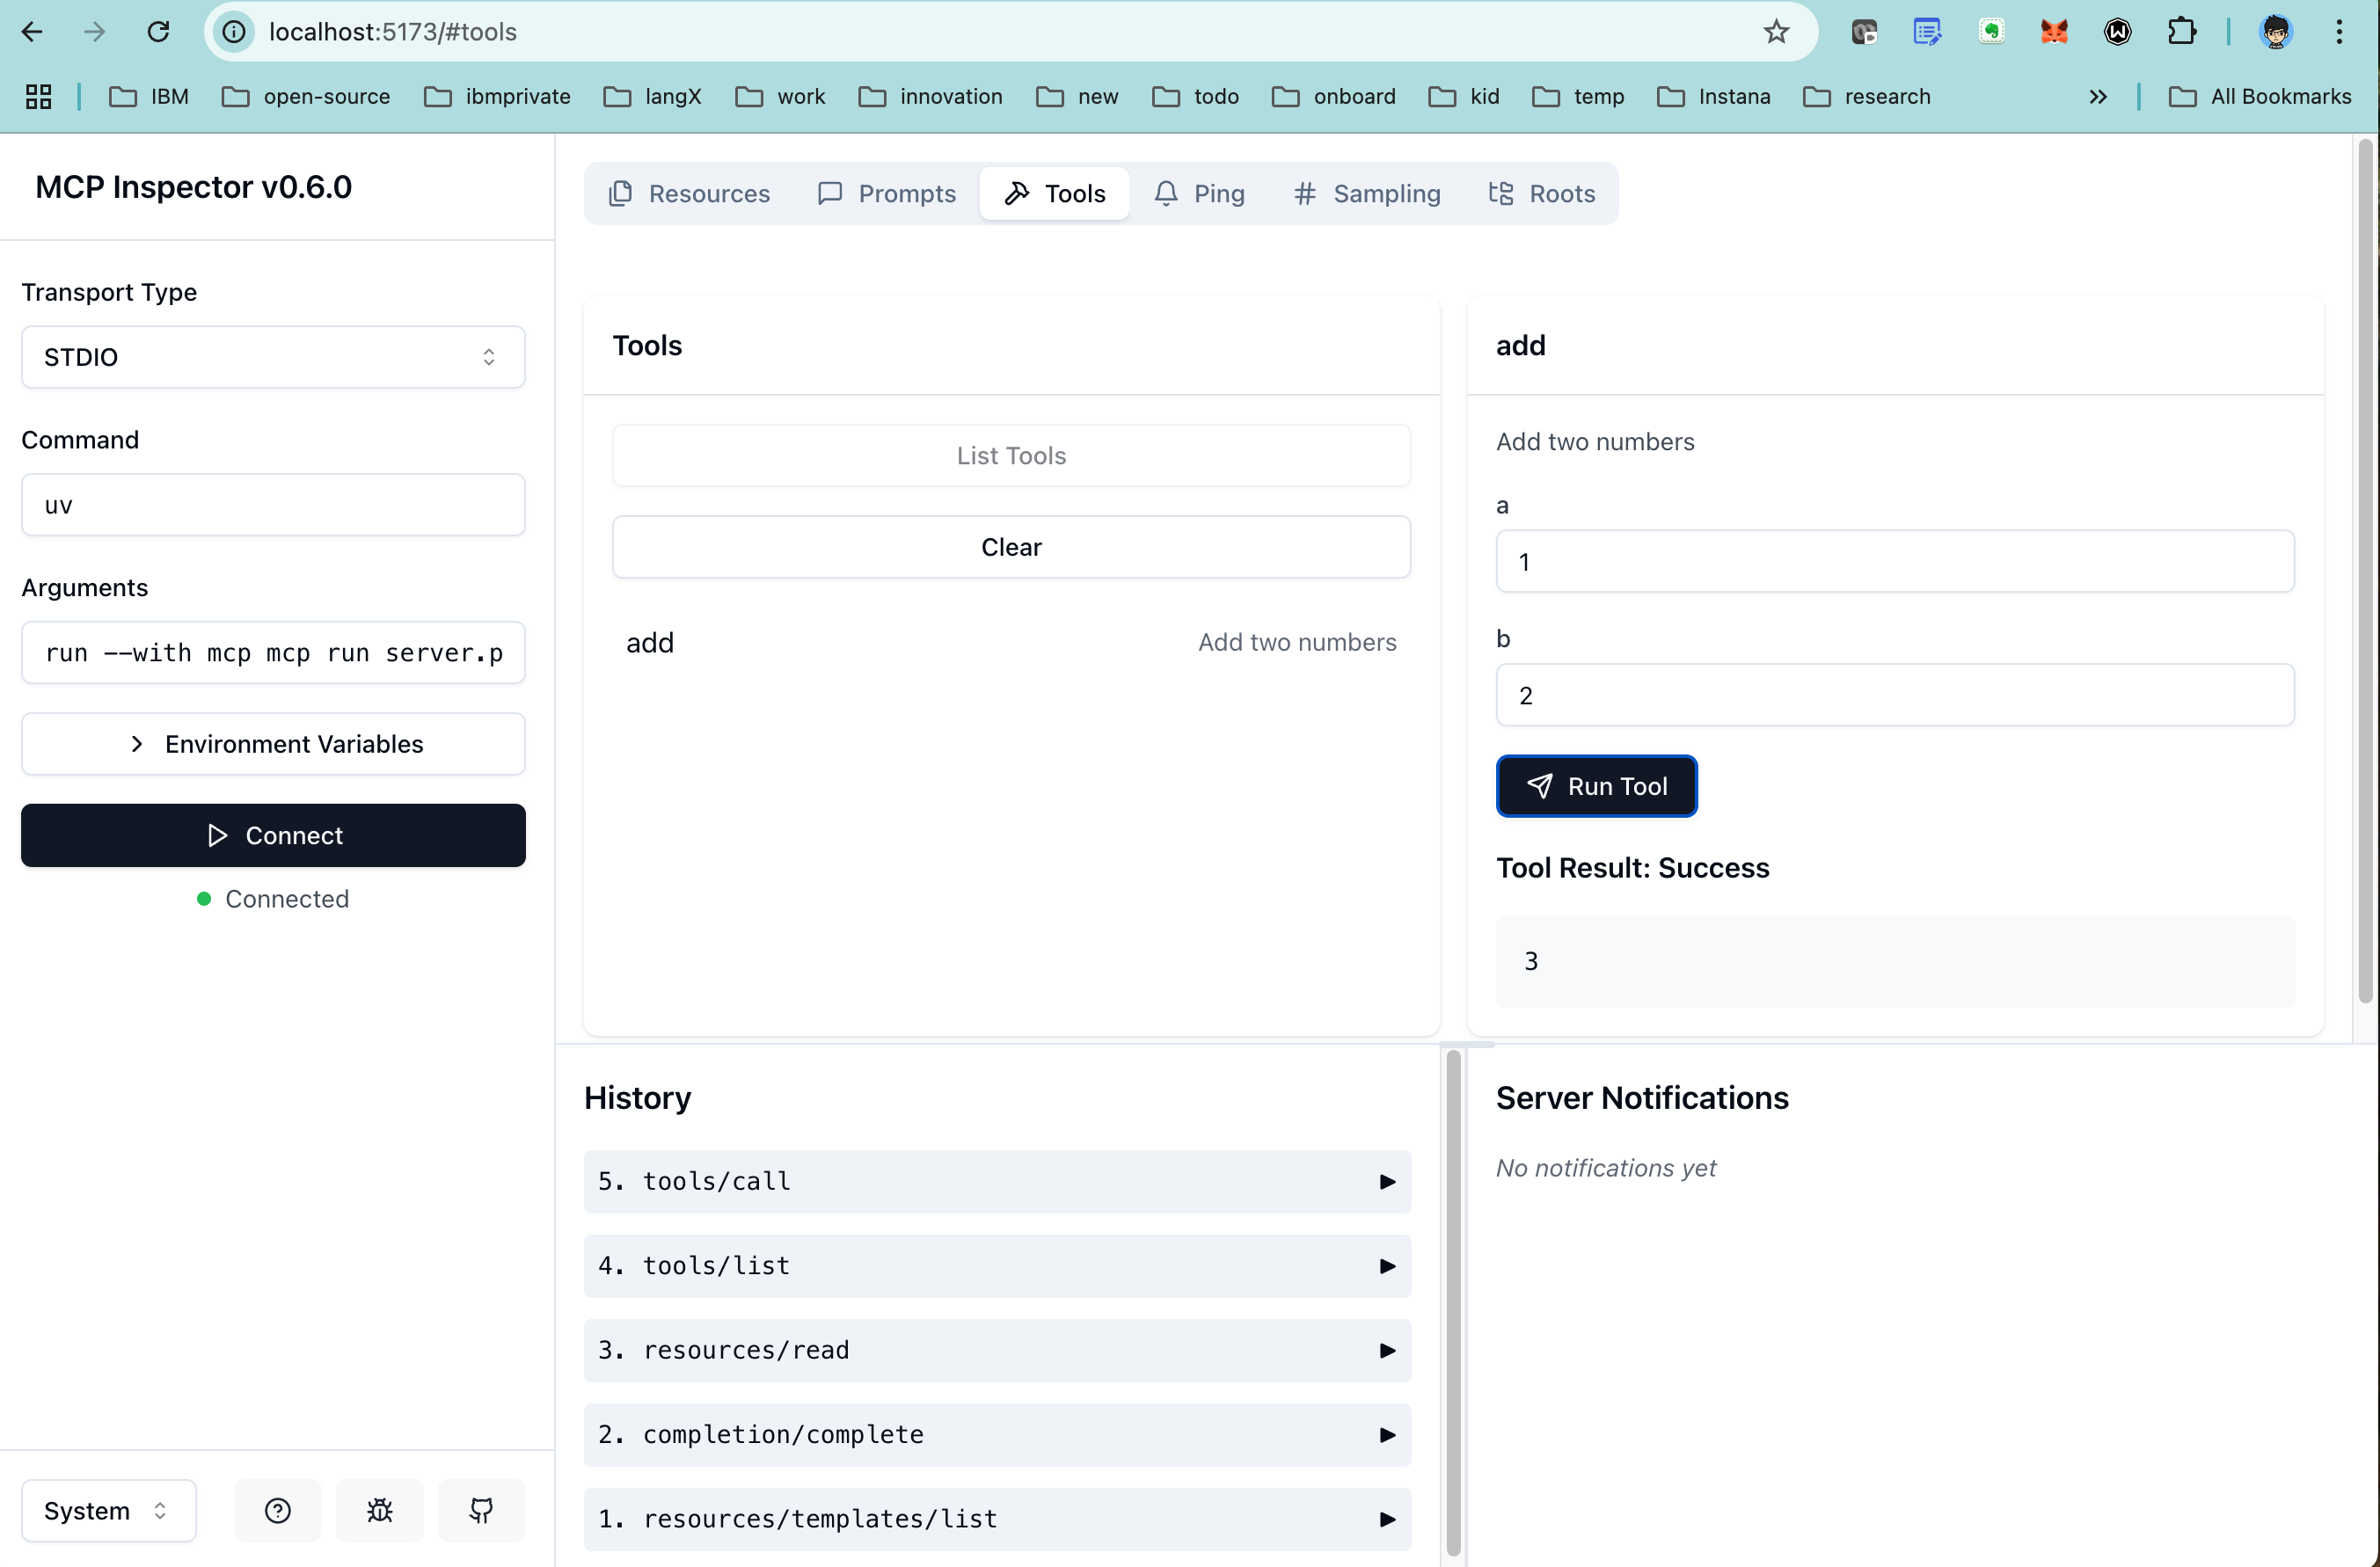
Click Tools in MCP Inspector UI, you will see the tools add and you can also do some test with this tool.
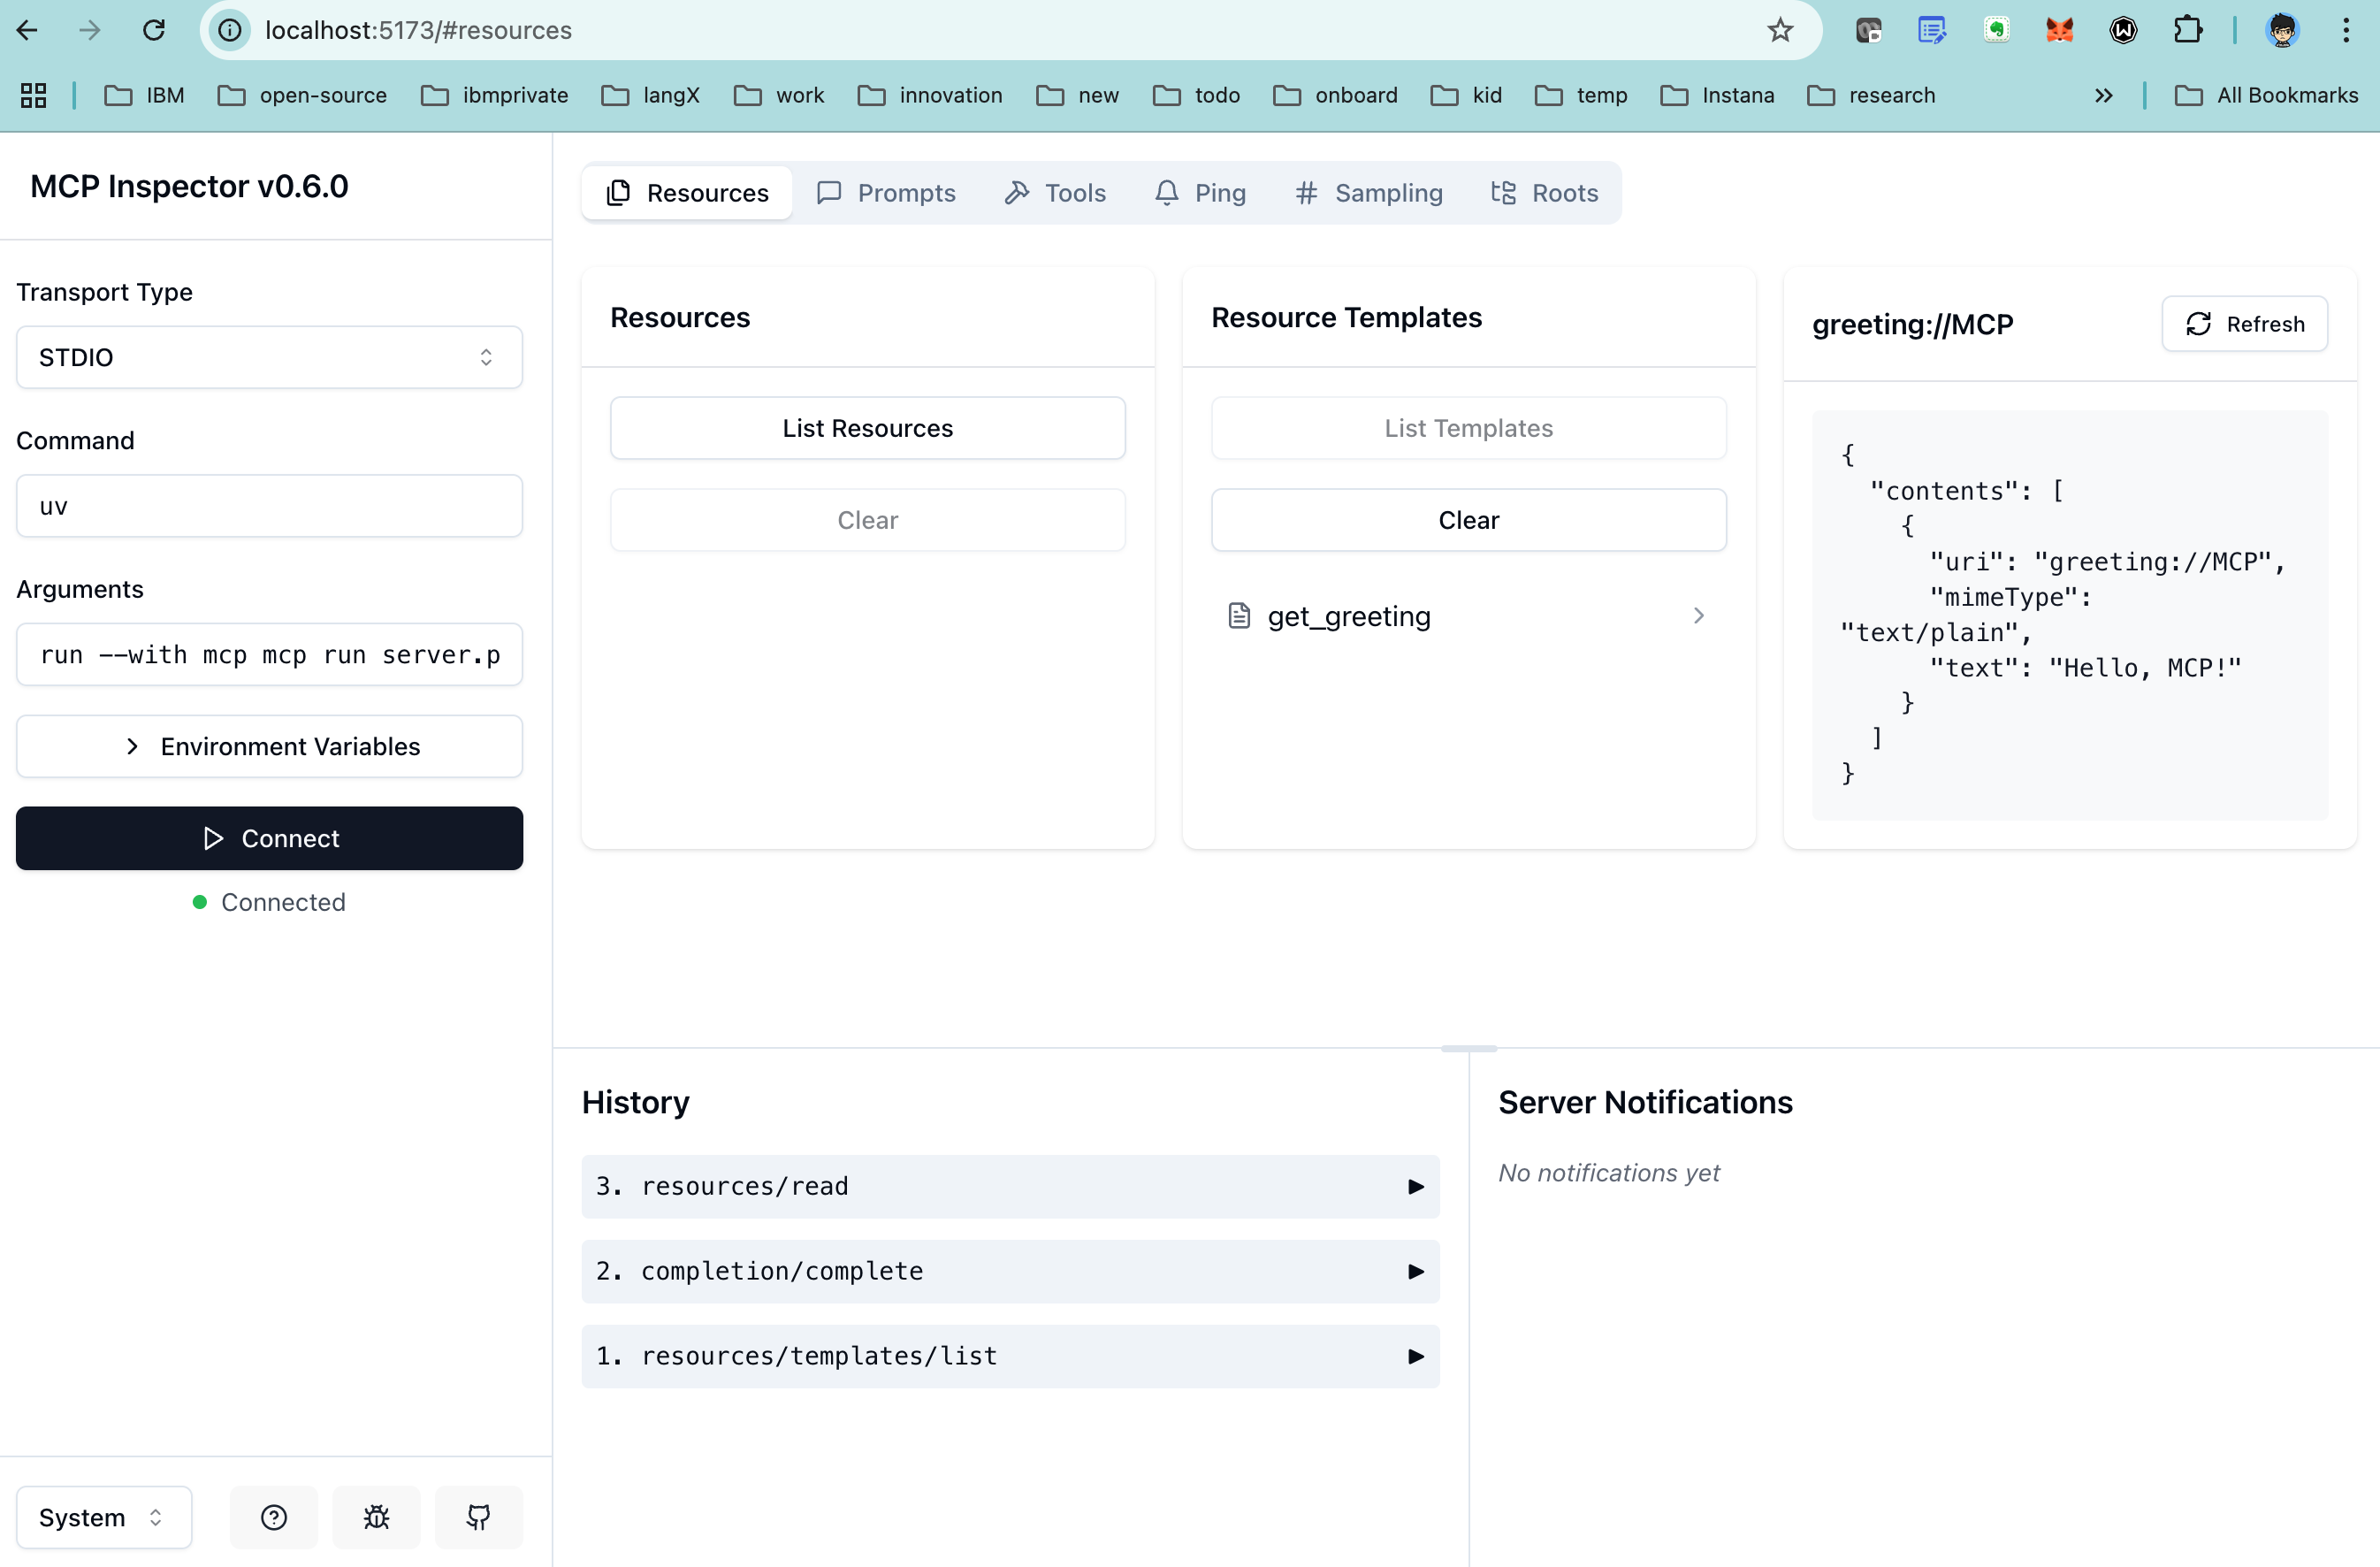
Click Resources and List Templates, you will see the template get_greeting and do some test.
Run with Claude Desktop
Install Claude Desktop
Besides running with MCP Inspector, you can also run with Claude Desktop as well.
You may want to install Claude Desktop first.
Install demo server to Claude
Once Claude Desktop is ready, install your demo code to Claude Desktop via following CLI.
mcp install demo.py
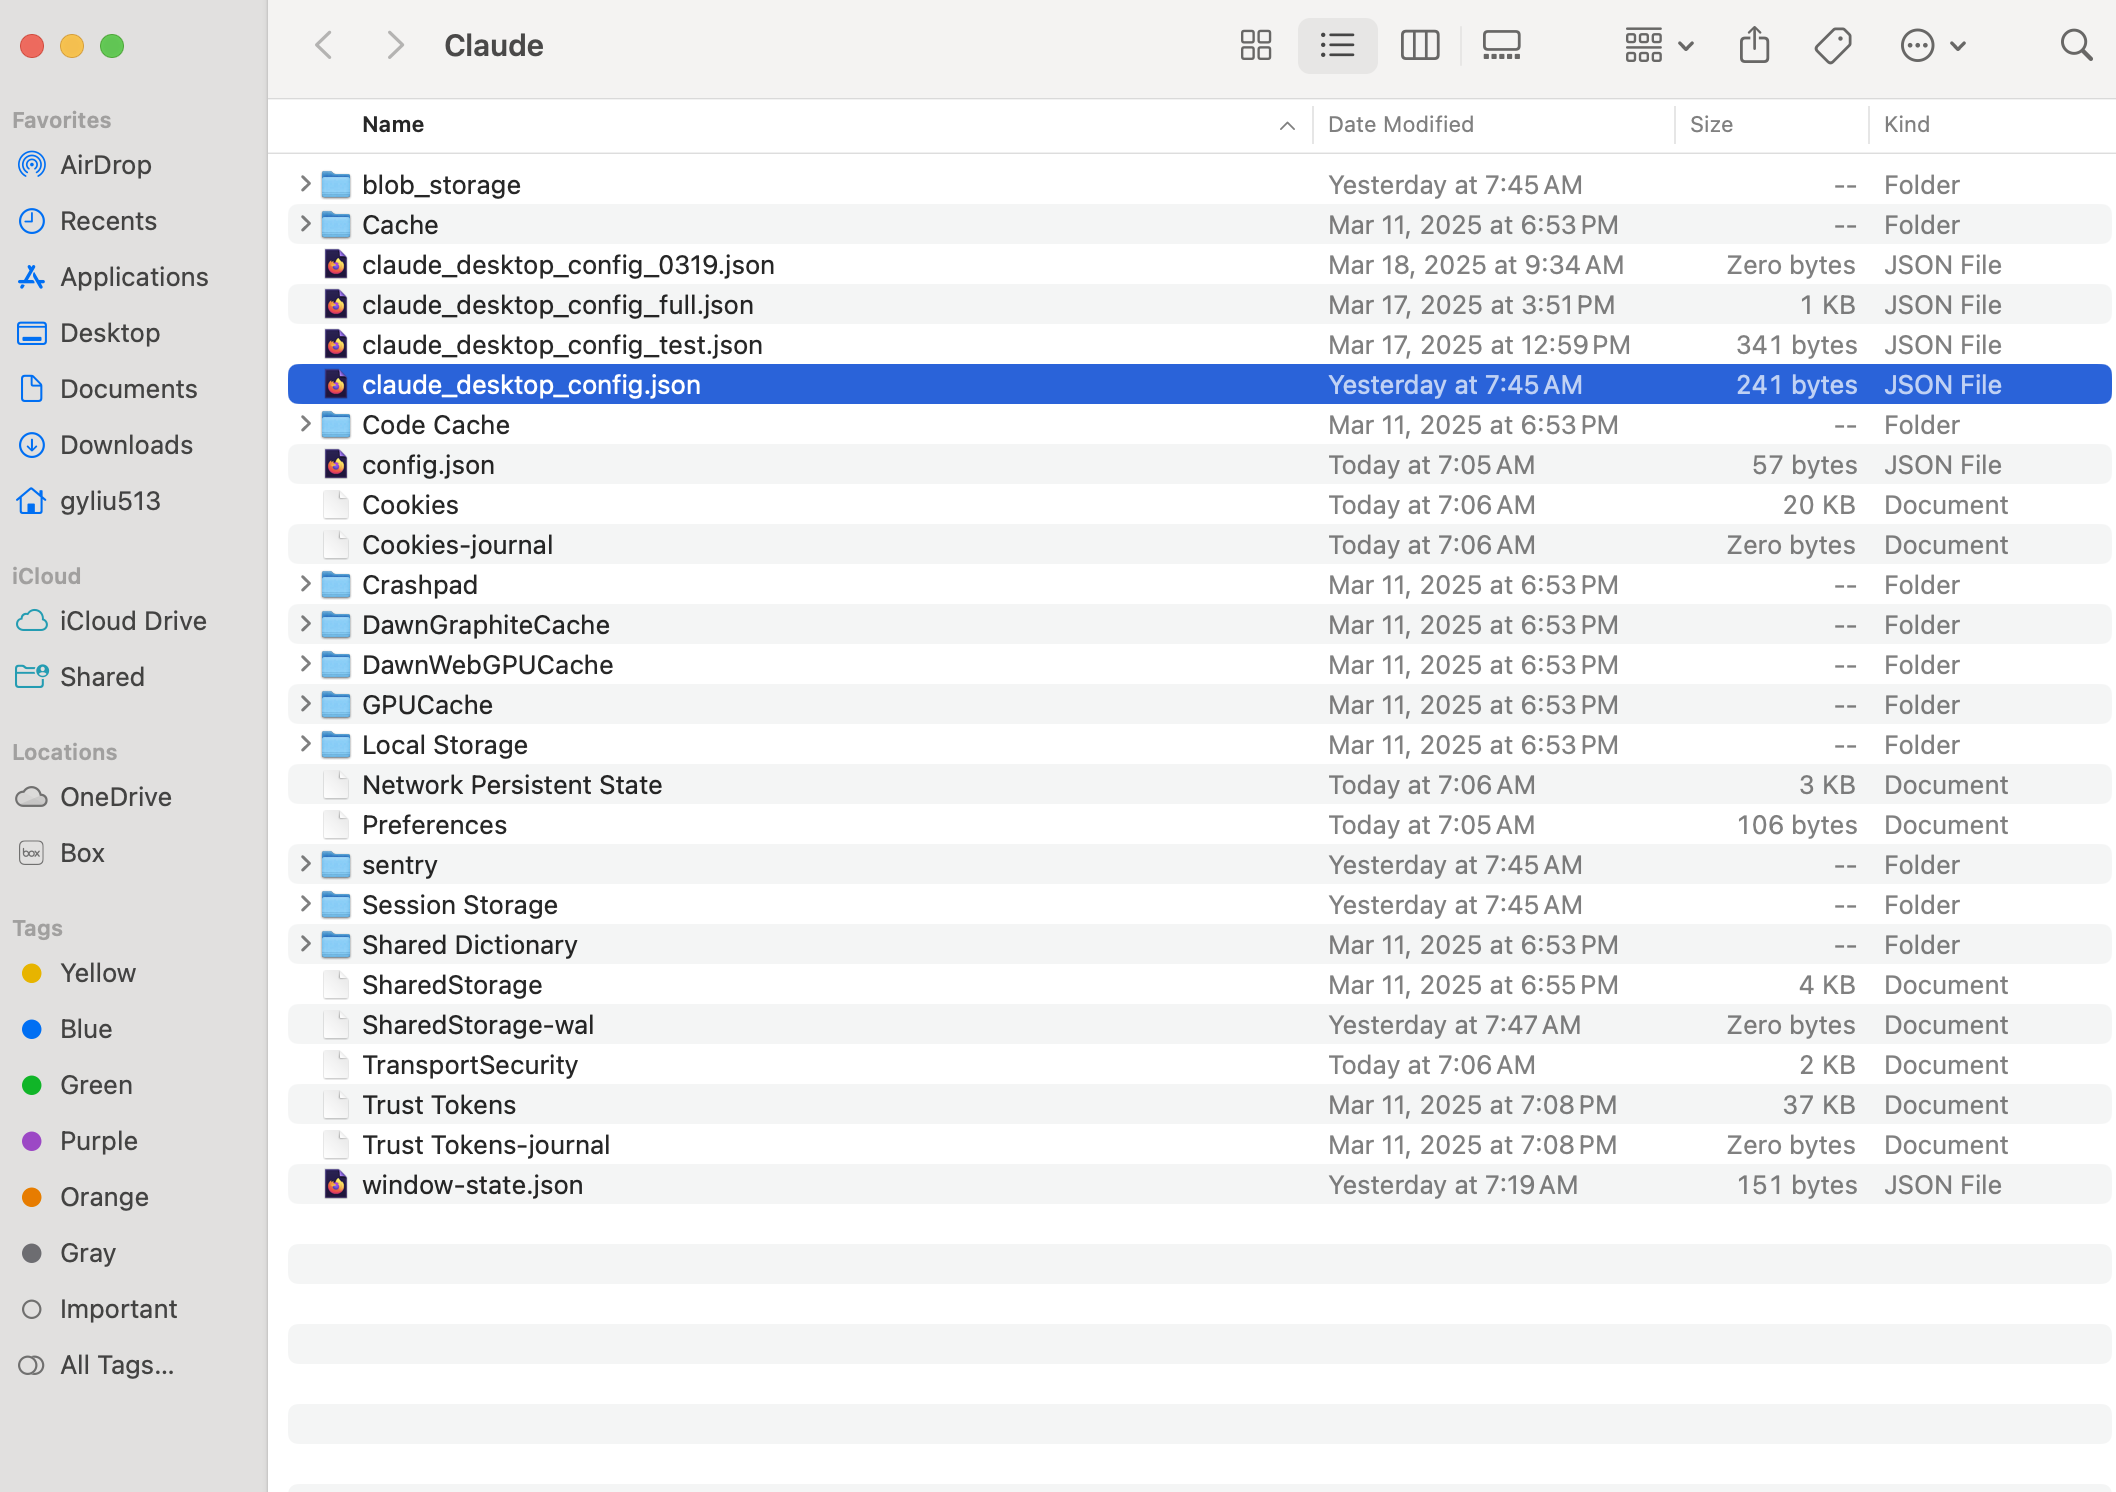
This CLI will update the claude_desktop_config.json by adding your demo server. For my case, I was using MacOS, and the file is located at ~/Library/Application Support/Claude/claude_desktop_config.json by default.
The content of this file will be as following:
{
  "mcpServers": {
    "Demo": {
      "command": "uv",
      "args": [
        "run",
        "--with",
        "mcp[cli]",
        "mcp",
        "run",
        "/Users/gyliu513/test/demo.py"
      ]
    }
  }
}
With default config, when you restart Claude, you usually get some error as below:
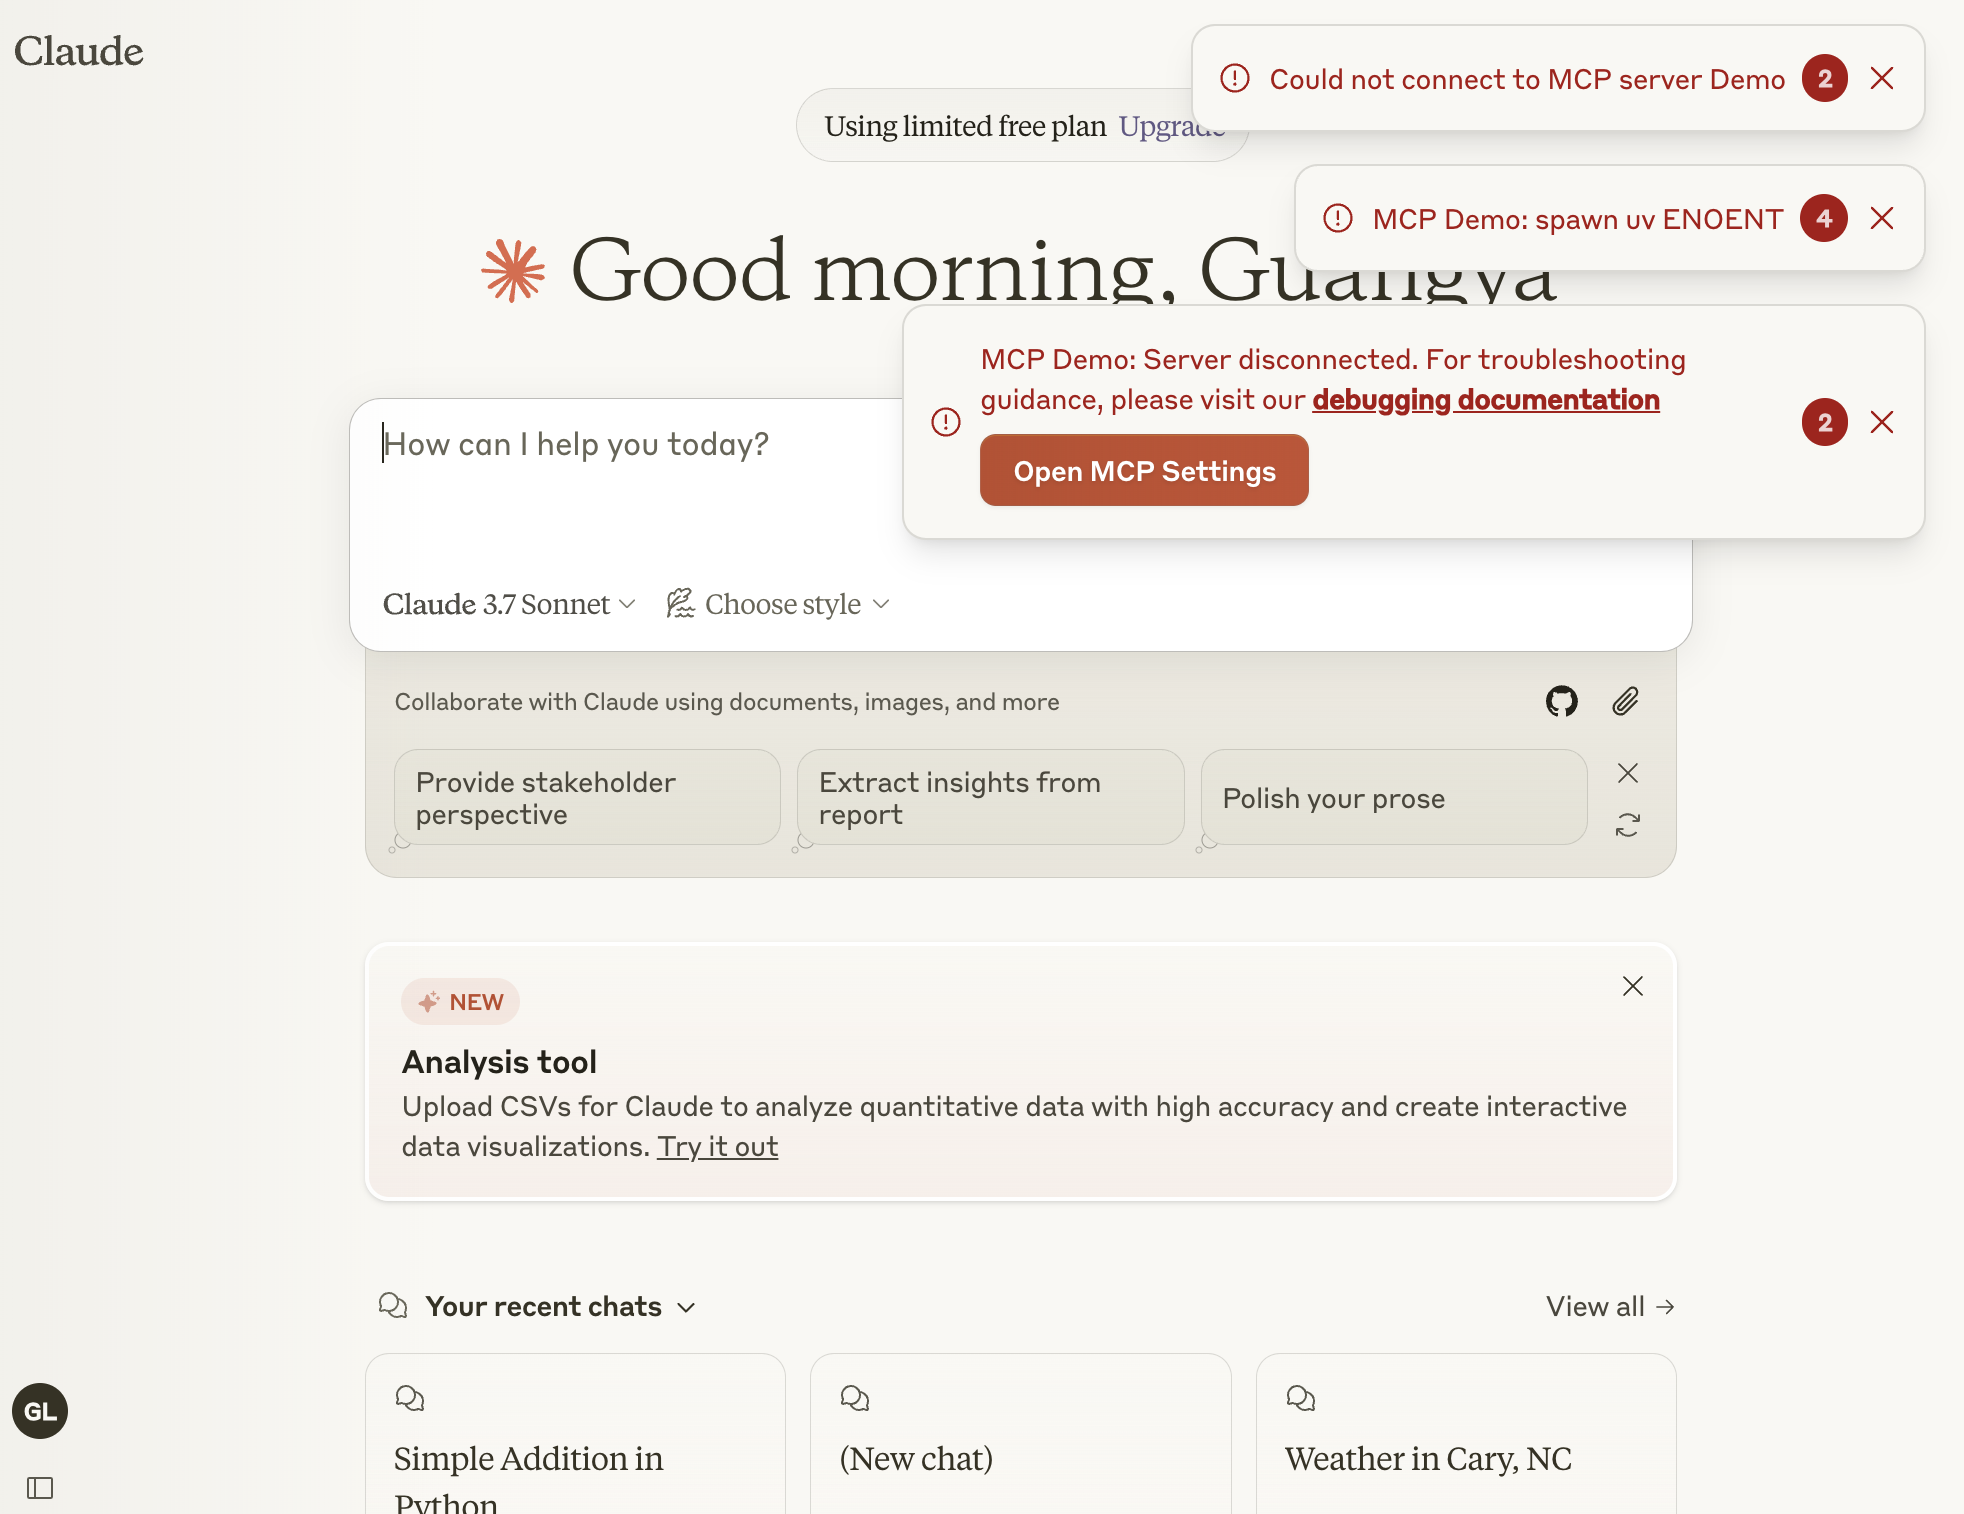
This is because Claude cannot find the uv CLI, and thus report this error. To fix it, we usually update claude_desktop_config.json by using a full path of uv, like /Users/gyliu513/.local/bin/uv.
{
  "mcpServers": {
    "Demo": {
      "command": "/Users/gyliu513/.local/bin/uv",
      "args": [
        "run",
        "--with",
        "mcp[cli]",
        "mcp",
        "run",
        "/Users/gyliu513/test/demo.py"
      ]
    }
  }
}
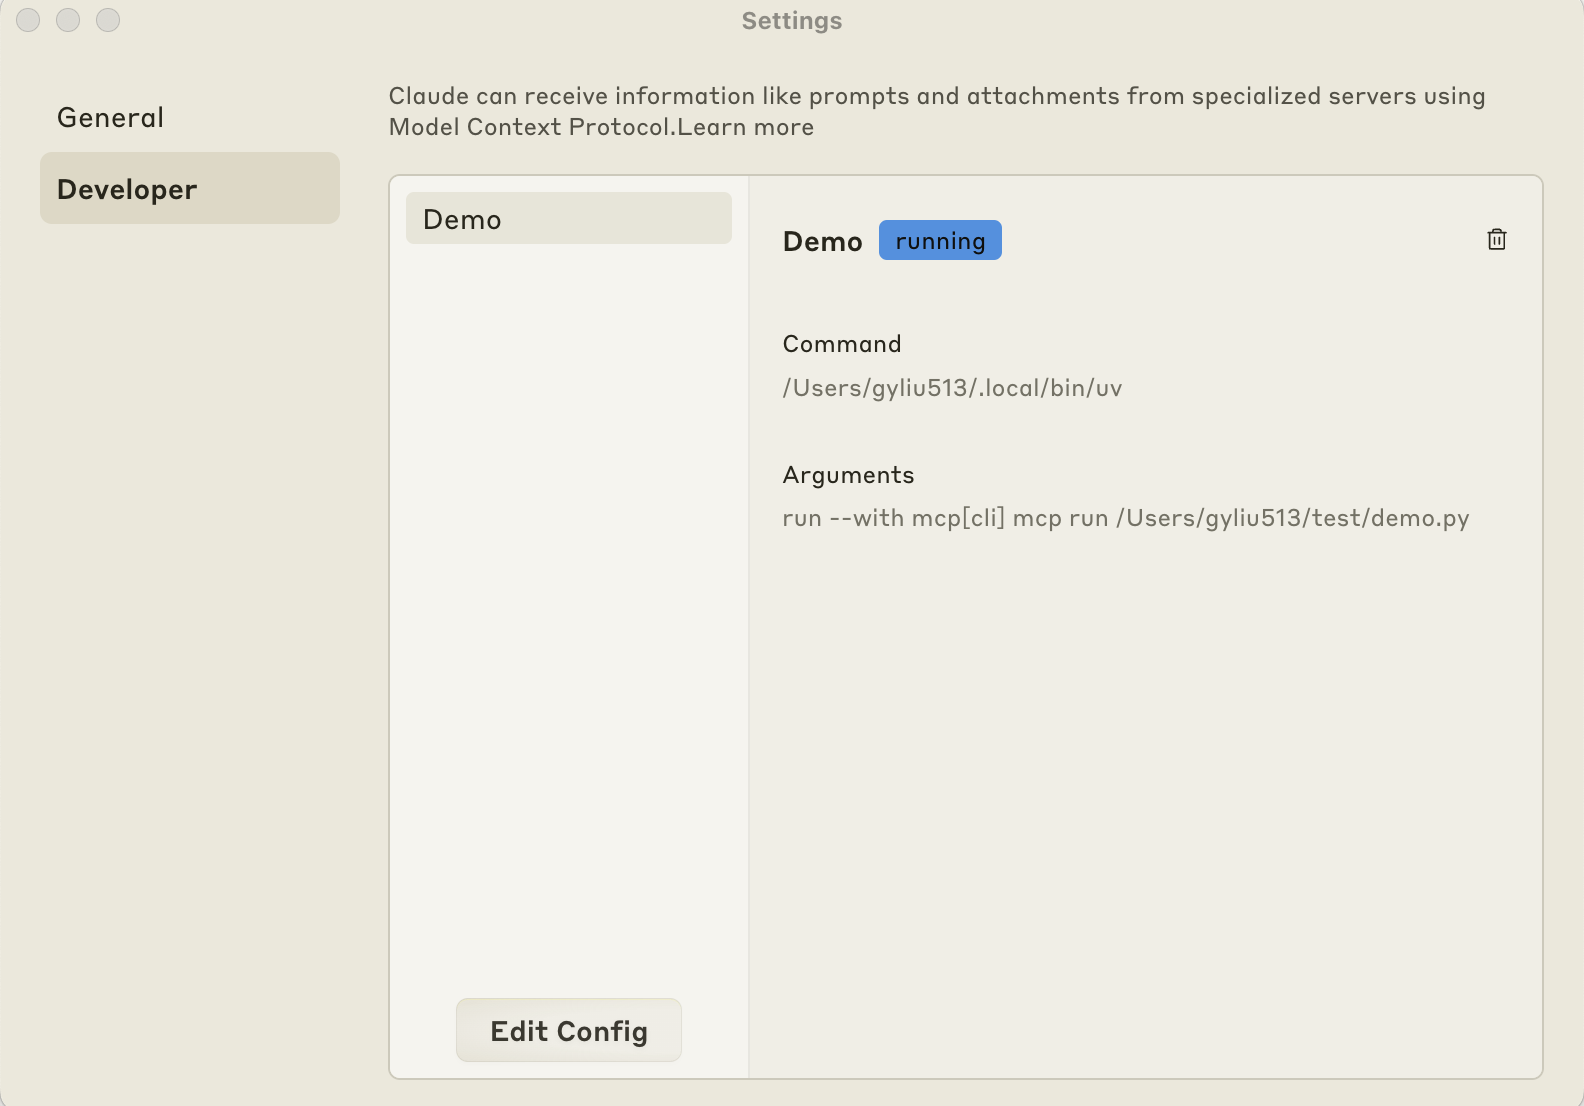
You can also view this via Claude Config from Claude->Settings->Developer as below.
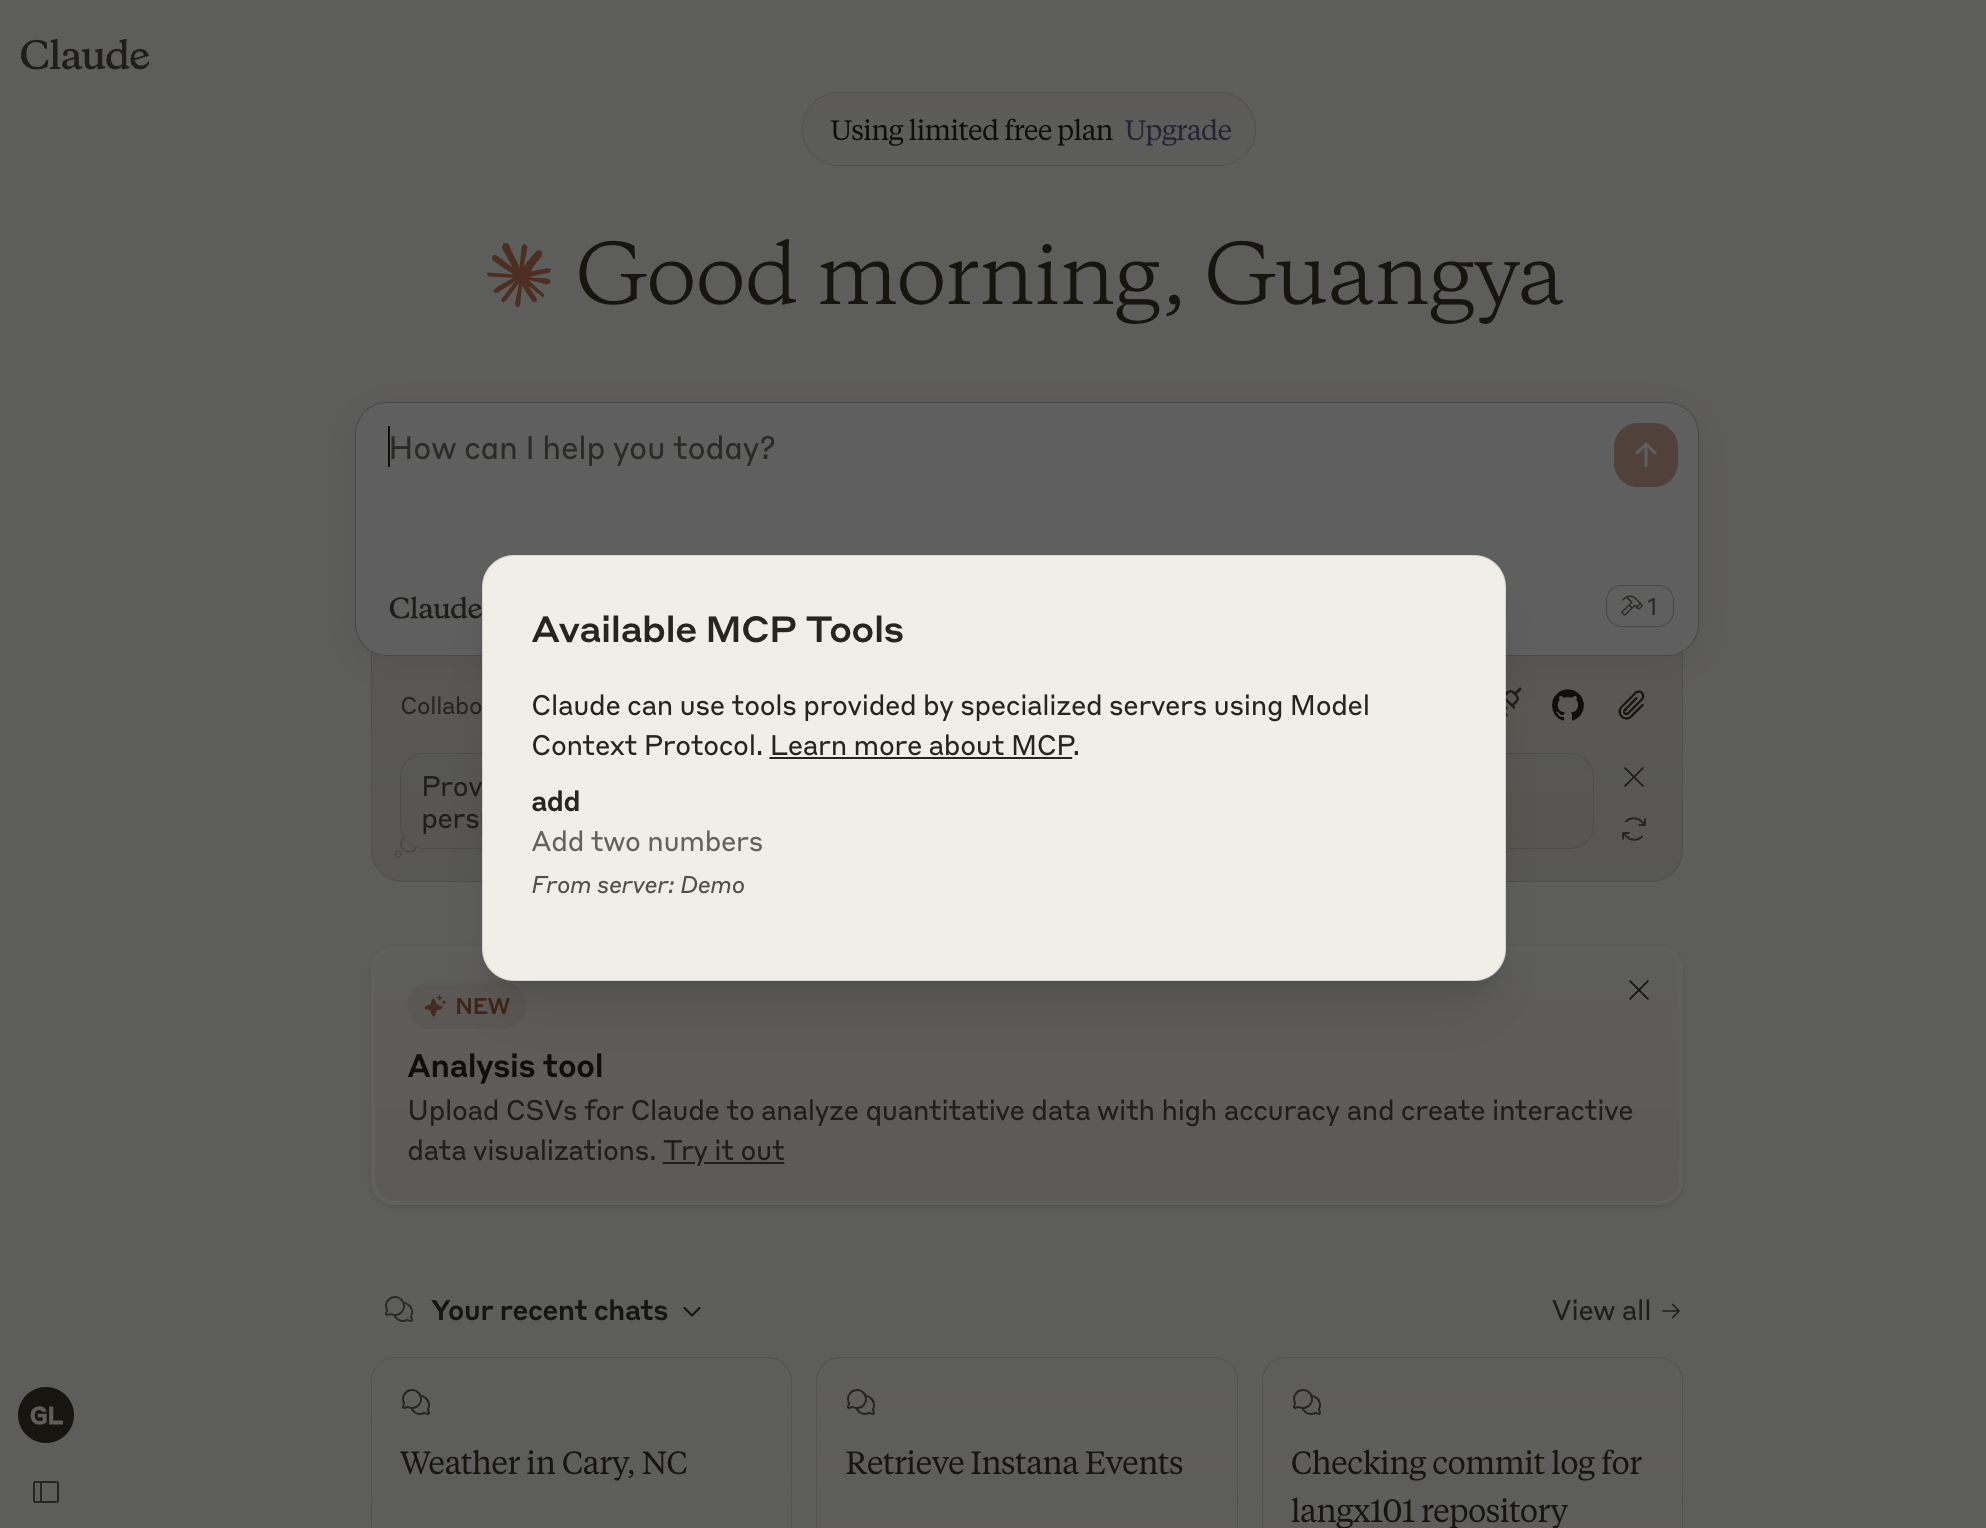
Check MCP Tools
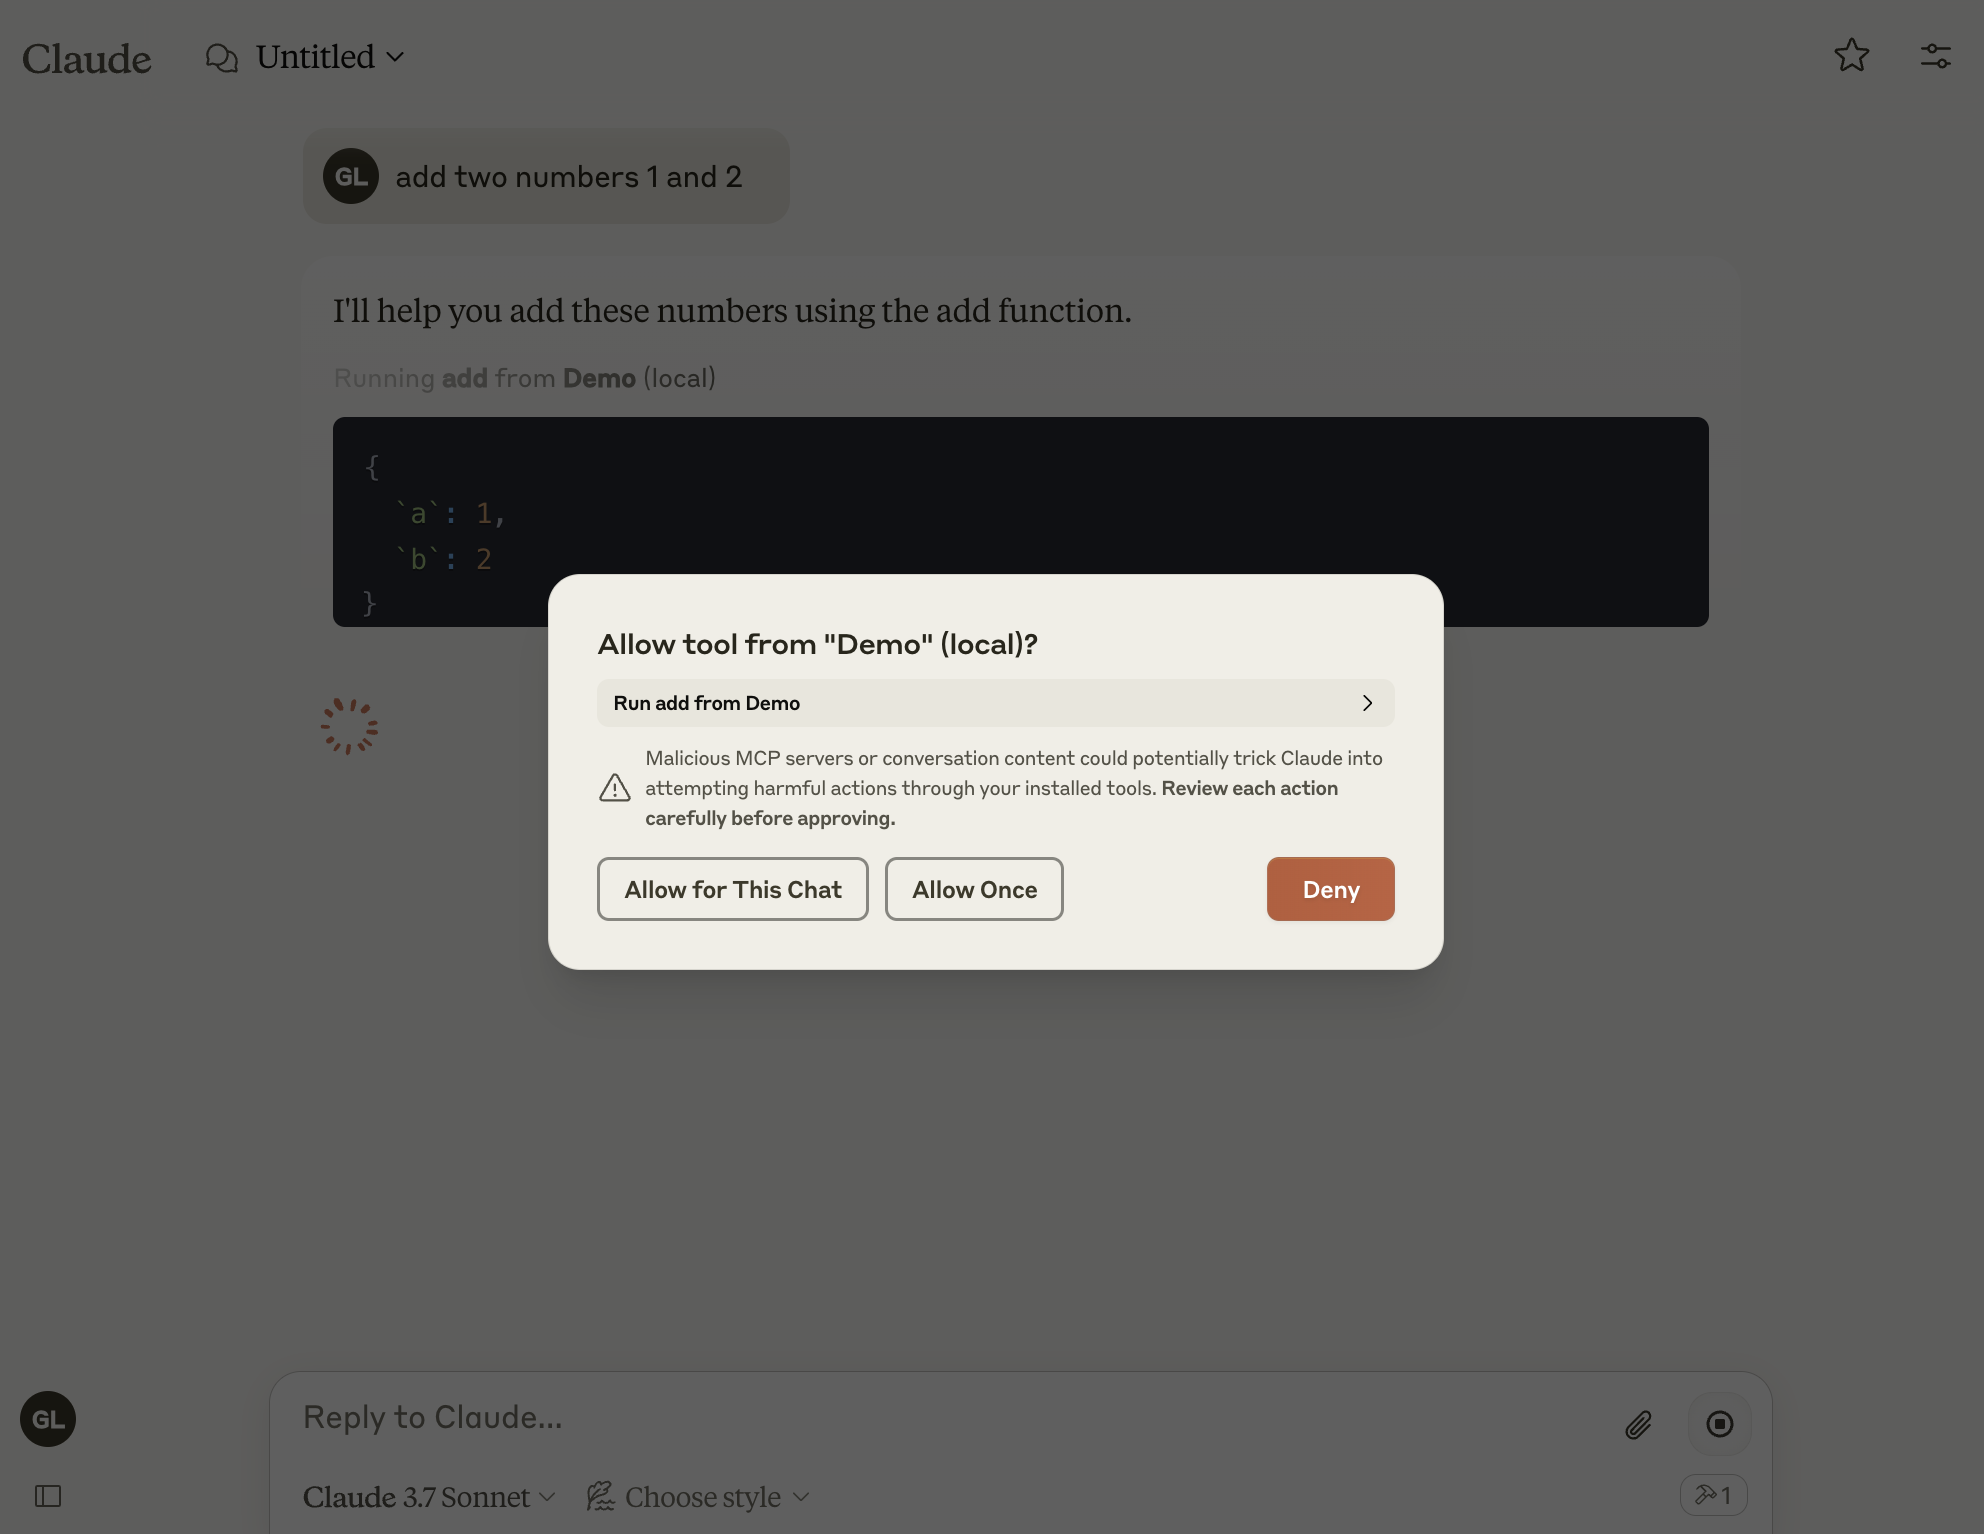
Once you restart Claude, and if it is running well, you will see a hammer in the prompt text window. Click the hammer, you will see the tool that we created named as add.
Run your server with Claude
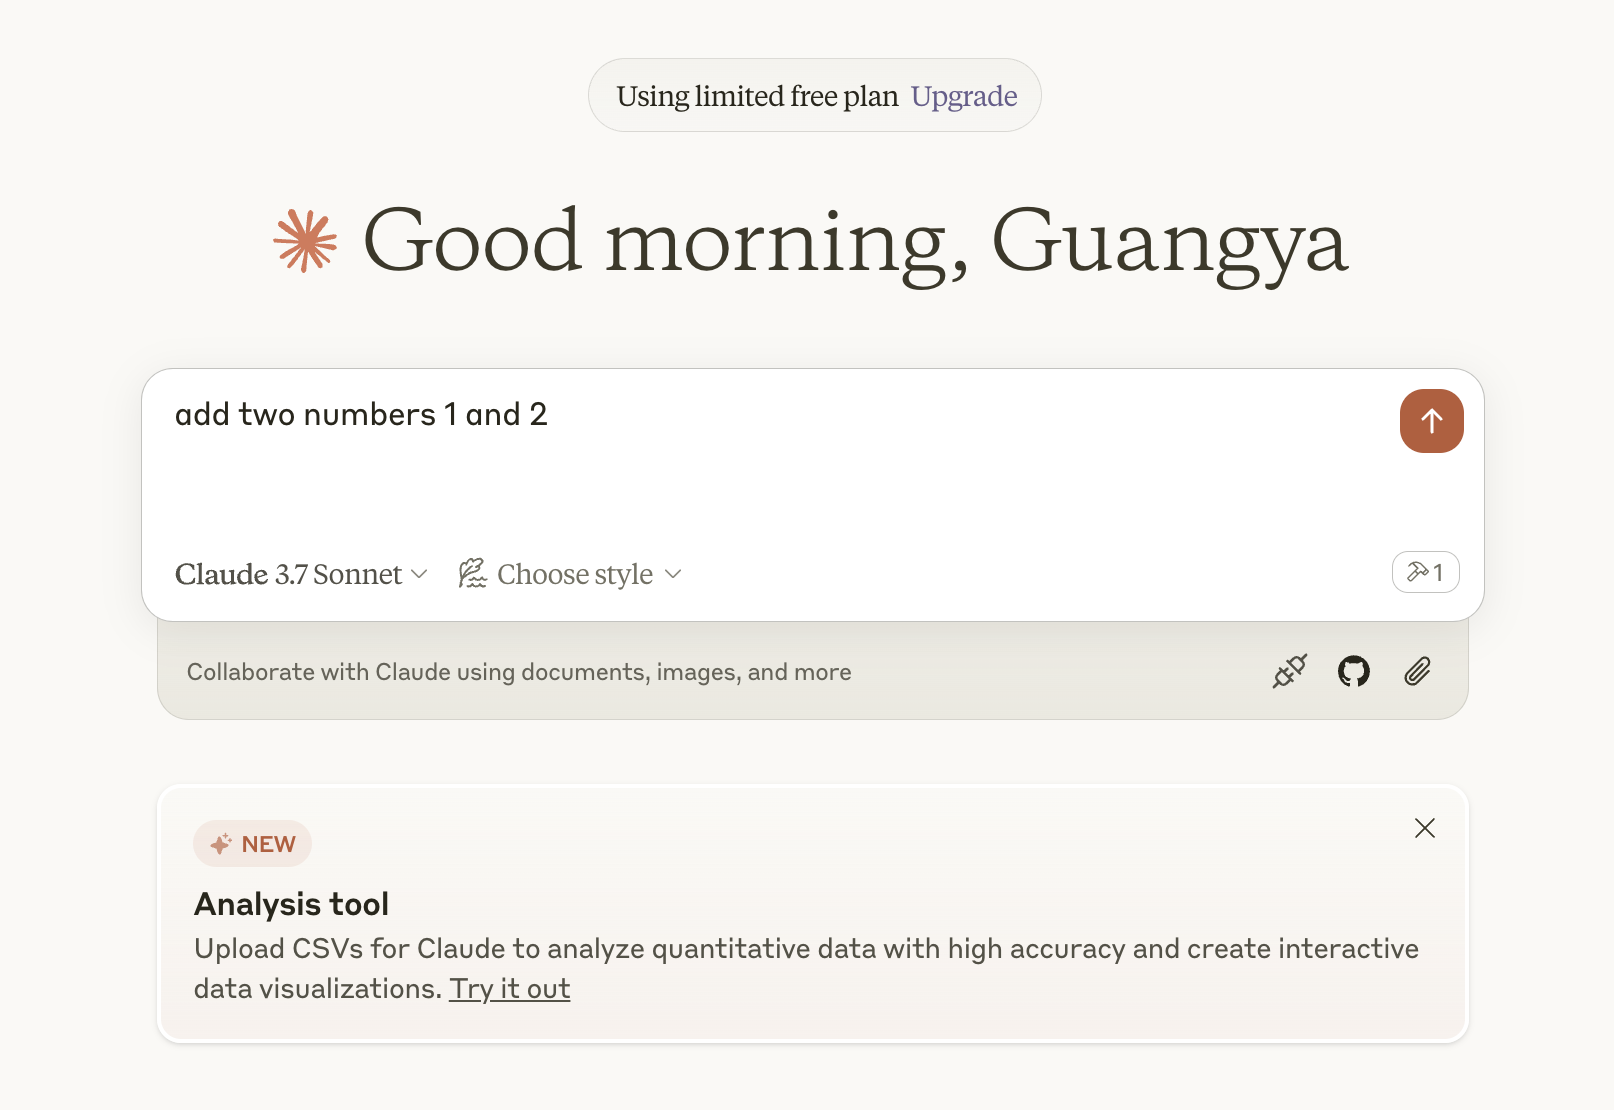
You are ready to go now! Input a prompt like add two numbers 1 and 2, and this will trigger the call of the add tool.
Click Allow for This Chat and it will continue.
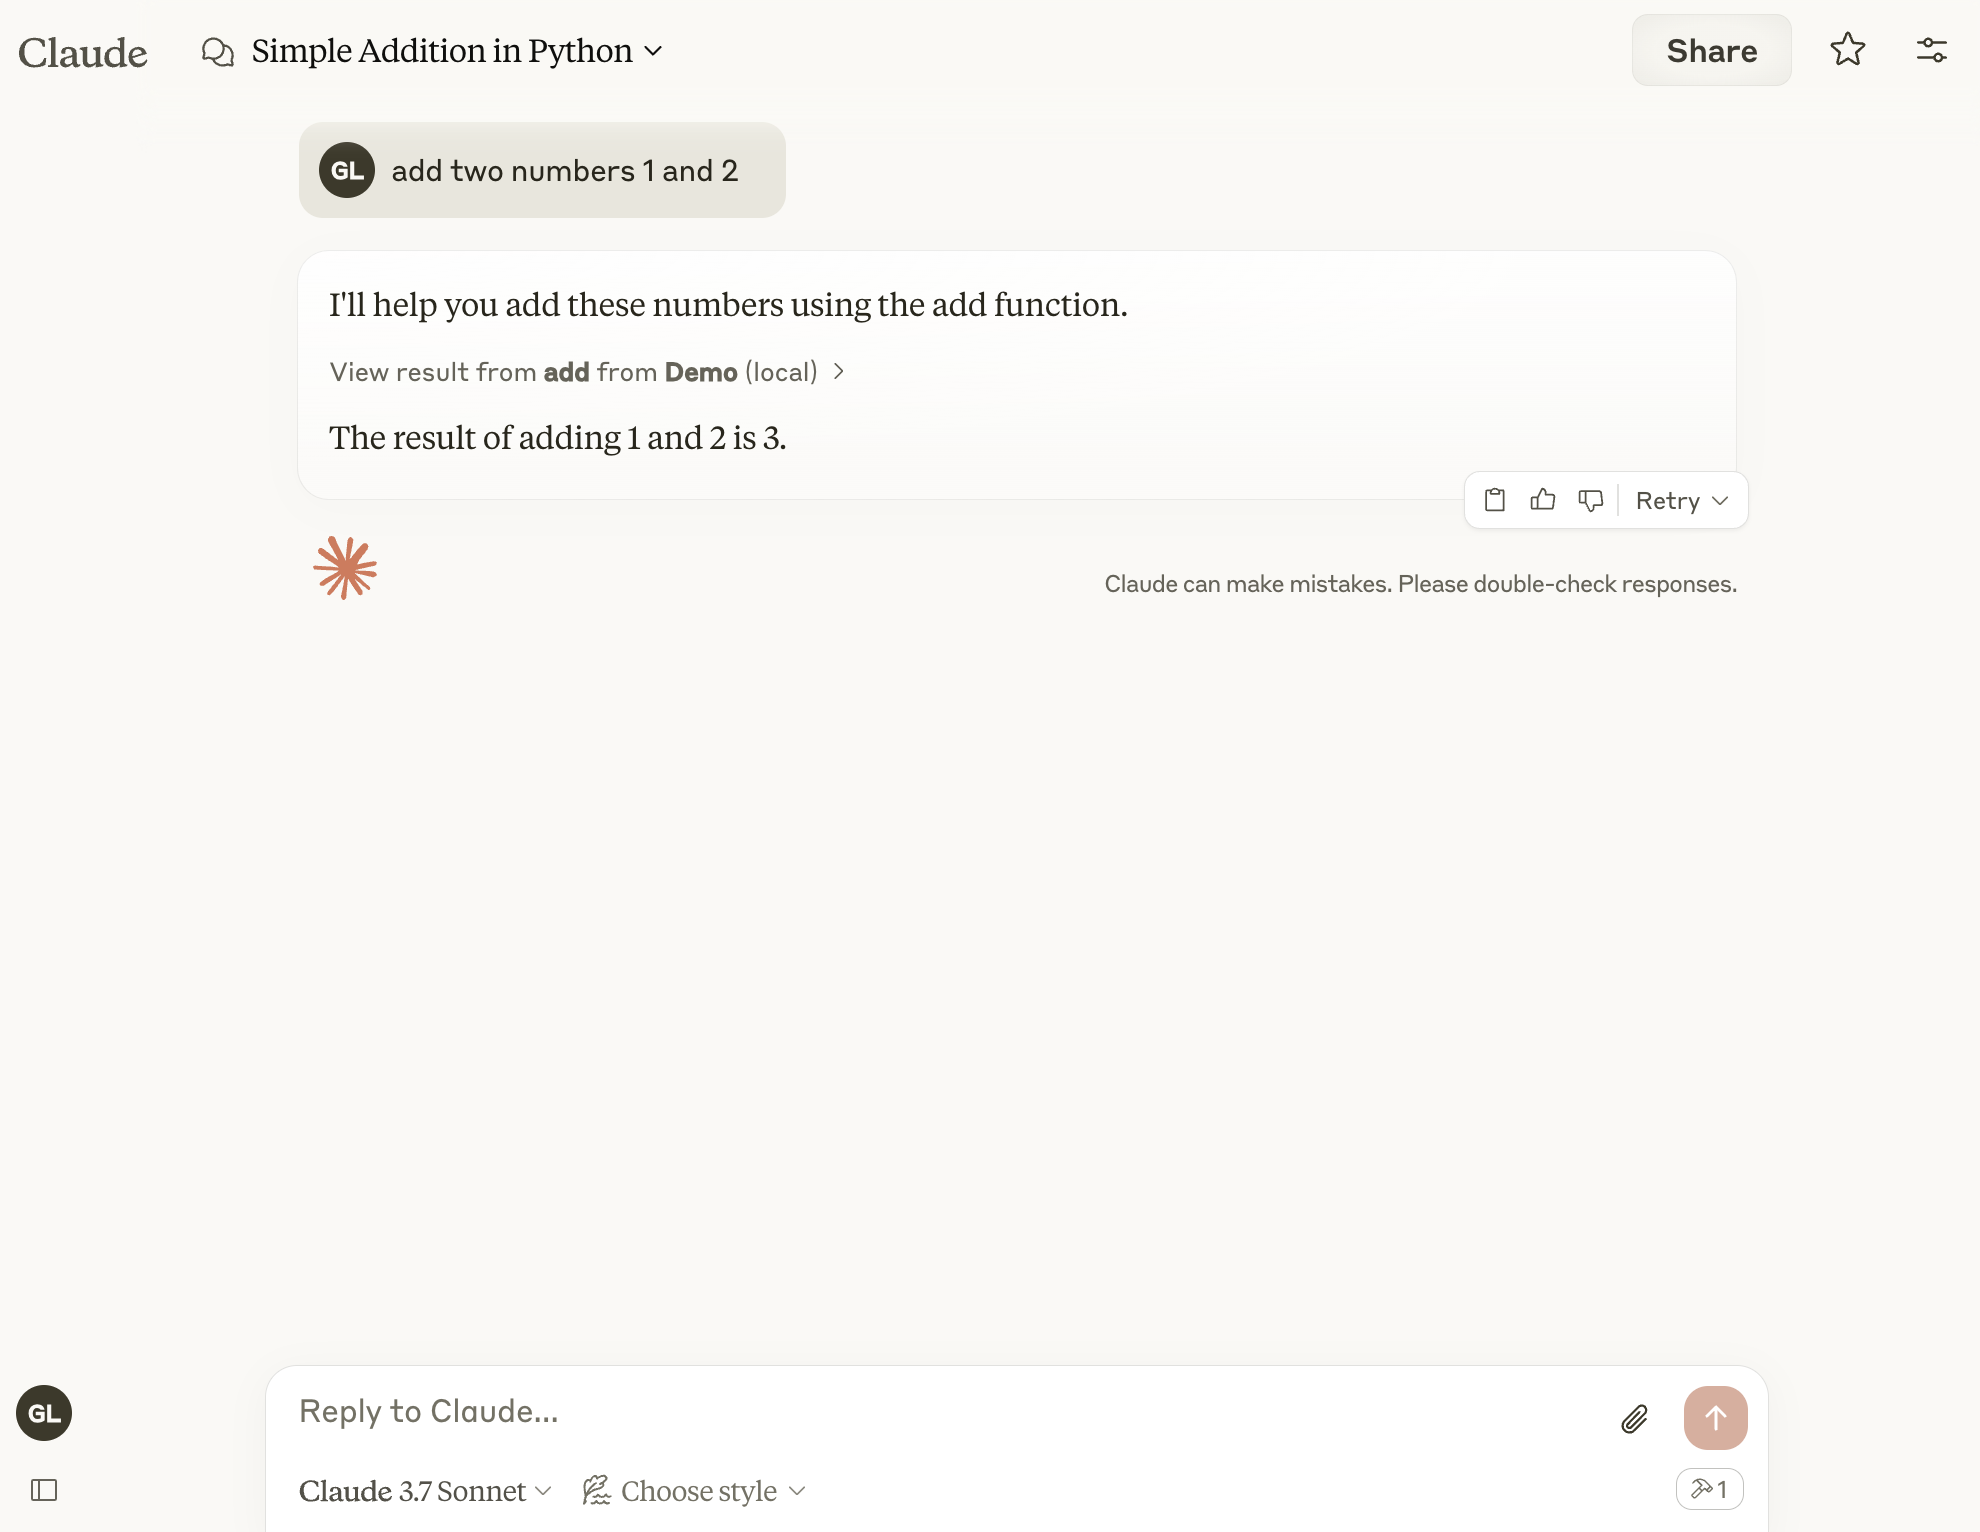
Once finished, you will see the result as below.
Happy hacking with MCP!